|
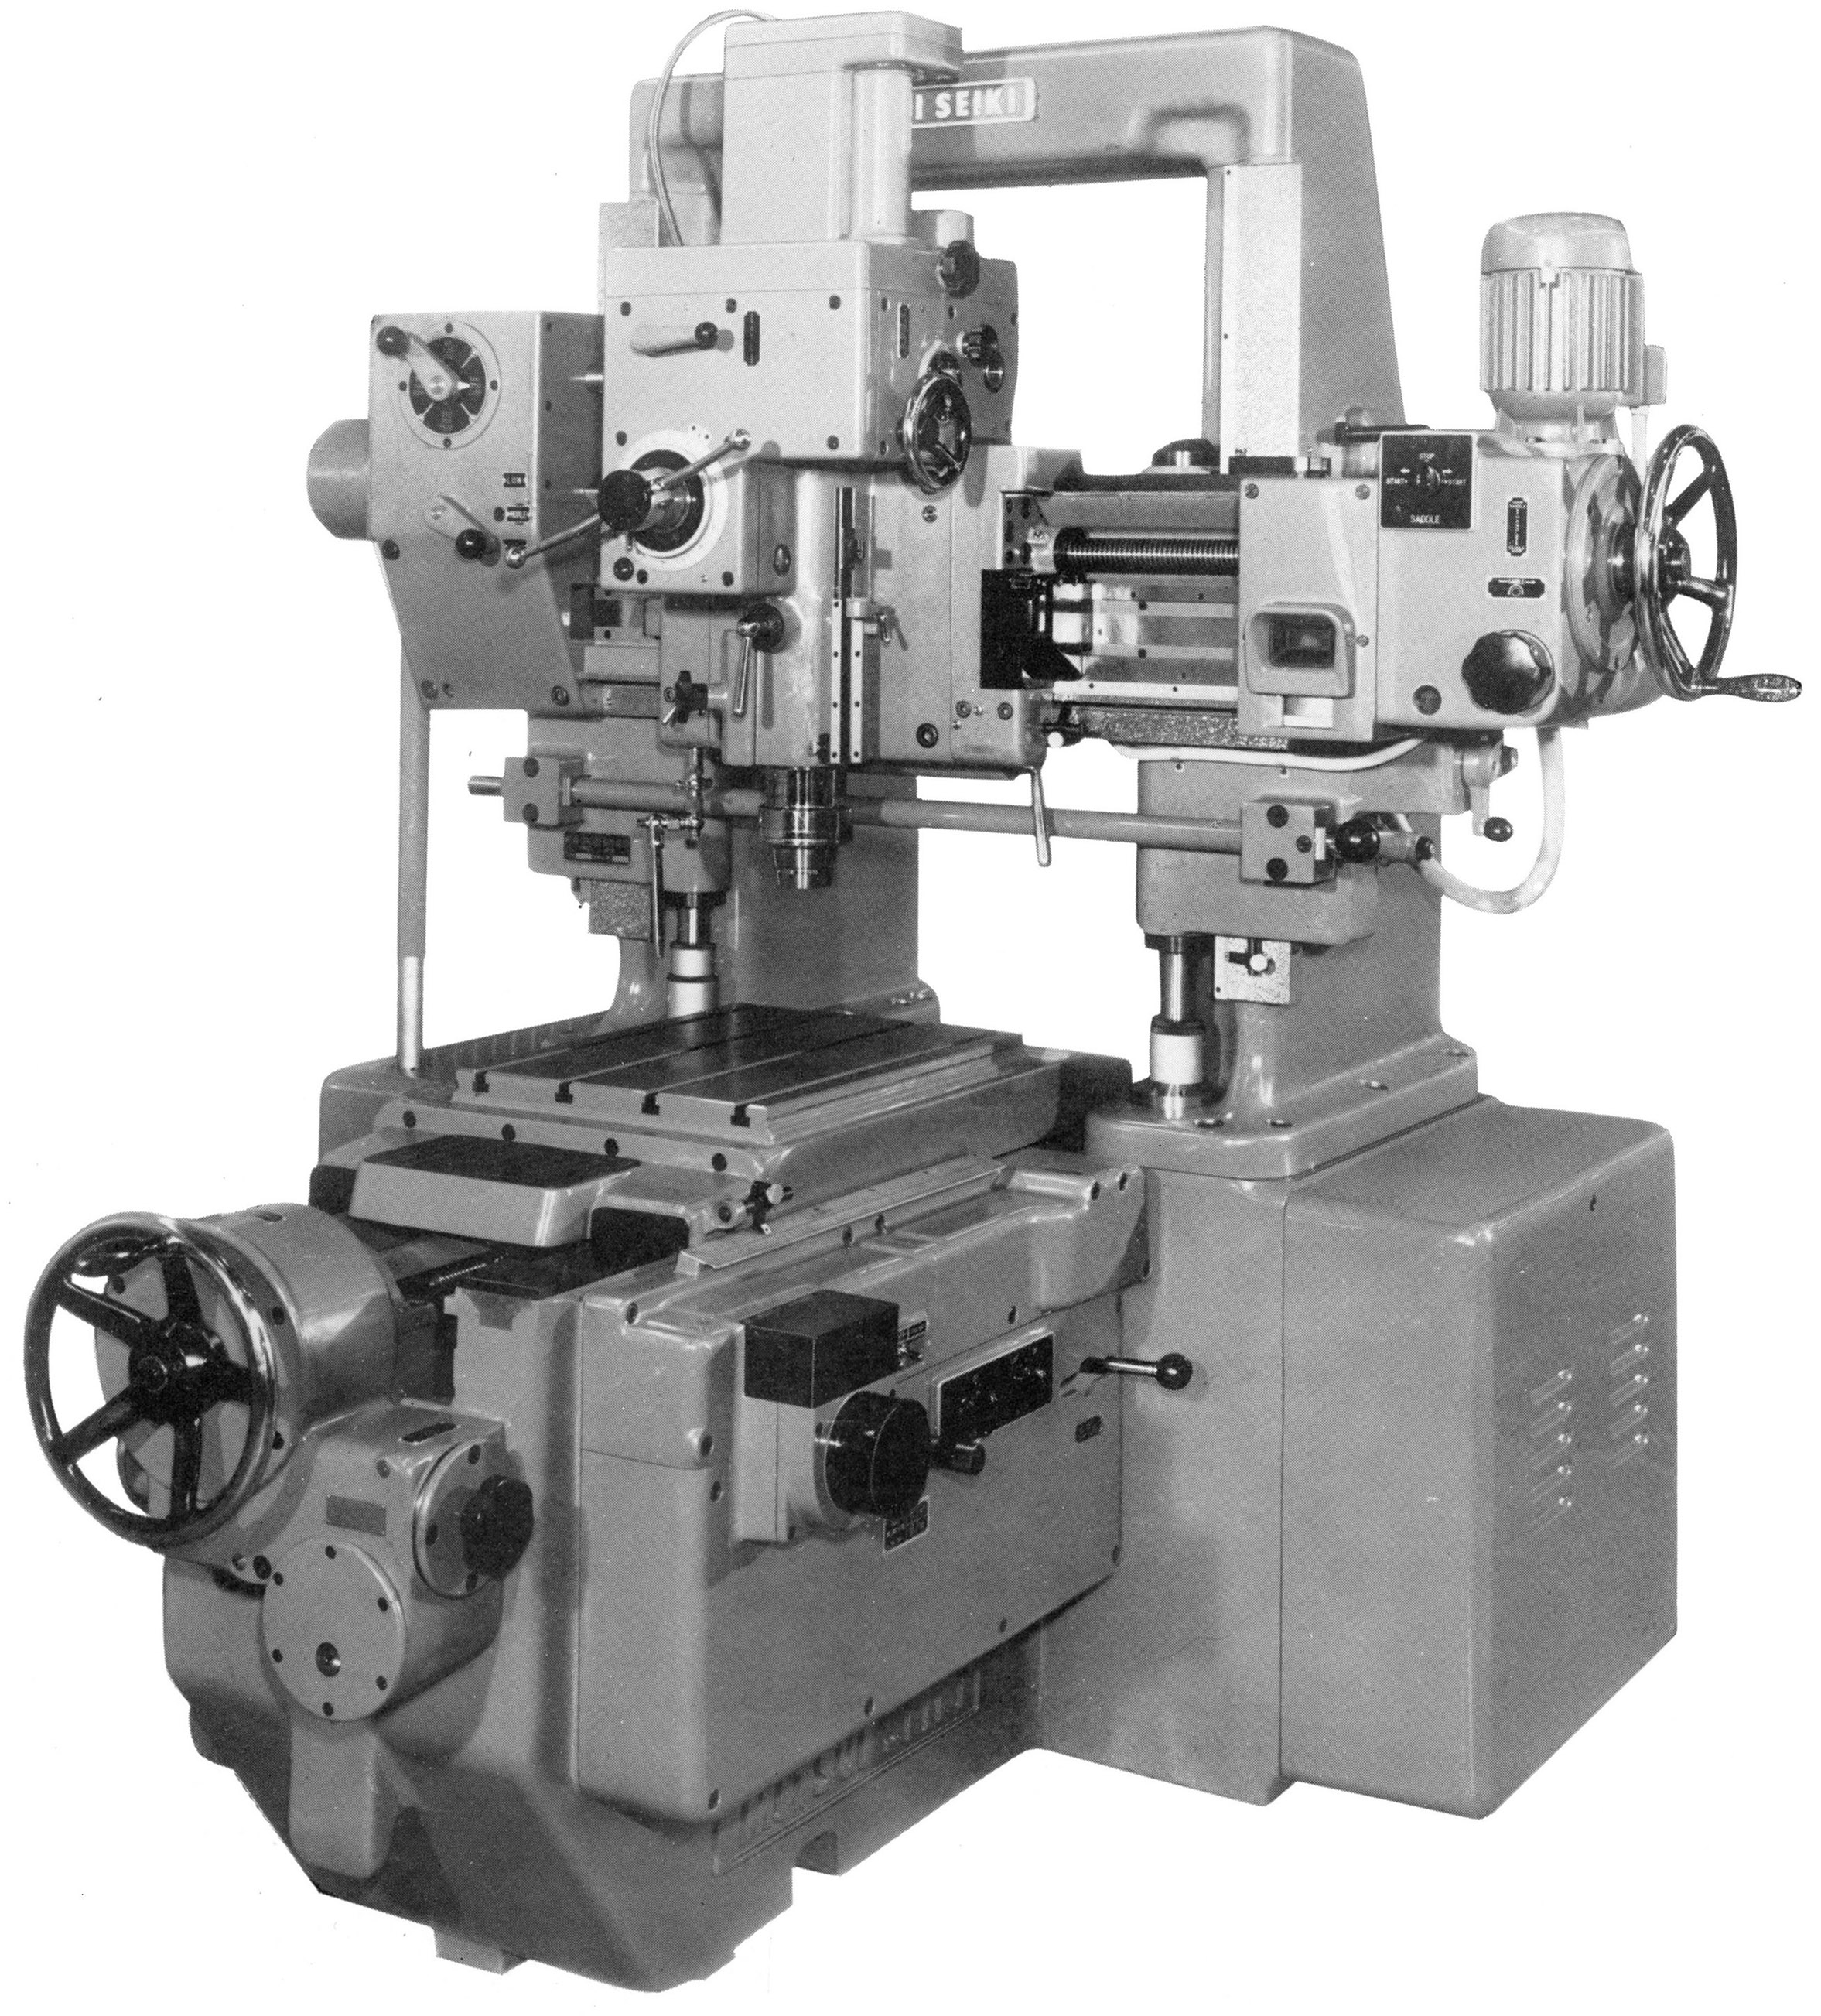
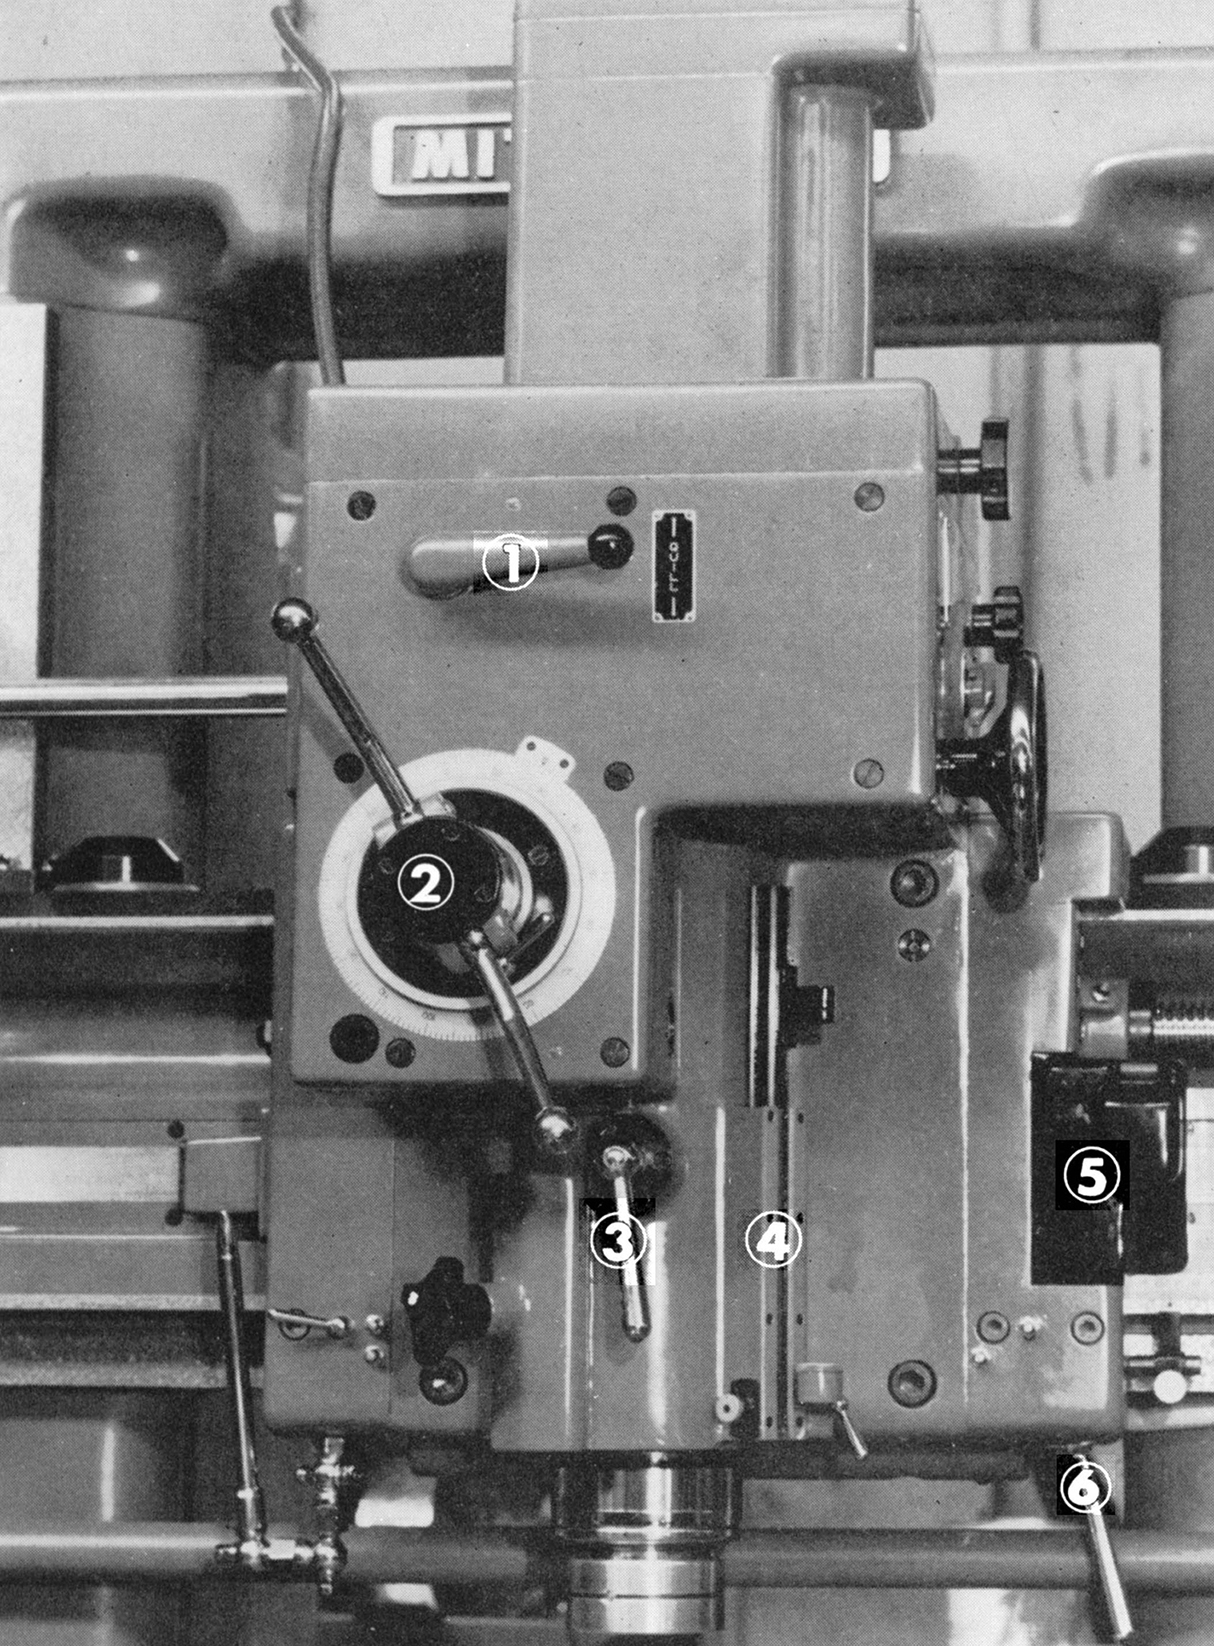
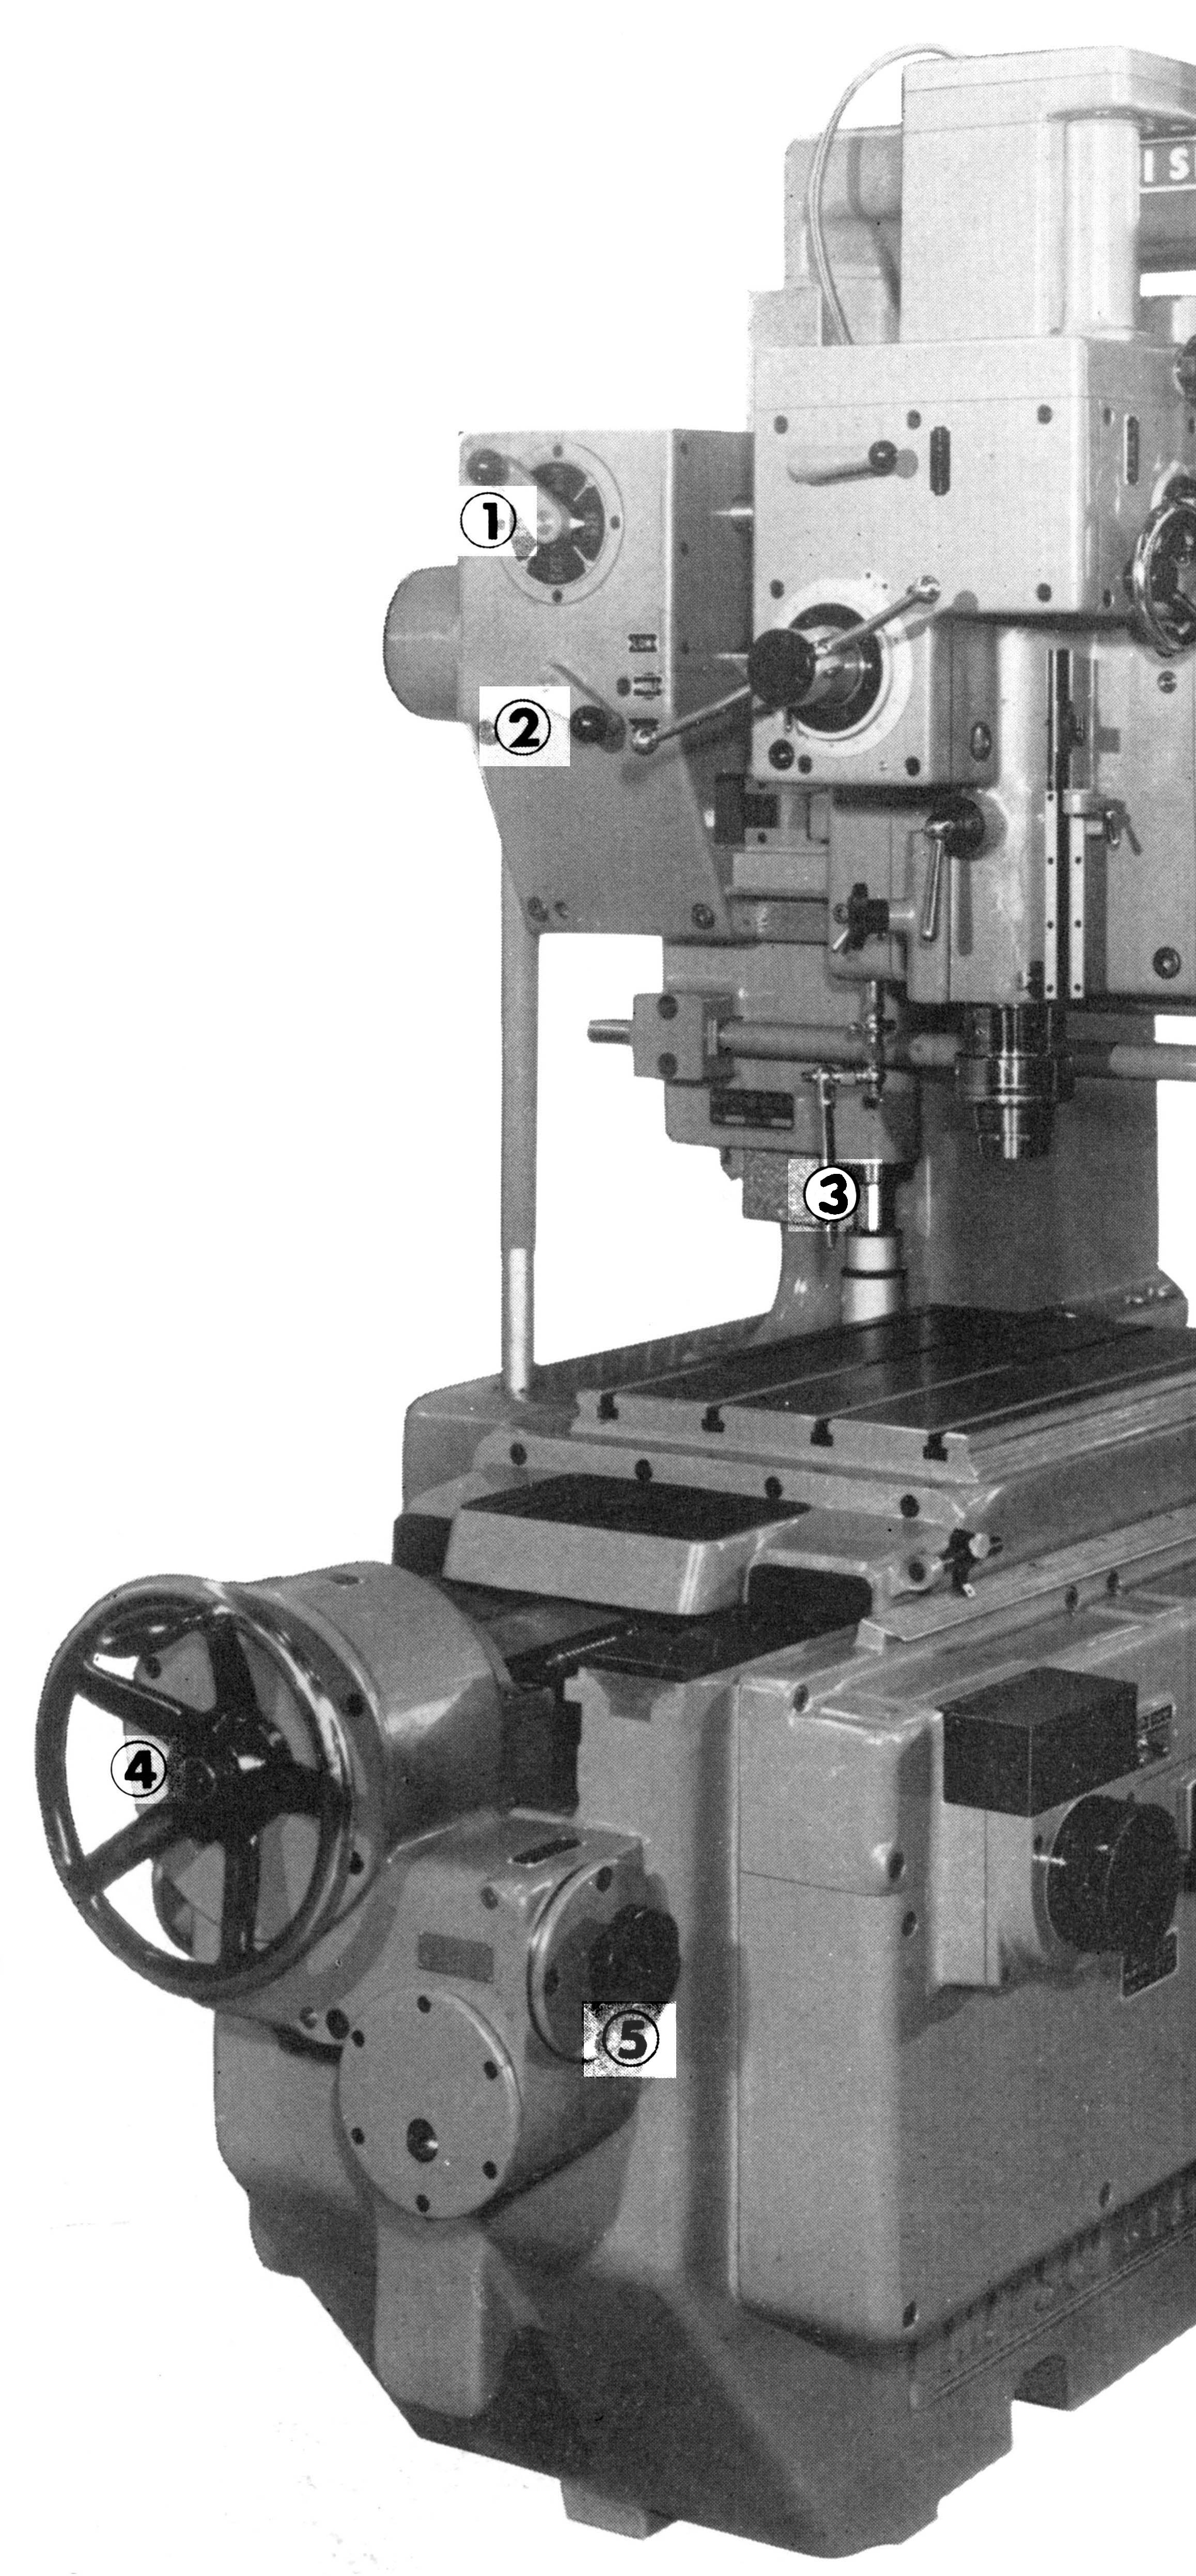
Smallest of the Mitsui double-column jig borers (it weight was less than half that of the 5A), the 3A was arranged just like the other larger machines in Mirsui's range, save for the table drive being mechanical rather than hydraulic. The table slid longitudinally on a massive base casting while the head was held on a saddle sliding along a beam that connected the columns together. The saddle could be traversed from side to side and the beam raised abd lowered - all movements able to be controlled by both hand and power feed. The rapid raising and lowering of the beam was controlled by a single, spring-loaded, return-to-off lever.
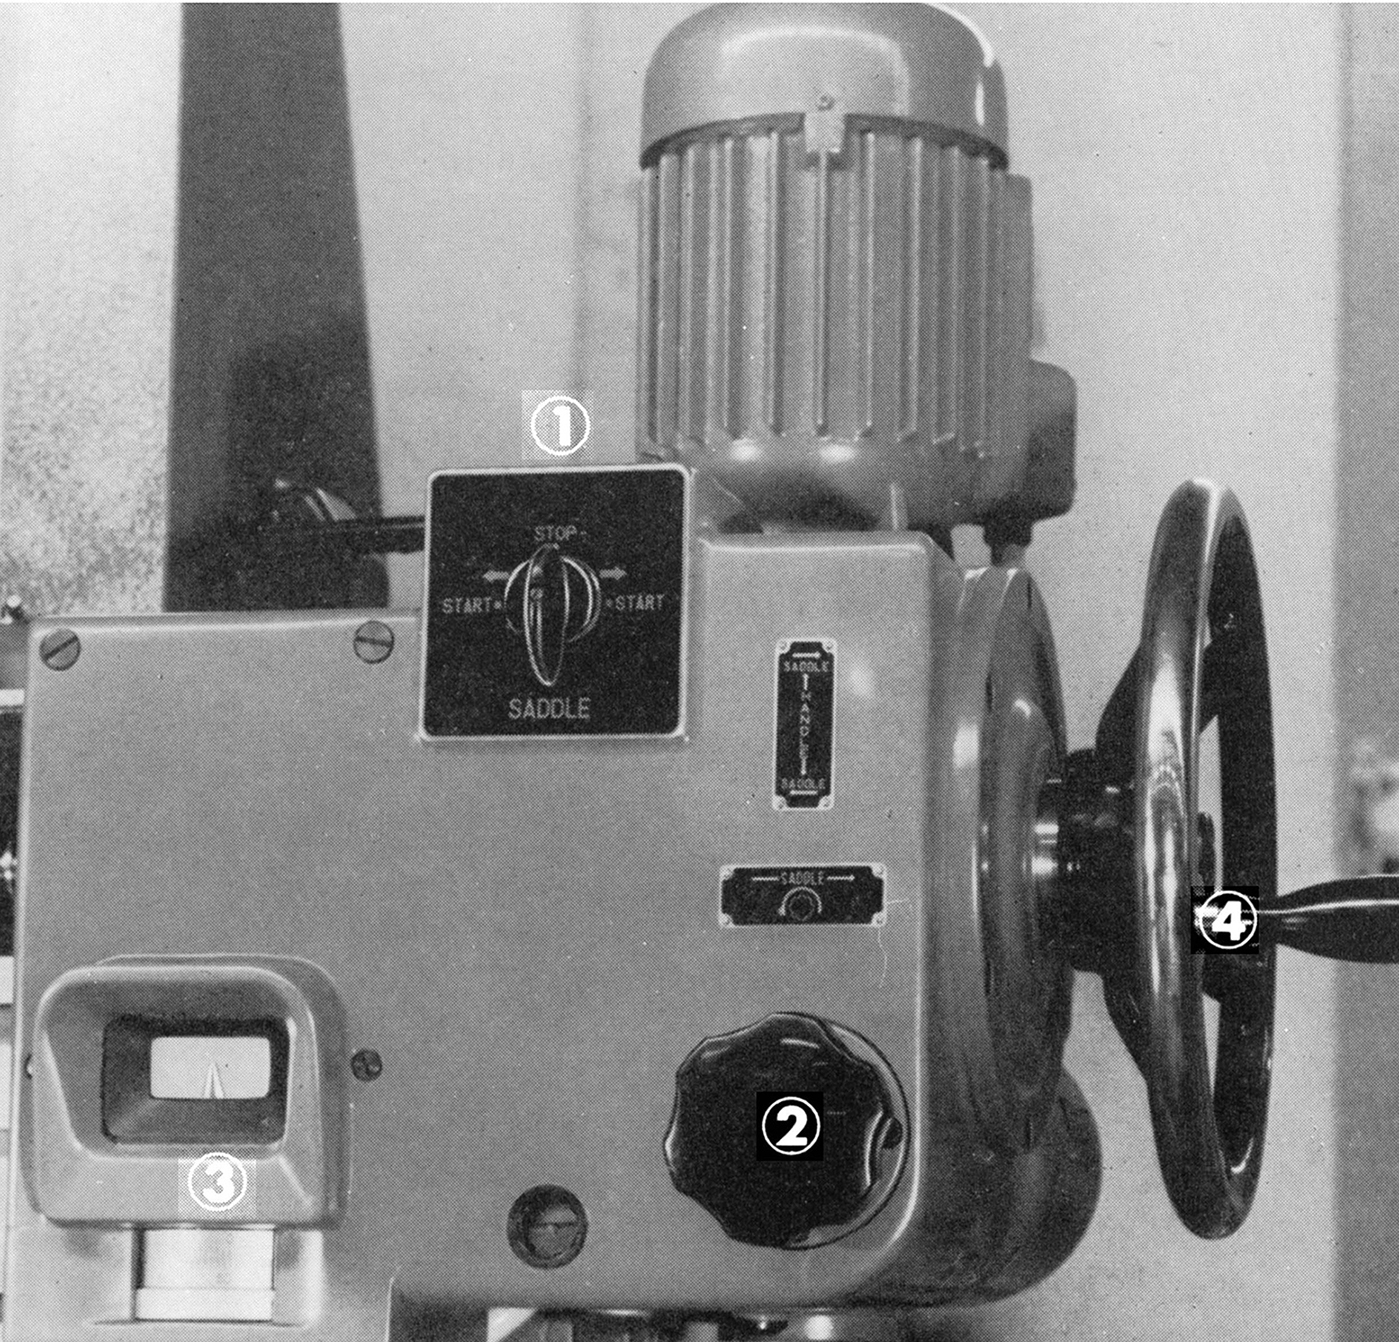
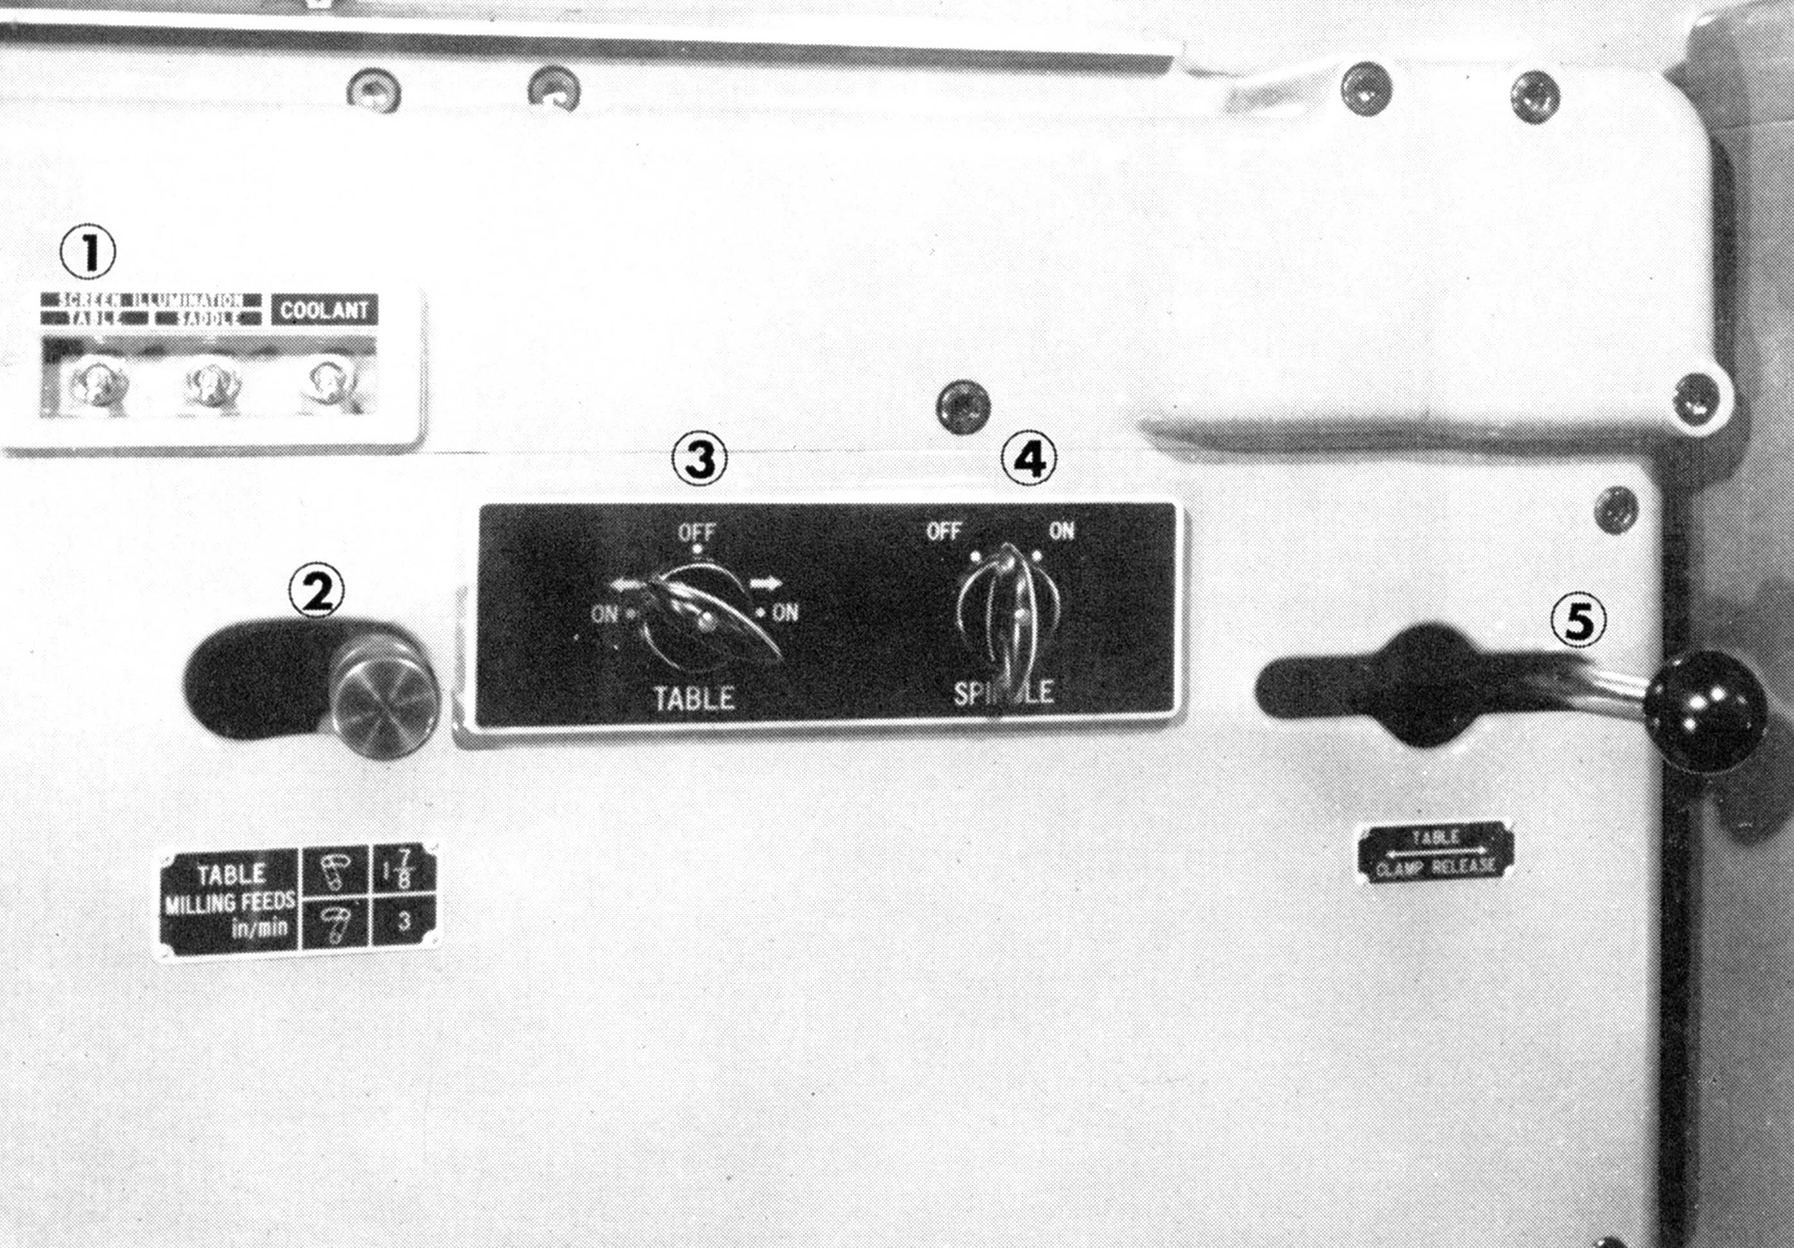
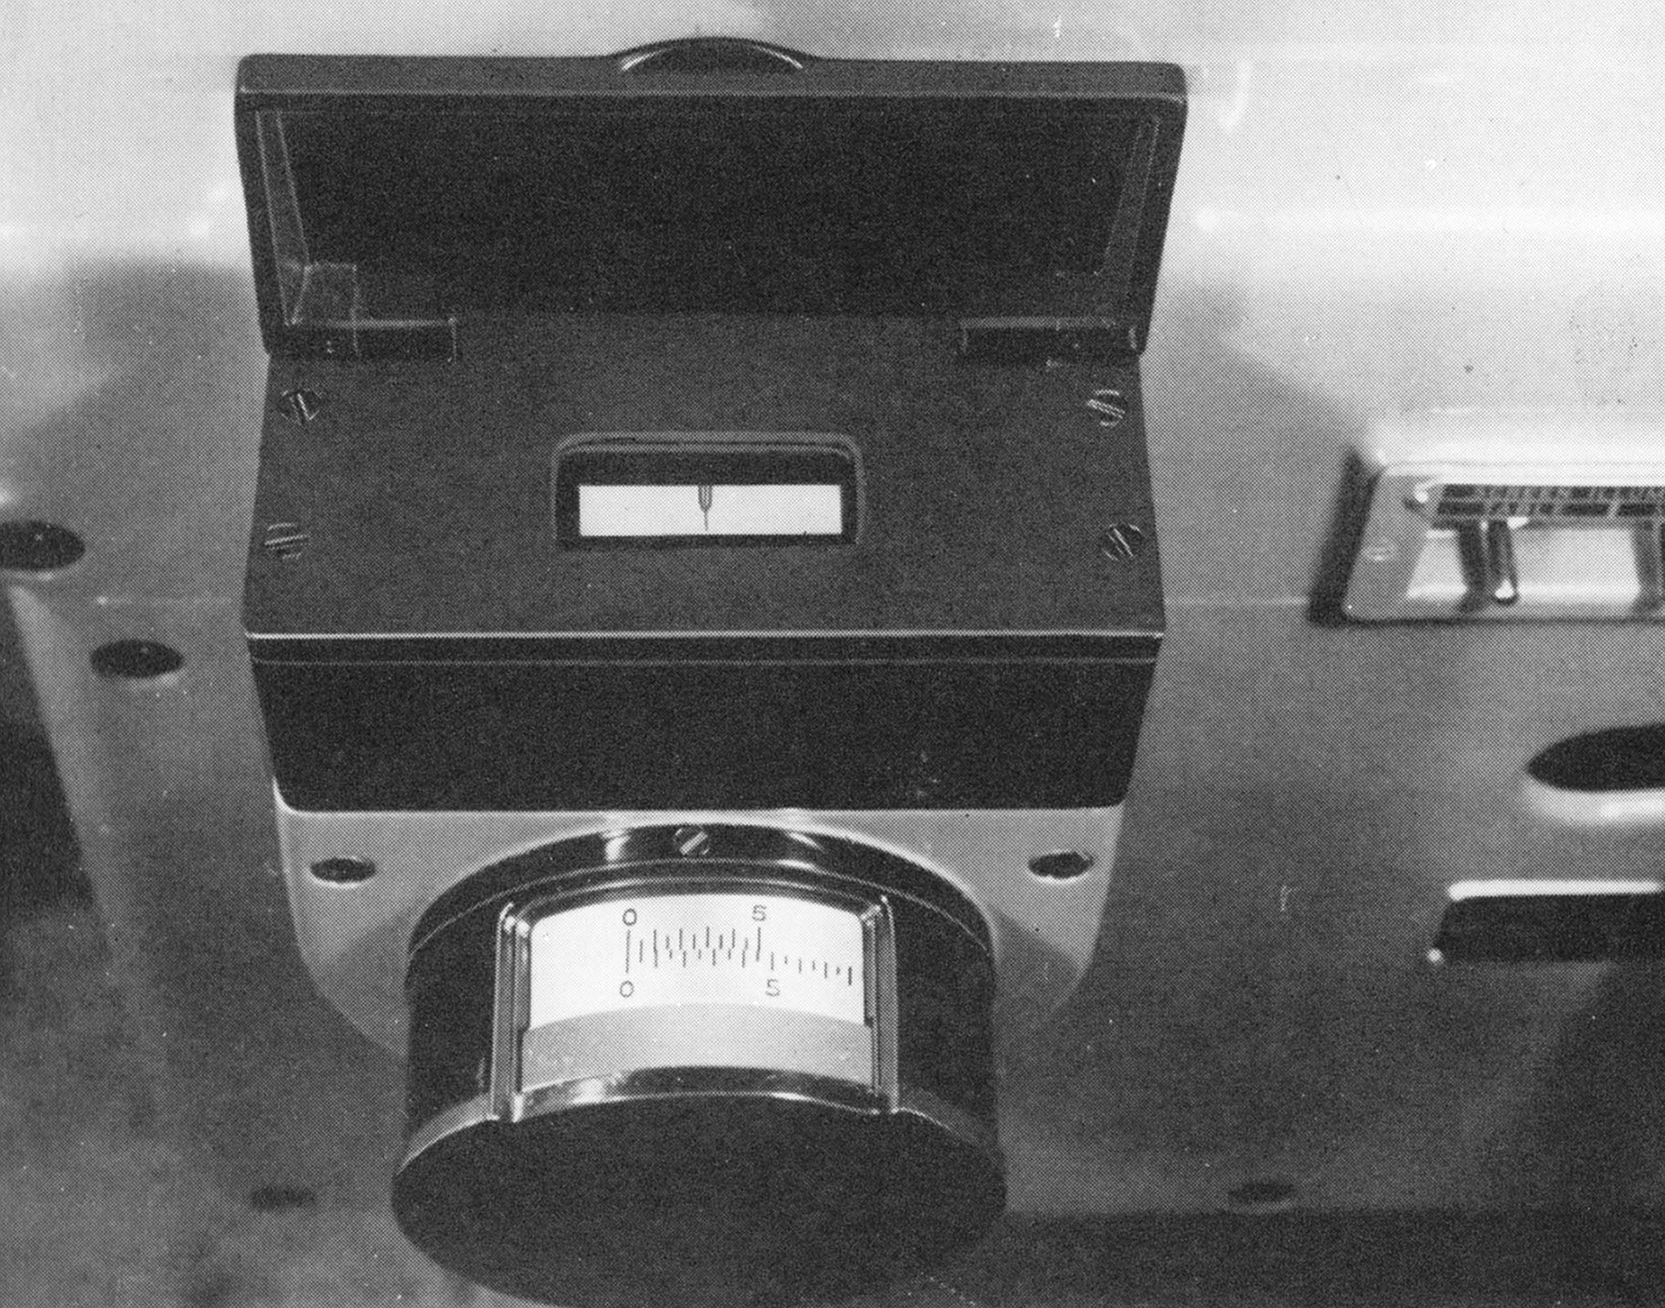
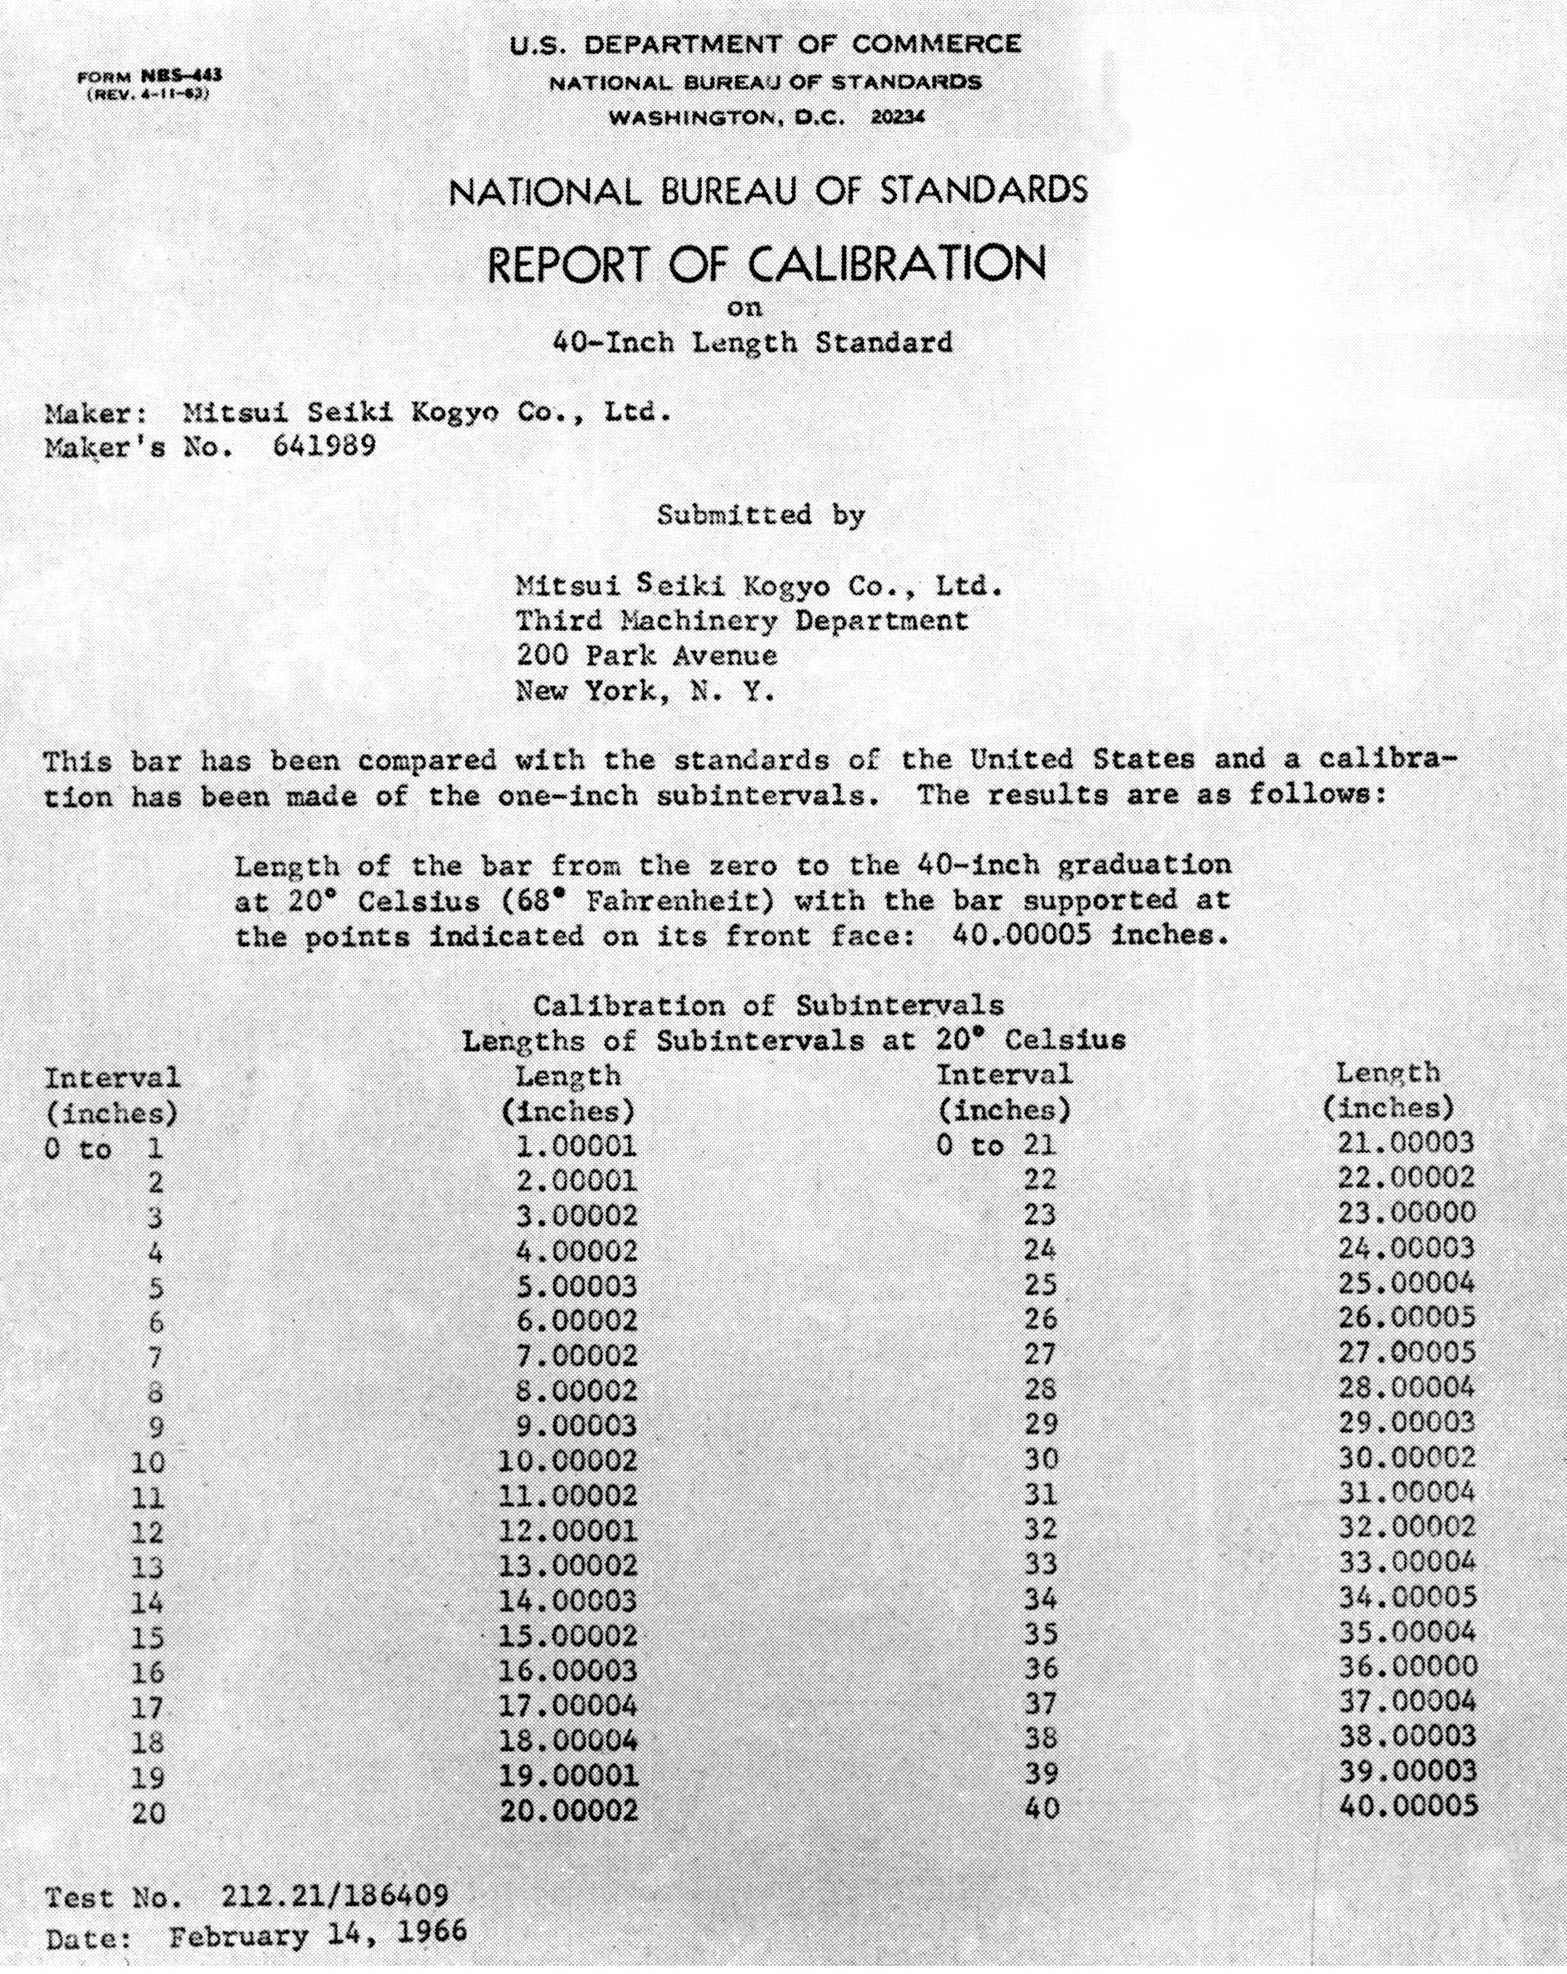
Positioning was by optical scales (a DRO system would follow) these giving a claimed positioning accuracy of 50 millionths of an inch. In addition, in order to provide a quick guide to approximate positioning, built into the table and spindle head saddle were sets of rulers, these being made from a 58% nickel-steel alloy, given a mirror finish and graduated at intervals of 0.05 inches. These scales were claimed to be of exceptional accuracy and ruled on the Mitsui's own very highest precision dividing machines. They were inspected with reference to the most precise of the line standards of the N.P.L. (National Physical Laboratory of Great Britain) and designed to have as close an expansion coefficient to that of the machine body as possible. Optical readers were fitted to the right-hand side of the bed and on the cross beam, each being provided with a projection screen that magnified the divisions on what was called the "standard scale" by a factor of 25. On the screen was a forked slit, the position of which, for vernier readings, could be adjusted by a "micro drum". In use, the operator would first set the table or spindle head to an accuracy of 0.05 inches using the ruler scales, this positioning a division line of the standard scale on the viewing screen. The line was then further adjusted, using the micro drum, to the third, fourth and fifth decimal divisions of the required setting. The table, or spindle head, was then moved using the appropriate fine-setting knob until the standard scale division line was aligned between the fork slit - the vernier setting of the latter reading to 0.00005 of an inch. In use, operators of optical systems say that they were surprisingly quick and easy to operate and, once used to the inevitable "black art" compromises needed, highly accurate.
Carried on a very heavy and rigid box-type base, the floor mounting was a three-point type, the makers claiming there was thus no need to accurately level the machine. Movements of the 3A's head in any direction were claimed to have only a slight effect upon the centre of gravity. In addition (as was normal with this type of jog borer) the table could not be moved to overhang the ends of its ways - both features adding to the theoretical rigidity and consequent accuracy.
Driven by a 1 h.p. motor, the 6-inch-travel spindle had twelve speeds that spanned 50 to 2000 r.p.m. and with the six rates of power down-feed rates ranging from 0.001" to 0.0102" per spindle revolution. To allow tapping to be carried out - at speeds below 120 r.p.m. only - the spindle direction could be instantly reversed, an automatic stop being fitted that worked at rates of feed and speeds. The stated drilling capacity was 1" and boring 4.375", both through cast iron. Fine and quick-action hand control of the spindle was also provided as standard by, respectively, a handwheel and lever. Handily, automatic tool clamping and unclamping from a No.3 Morse taper socket was also fitted, electrical push-buttons controlling a motor that moved the spindle drawbar.
Carrying the spindle head on the cross beam was a saddle, this having 13.75 inches of side-to-side travel with the drive coming from a 1/2 h.p. motor. A single rate of feed at 2.375" per minute was available when the machine was used for milling, plus a setting to give a rapid traverse of the spindle saddle.
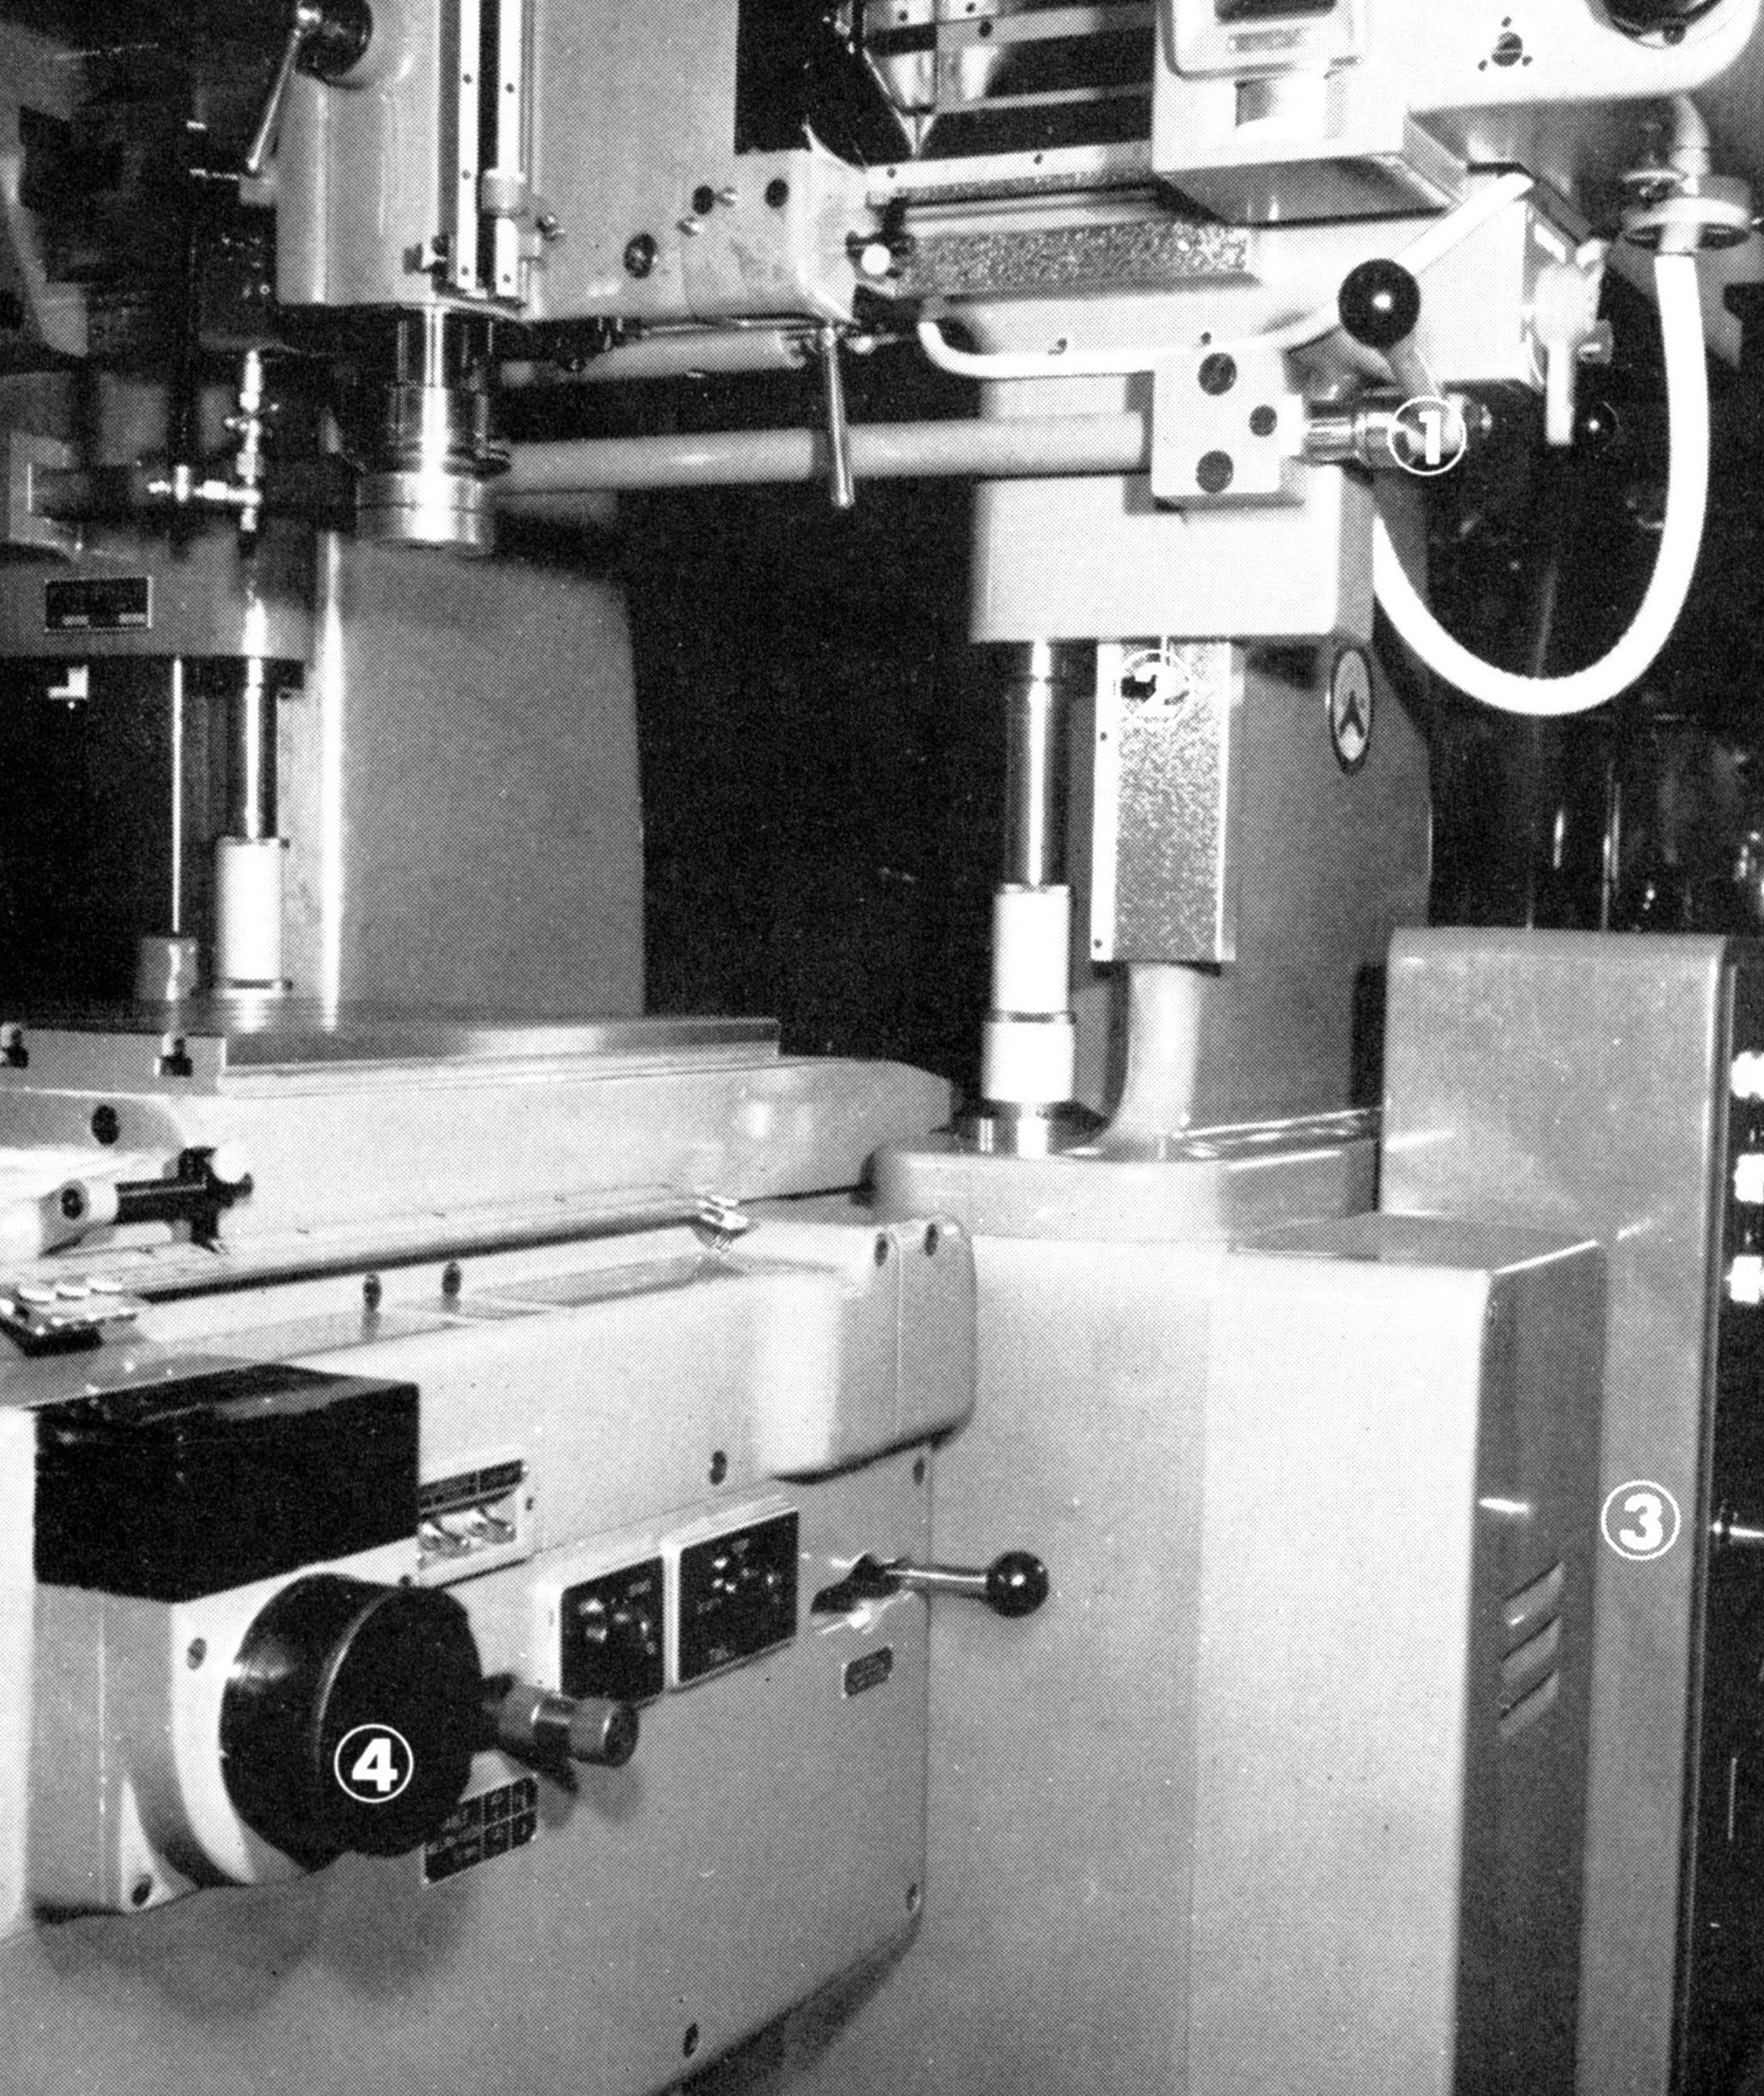
Driven by a leadscrew (instead of hydraulically as on the 5A) the table had a working surface of 20.5" x 15", a longitudinal travel of 17.5 inches and two feed rates for milling of 1.875 and 3 inches per minute. A separate, floor-mound hydraulic accumulator and storage tank was supplied, the pump being manufactured by Mitsui and arranged to automatically change its output according to differences between the cutting and positioning feeds. This arrangement was aimed at minimising heat-build up and ensure that as little as possible was transferred to the body of the machine. Also located separately and provided with the usual settling and baffling arrangements, the coolant tank was fitted with a pump driven by a 1/20 h.p. motor.
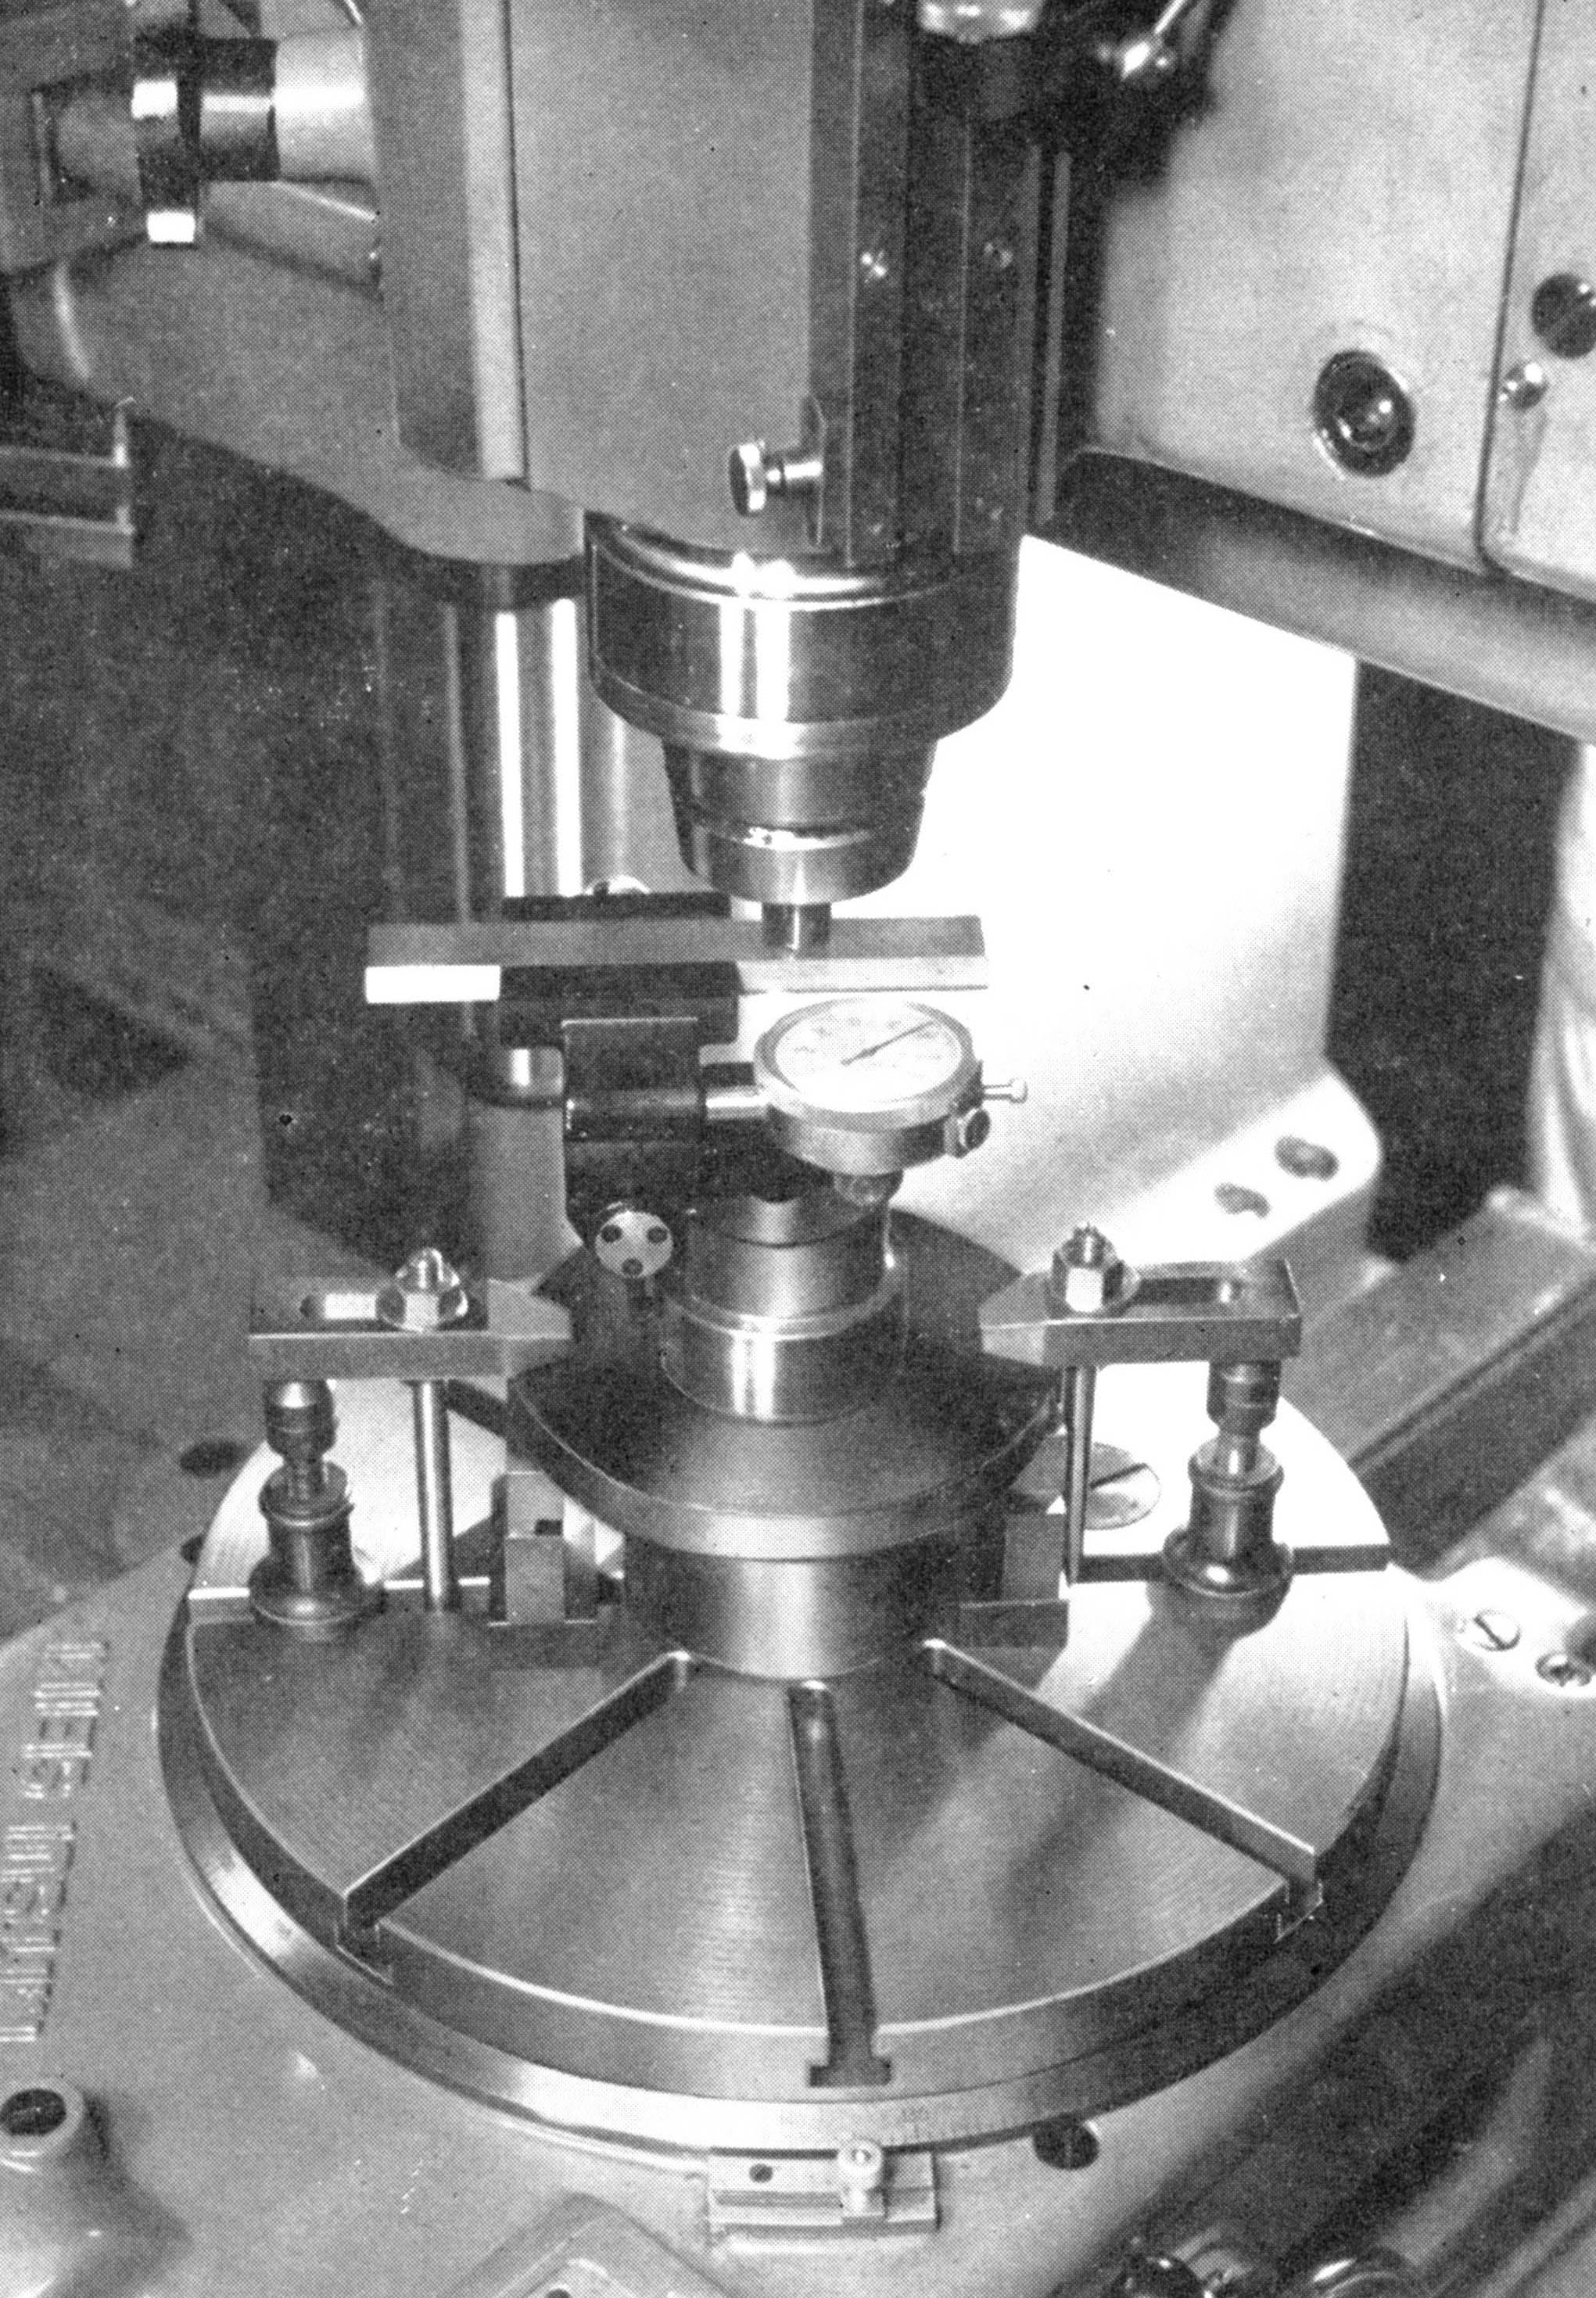
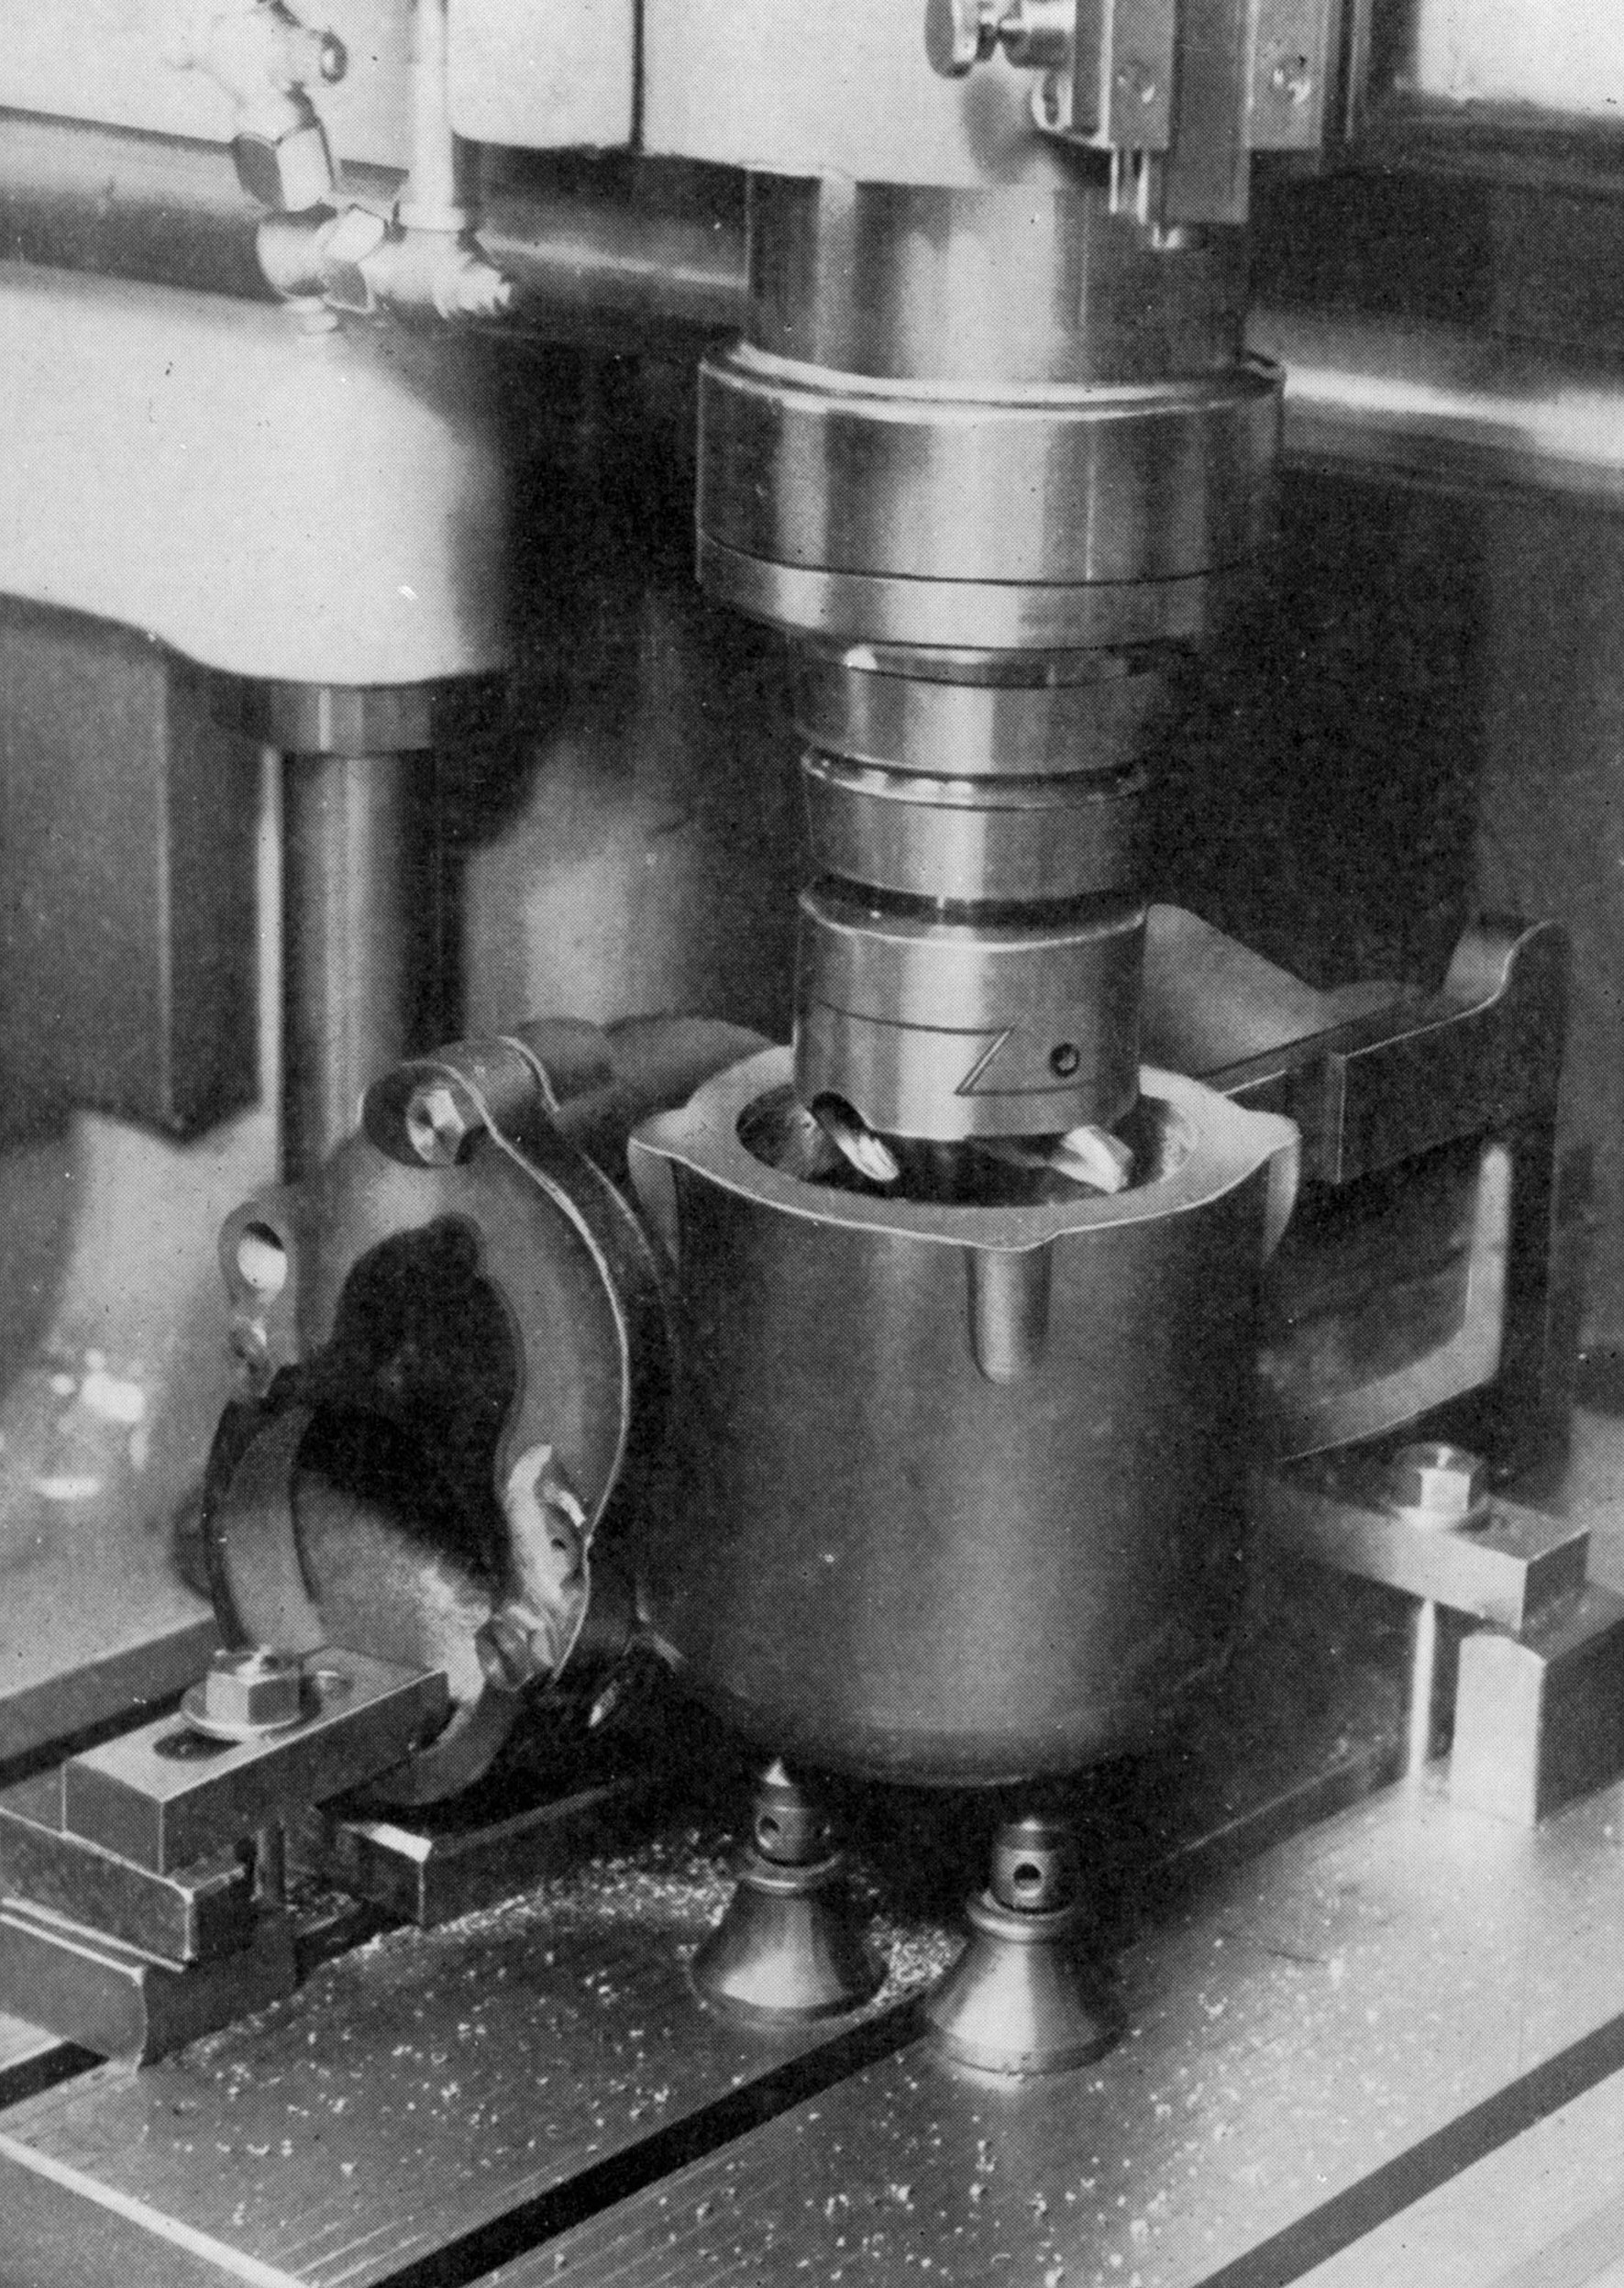
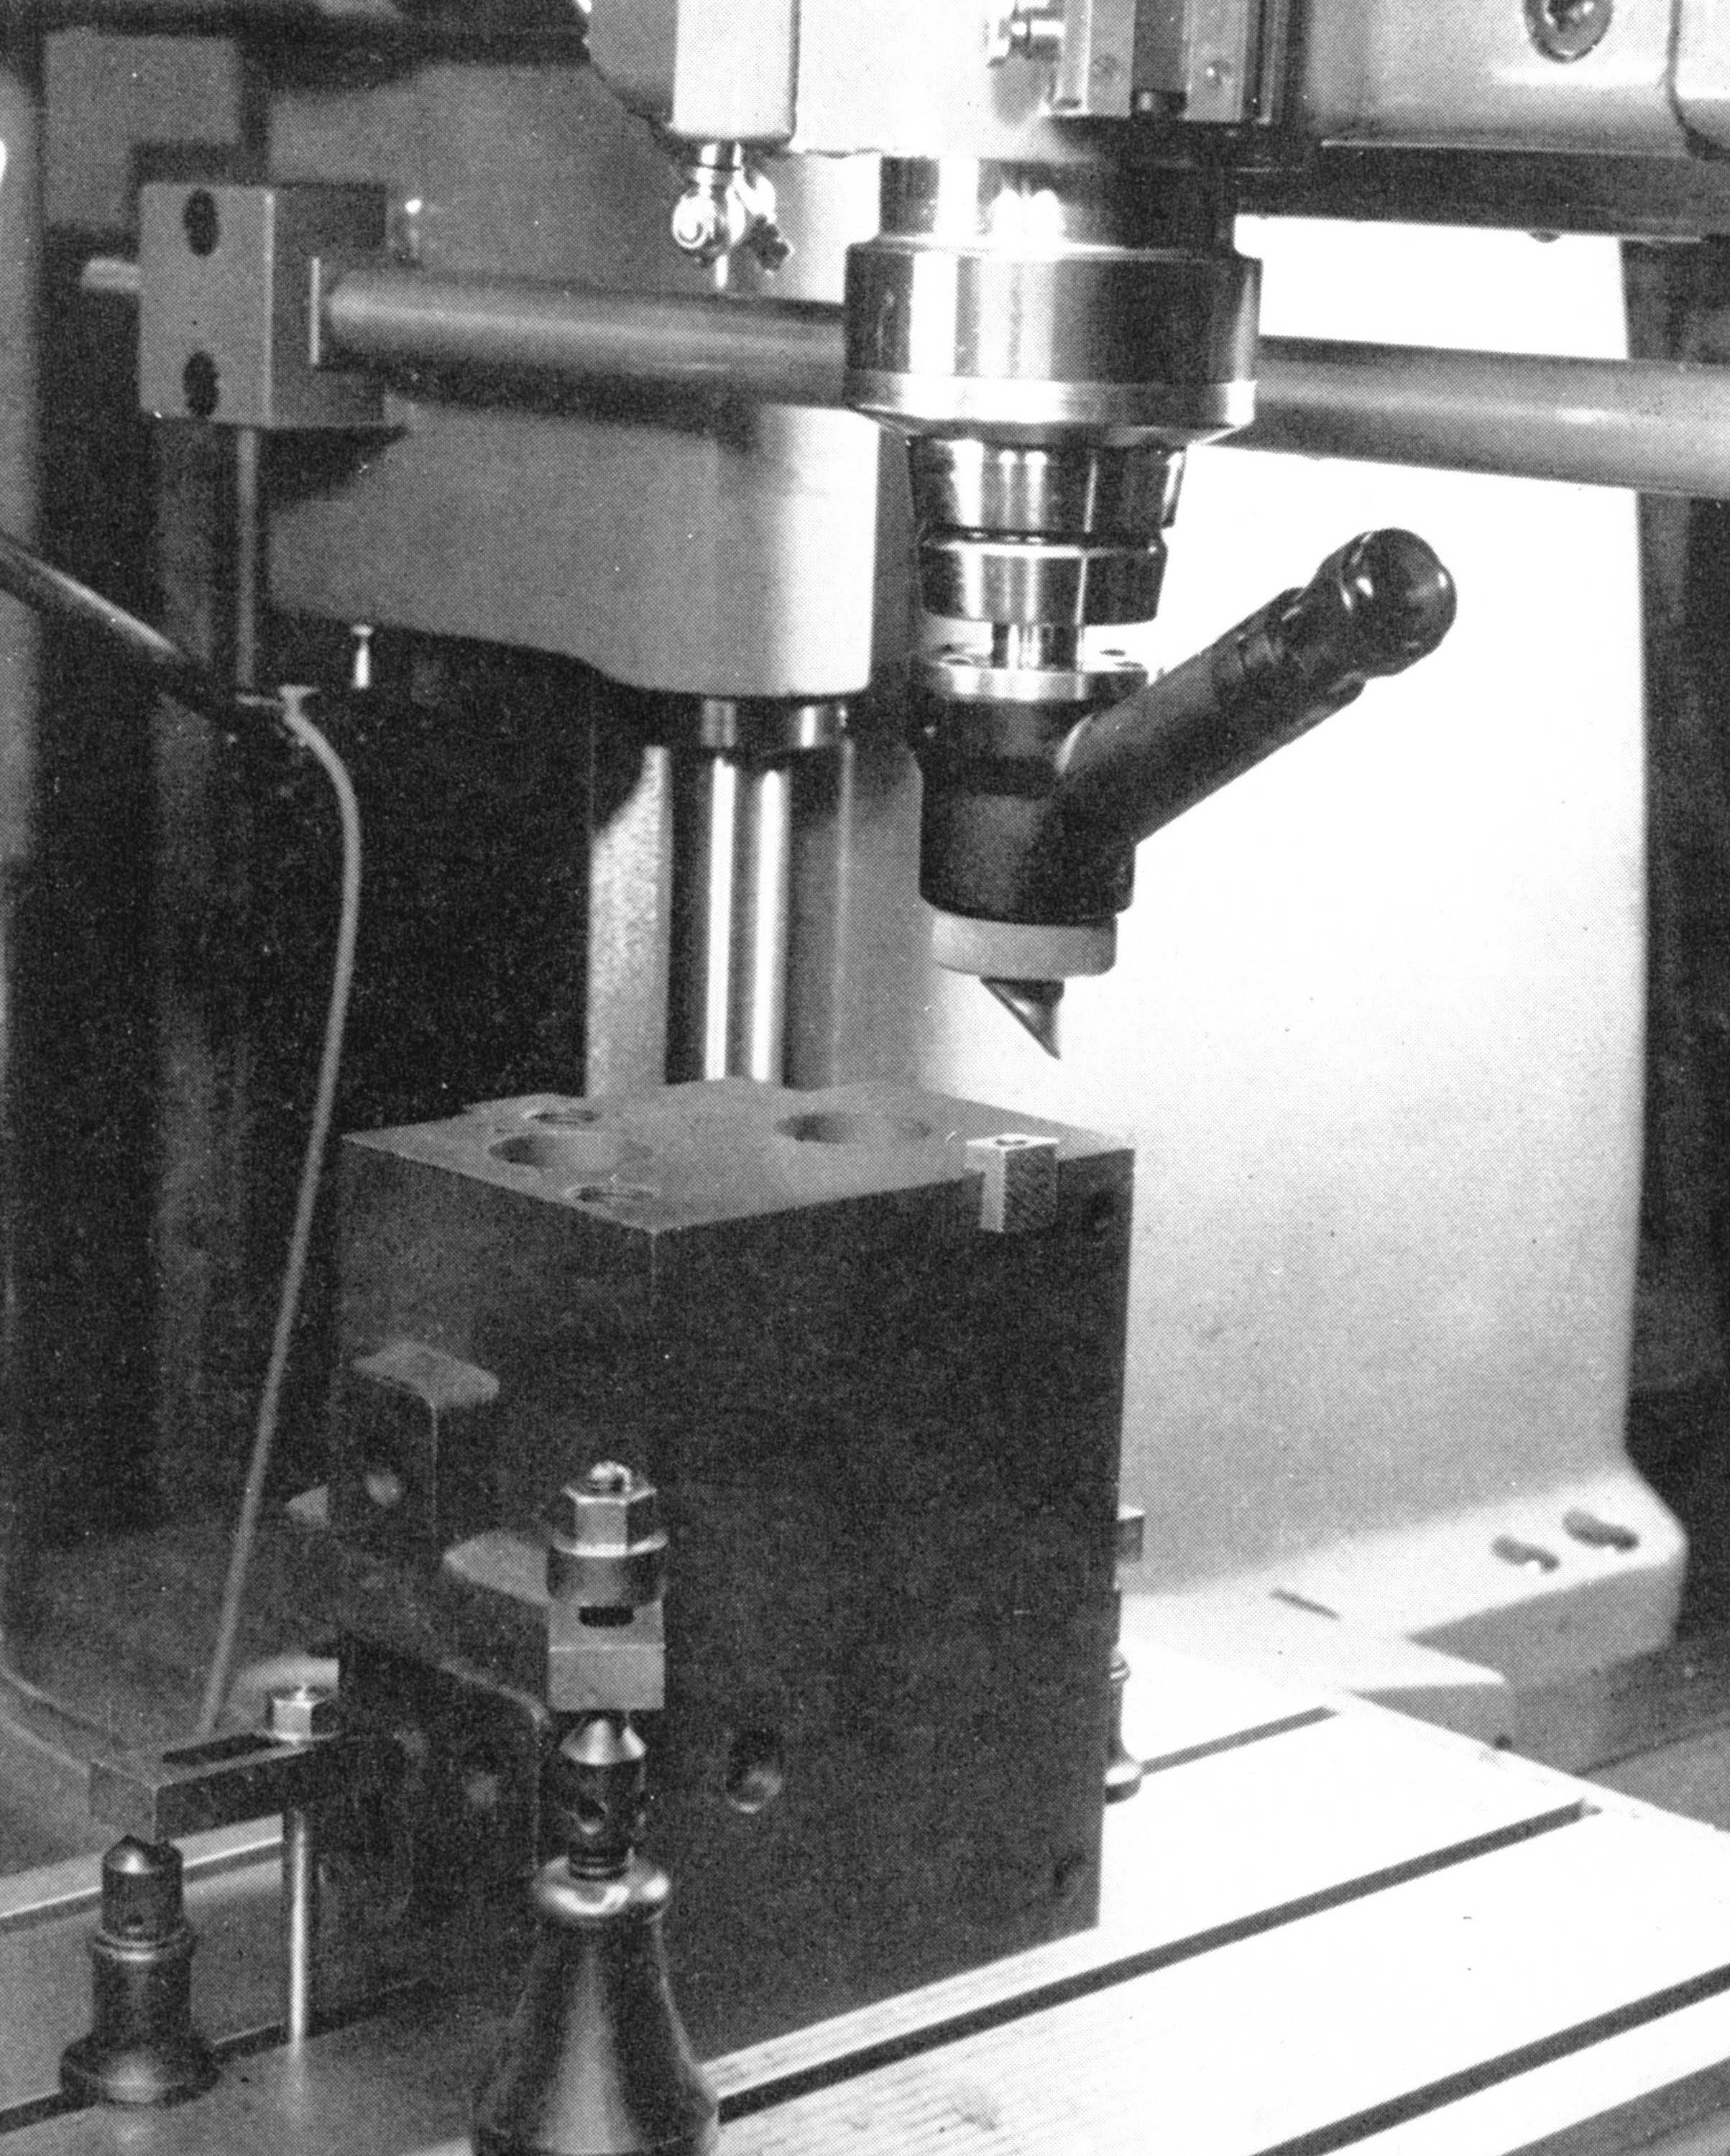
A wide range of accessories was listed by the maker, including a very complete, boxed, locating microscope set that included a drill chuck, centre point, proving bar, a locating attachment with dial indicator, an axial indicator, reference square, a screen illuminating device and a reduction sleeve from 3 Morse to 1 Morse with a clamping tool. Also available were sets of boring bars, twist drills, end-mill reamers, face-milling cutters, shell-end cutters, universal boring and facing heads, sets of collets and circular dividing and tilting rotary tables.
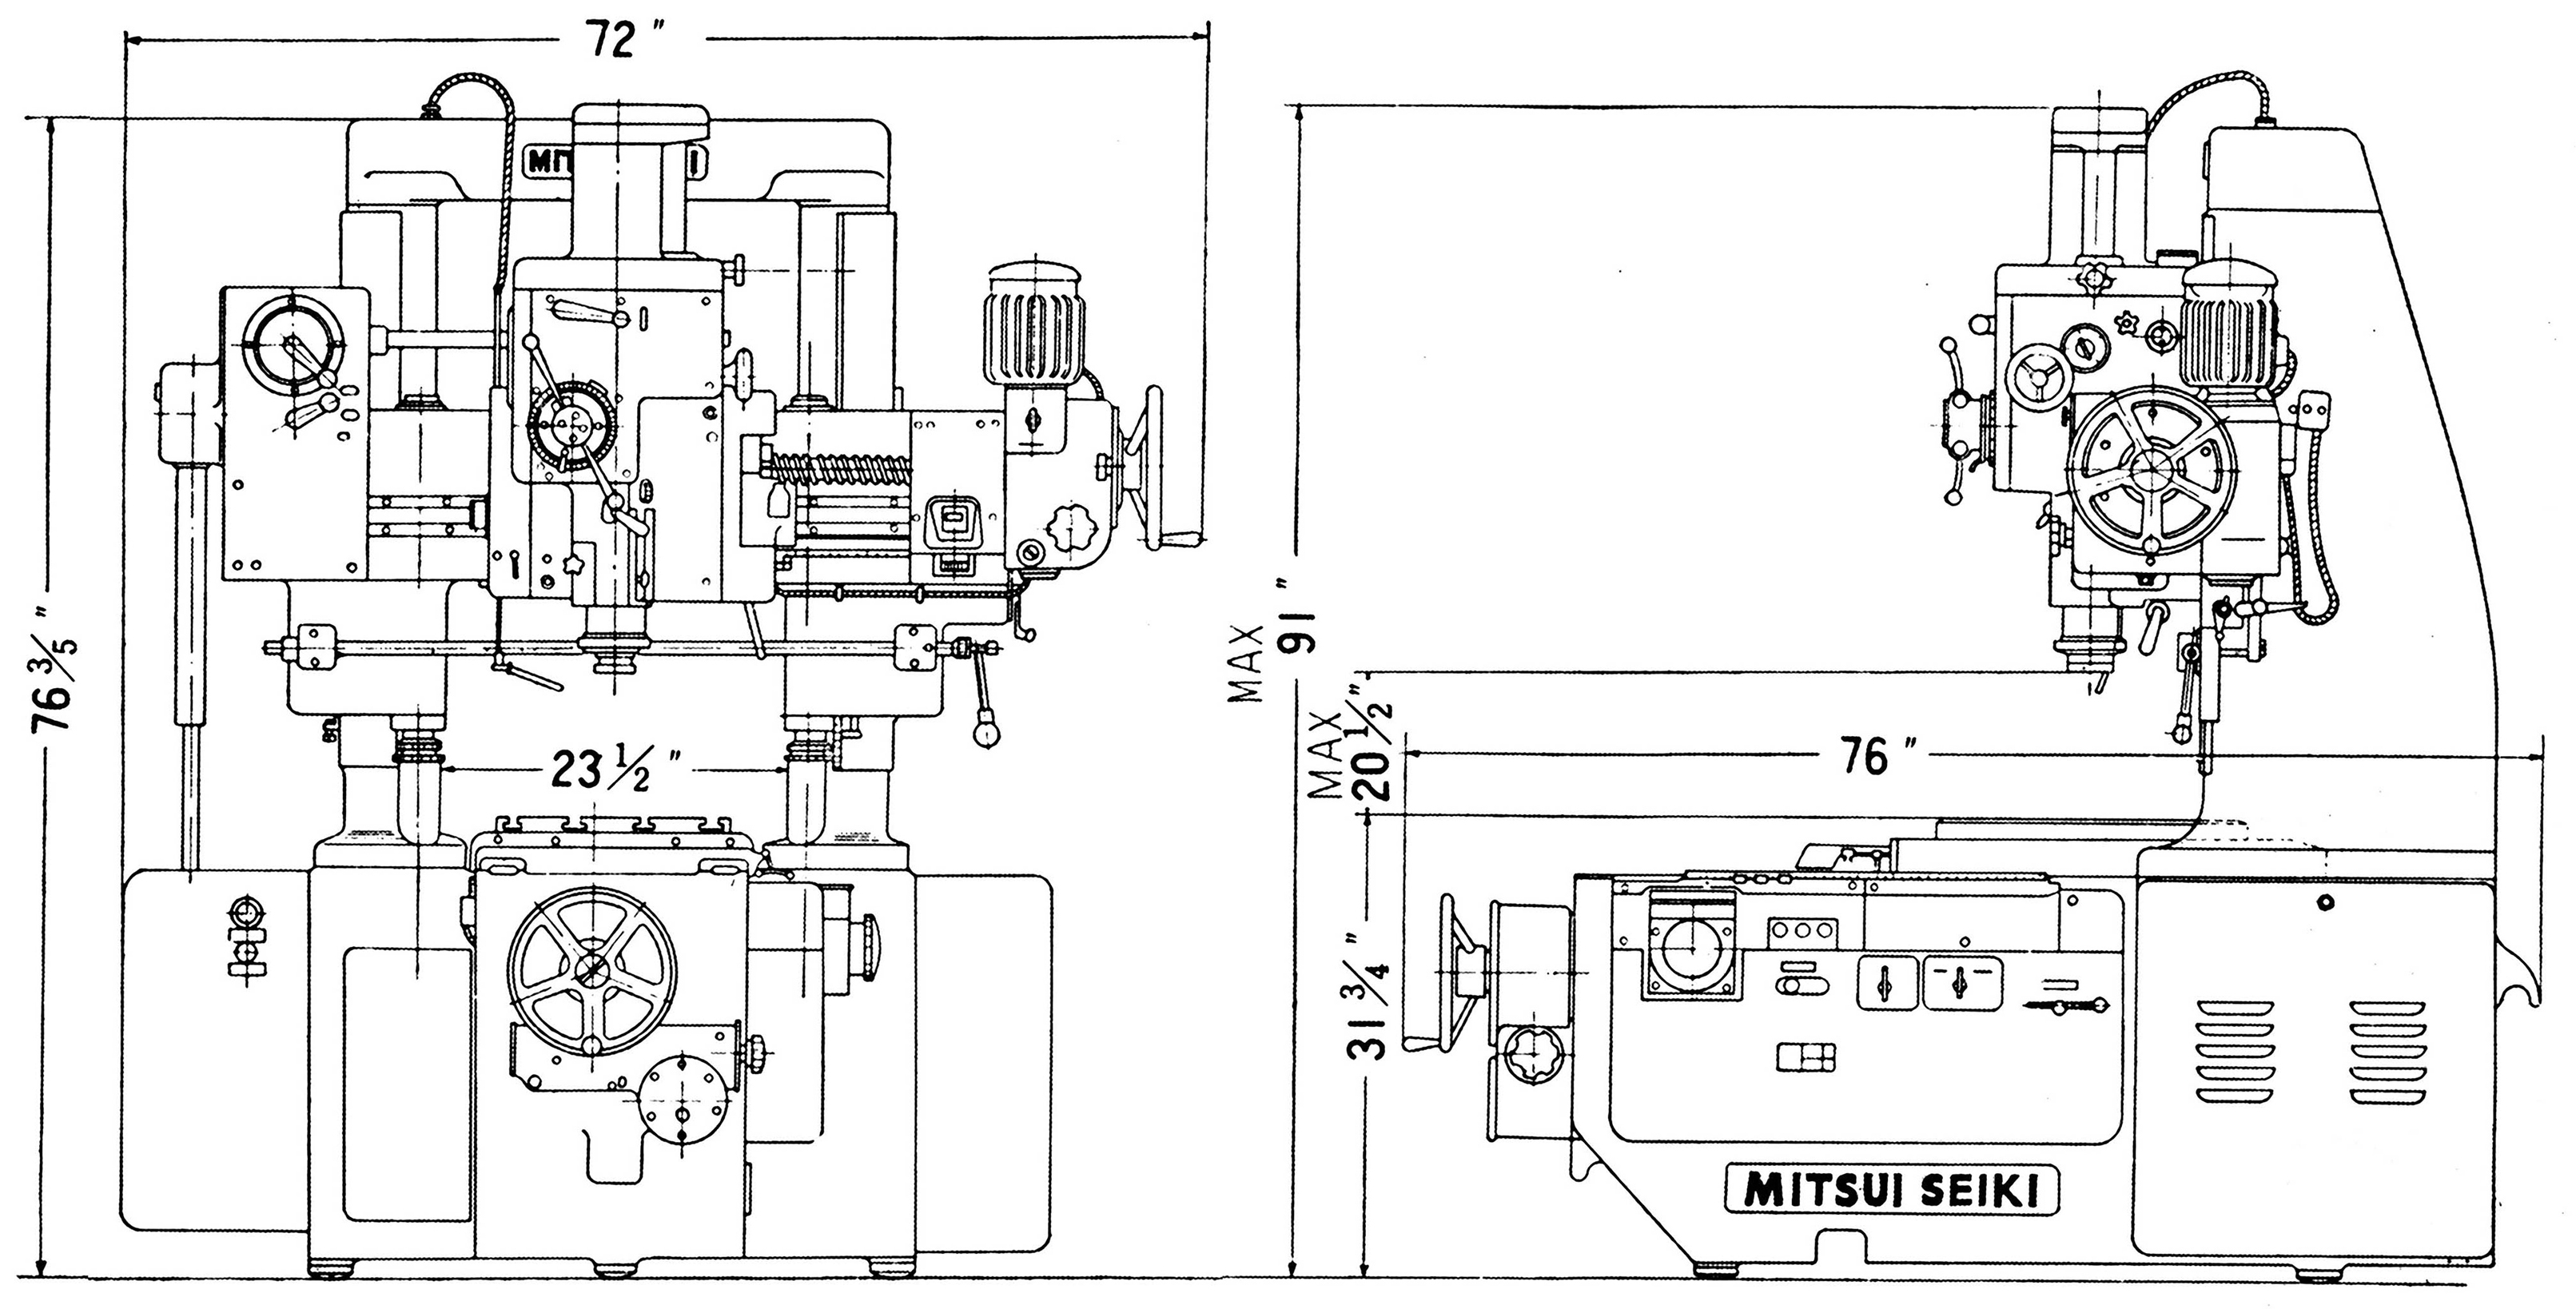
A Mitsui 3A jig borer required a floor space of 76" x 72" stood 91" high and weighed around 5960 lbs (2703 kg)..
|
|
