|
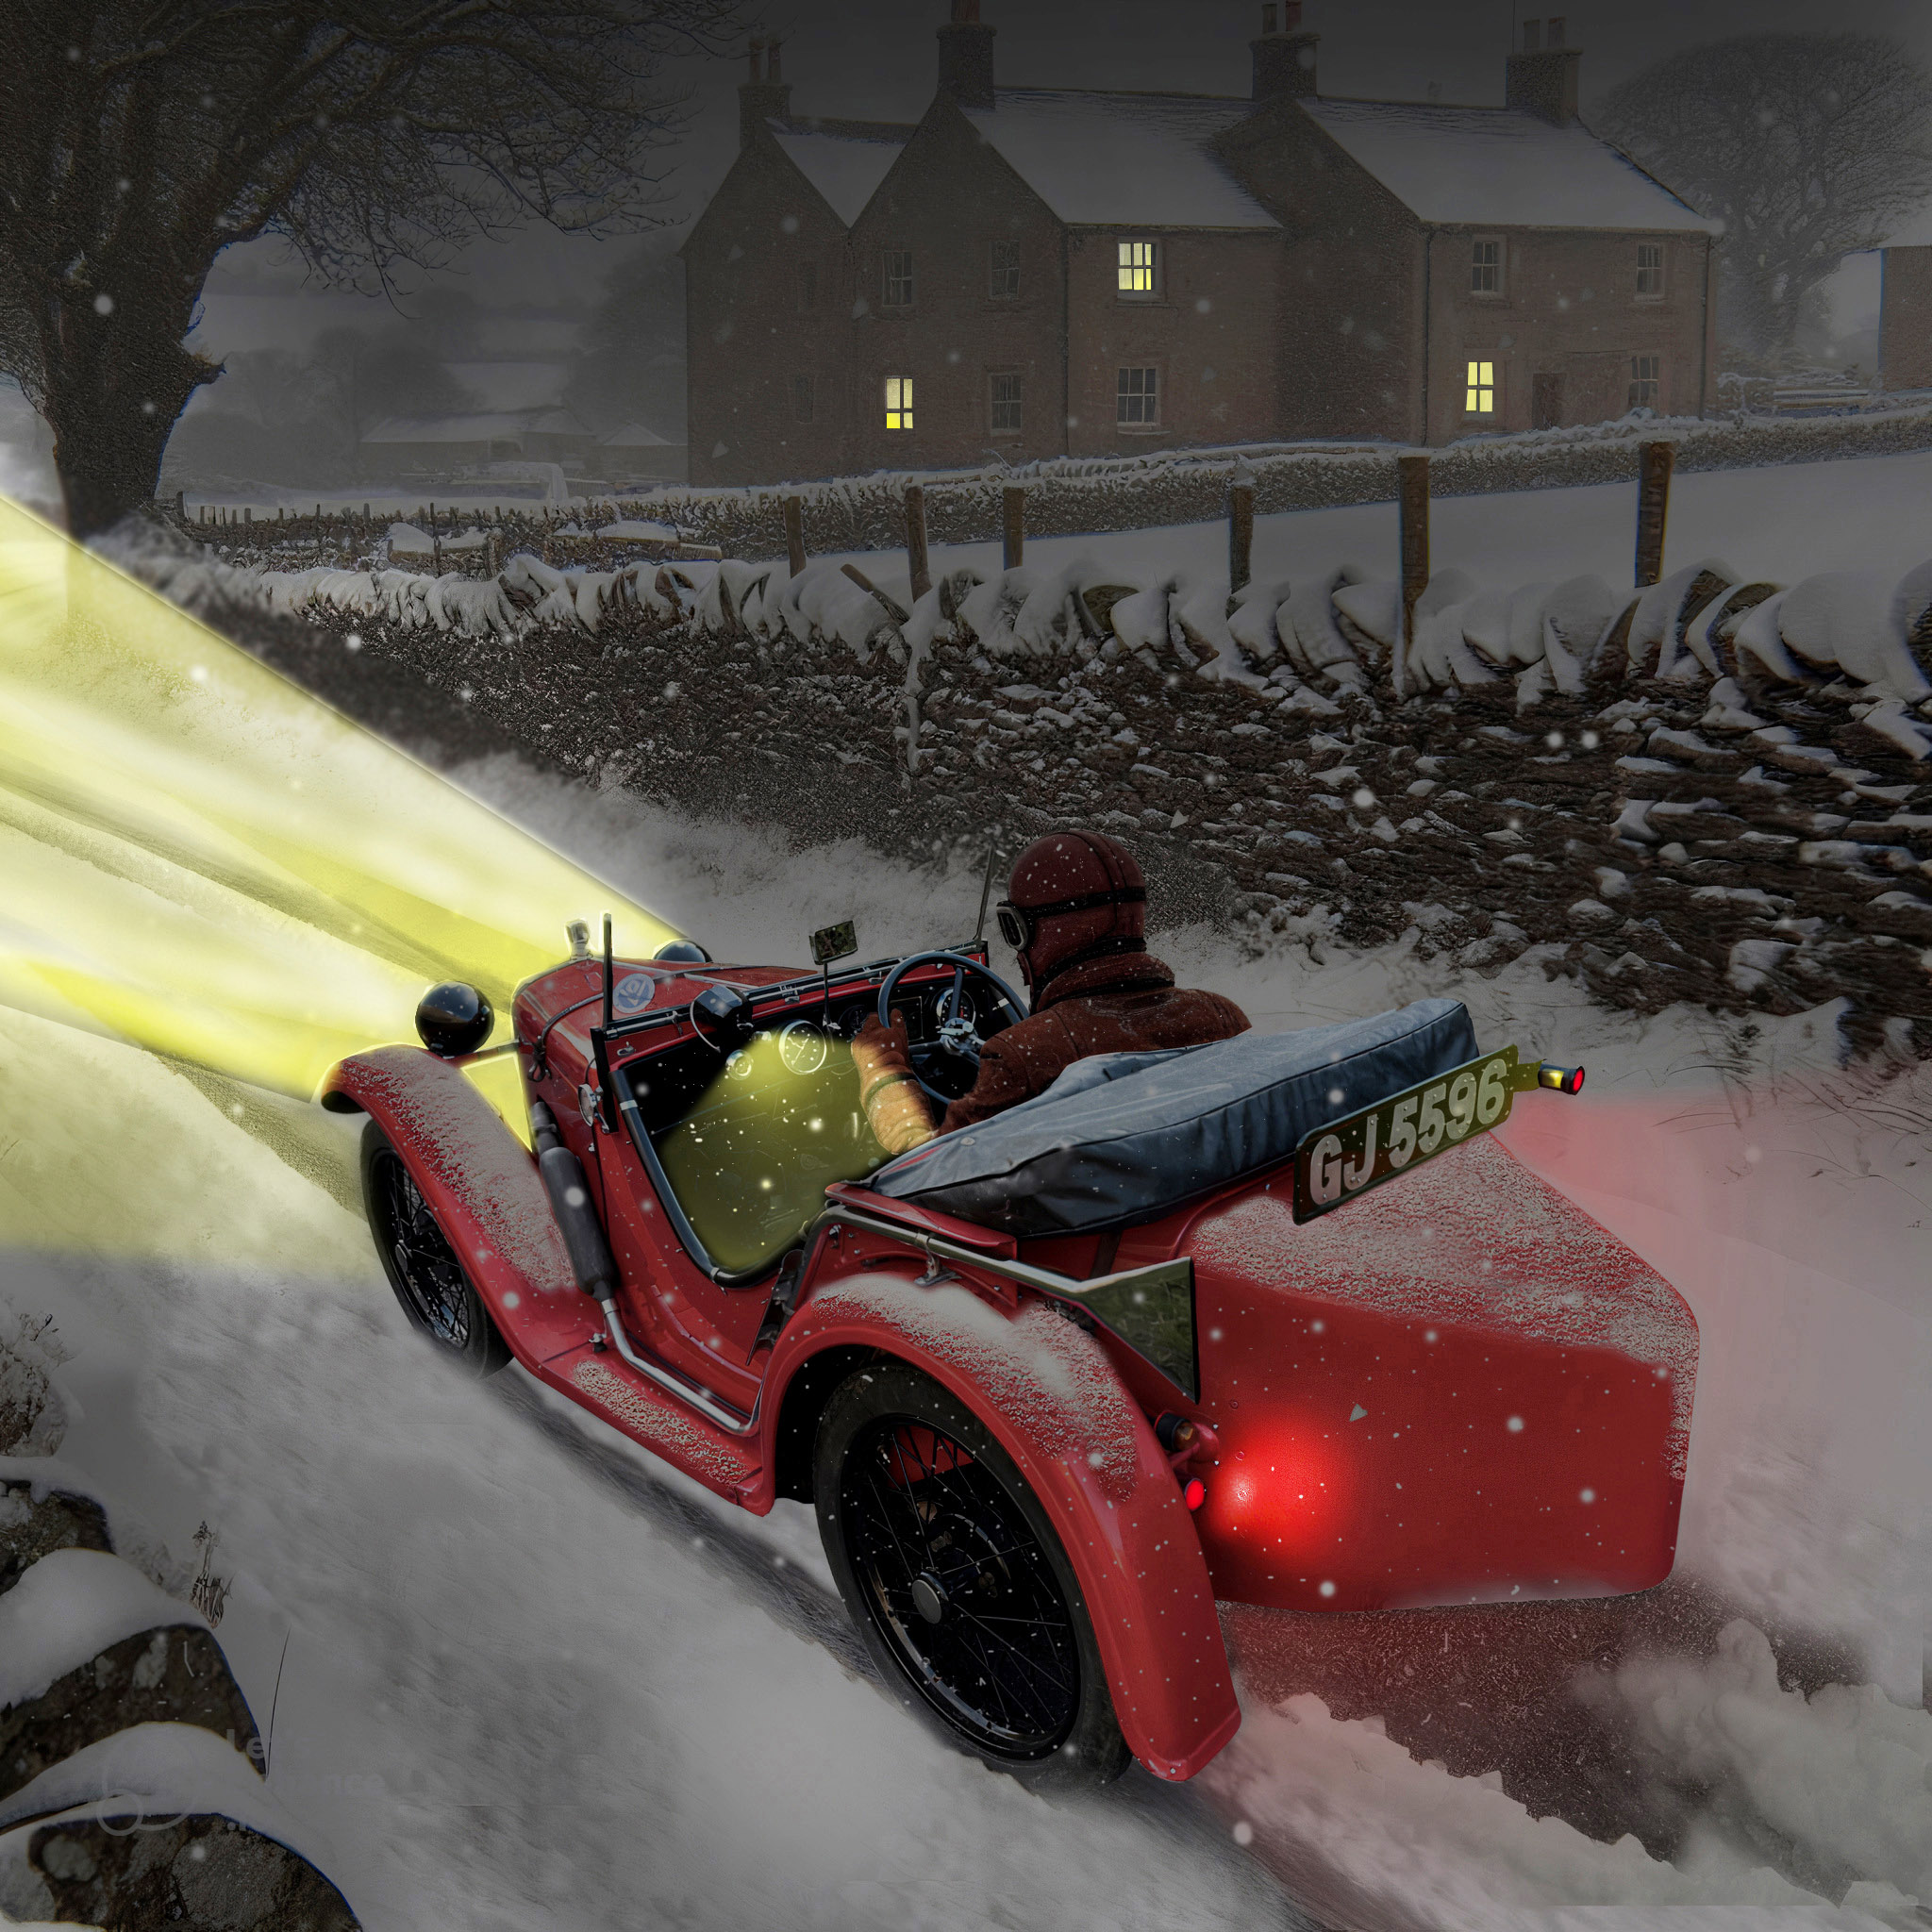
Thinking of fitting LED headlamp and other bulbs to your Austin Seven?
The following notes may be of help - but your initial response might be, "But I never drive my A7 at night." While that may be your intention, there could be occasions during the daytime where brighter-than-standard lights might be a life-saver e.g. in fog, heavy rain, driving through dense woodland, being delayed from getting back in daylight or other occasions where daylight running lights might be beneficial. However, if you want to keep the original lights and don't motor too frequently or far in the dark, it's possible to do so. It is, though, as well to take into account the very bright lights that modern cars have and that brings into train a number of difficulties for the Austin driver. Approaching a bind brow or corner in your A7, will your headlamp beam be sufficiently powerful for a car coming in the opposite direction to know you're there? It's unlikely, as the opposing car's lights drown out your beam, leaving you with, as a minimum, a few seconds or so of high beam in your eyes before the other driver sees you and dips. A similar problem happens on roads where a constant flow of traffic in the opposite direction brings into sharp relief the relative feebleness of your lamps. And today, of course, with most cars having daylight running lights, drivers are not so accustomed to spotting ones without.
Developments in LED Bulbs
Today, the most effective replacement headlamp LED bulb is the "bulls-eye" projector version, a version of which is fitted to many modern cars. This type has the distinct advantage of not needing a reflector - nor any complicated form of glass lens in front of it, it's an entirely self-contained unit. Until recently, reflectors in perfect condition were essential - and the only way of achieving that was to have them re-silvered regularly and kept clean. During the 1960s, and early 1970s - and with my 1930 Chummy in daily use, with standard R47 headlamps, perfect reflectors and 35-watt bulbs - there was sufficient output for pressing on along country roads. There was no dip facility, but at the speeds run, this hardly mattered. The problem was, of course, that the dynamo could not keep up and, with the ammeter showing a healthy discharge, the battery was flat within a few hours.
Keeping the Battery Charged
LED bulbs have now solved the flat battery problem. While two 6-volt, 5-watt filament bulbs use 1.7 amps, the equivalent LED bulbs consume only 0.05 amps. Two 6-volt, 24-watt filament headlamp bulbs use 8 amps, but two 36-watt LED bulbs just 4 amps. Hence, with filament bulbs, when the two 5-watt tail lights and two 24-watt headlights are illuminated, a supply of almost 10 amps is needed - and so beyond the maximum safe 8-watt output of the dynamo. Add in a dash light, a stop light, electric windscreen wiper and indicators and the situation worsens. With LEDs and all lights on, the current draw is just a theoretical 5.7 amps, though in practice, according to the writer's ammeter, this is never as good as promised and usually the consumption is more like 6.5 amps.
Will LED bulbs provide a complete answer? No, they will not, but they are a significant improvement to both safety and the ease of driving.
Bulbs and Fitting Them - It's Not Always Straightforward
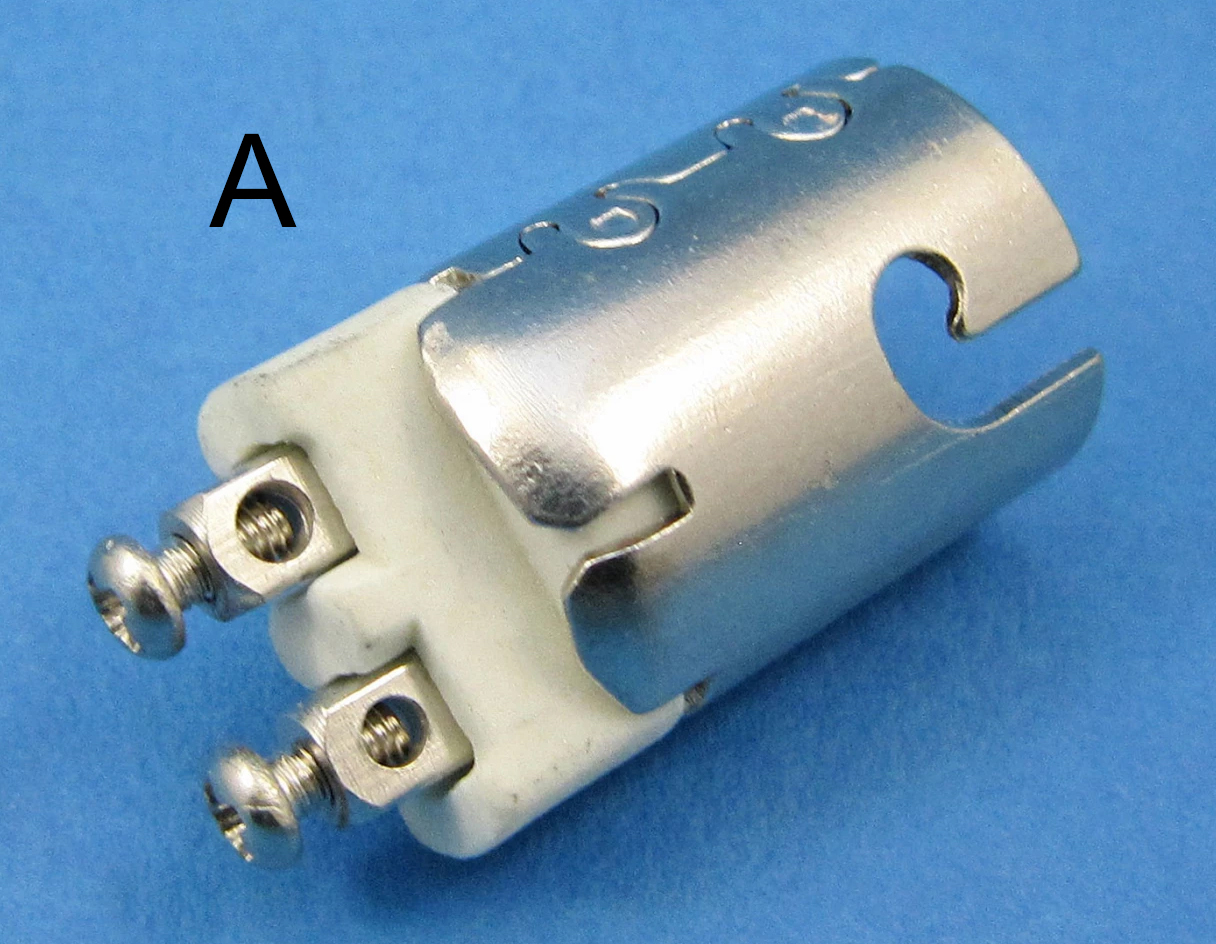
Simply replacing your ordinary bulbs with LED ones that fit the holders will give a brighter beam - but one that will, inevitably, be unfocused. As originally equipped, the reflectors had bulbs with their filament at the "point of focus" to give a theoretically parallel beam. An LED bulb outside of this position will produce a beam that, though brighter, is scattered and - in the experience of many - pretty well useless. Other than the bull-eye type, the only LED headlamp bulb I know of to have performed well - and only available in a fitting to suit the Ruby - is the one shown in illustration B below. It takes the form of a narrow rectangle with one LED on top and another beneath to give high and low beams. With good reflectors, these give an excellent, well-formed and bright beam. Unfortunately, this bulb appears to be currently unavailable (early 2024) in the Ruby P15D-30APF 'big flange' fitting - though this might change as supplies become available again. Happily, the bulls-eye type can be had in BA15D (the standard twin-base contact, 15 mm diameter body with level pins) and the P15D-30APF for some models of the Ruby. The special double-filament Lucas/Graves bulbs used from 1931 are replaceable by the "Bosch" version of the bull-eye bulbs - there is just enough room, a few mm, behind the glass for them to fit. This brings us to bulb holders and getting the bulb fitting correct. On an A7 the common fittings are:
BA15S: a bulb with a 15 mm diameter body, level pins and a single contact (originally known as Single Centre Contact SCC)
BA15D: a bulb with a 15 mm diameter body, level pins and a double base contact.
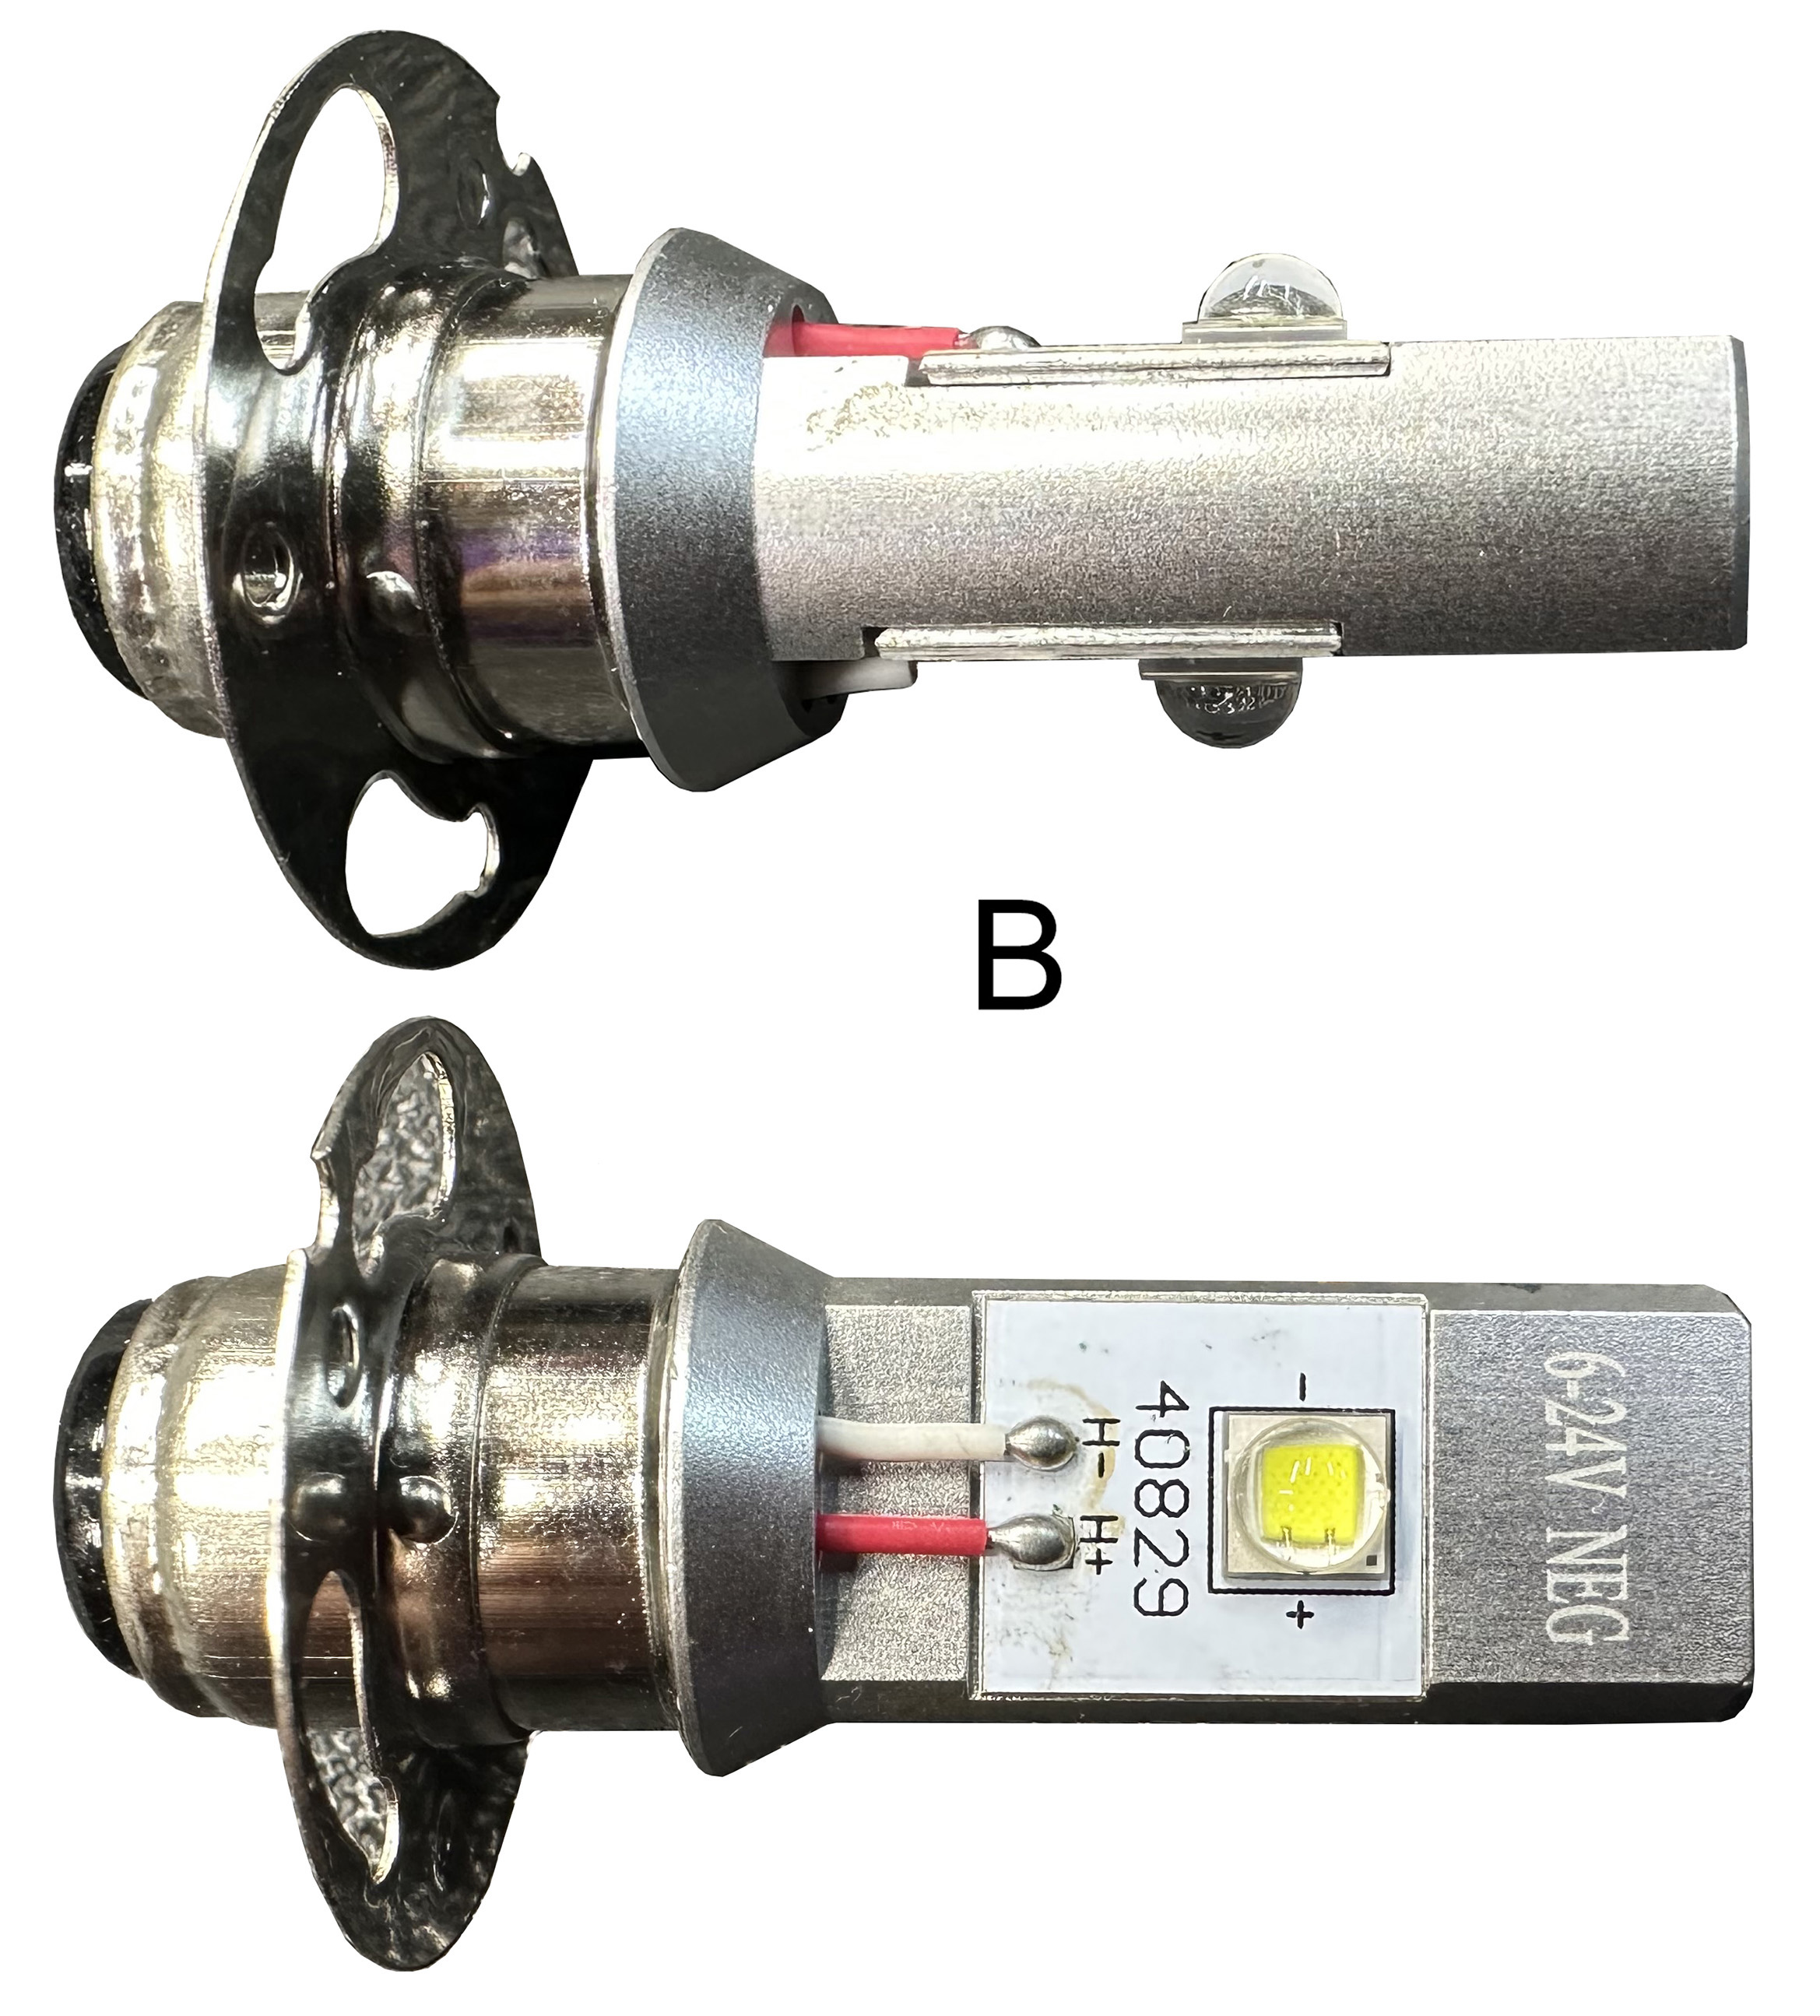
If your bulb holders are a single-contact type, they will need to be changed - and replacements in a variety of types are available from several suppliers including this double-contact, parallel-pin holder (picture A) from https://www.autoelectricsupplies.co.uk/p/ba15d-parallel-pins
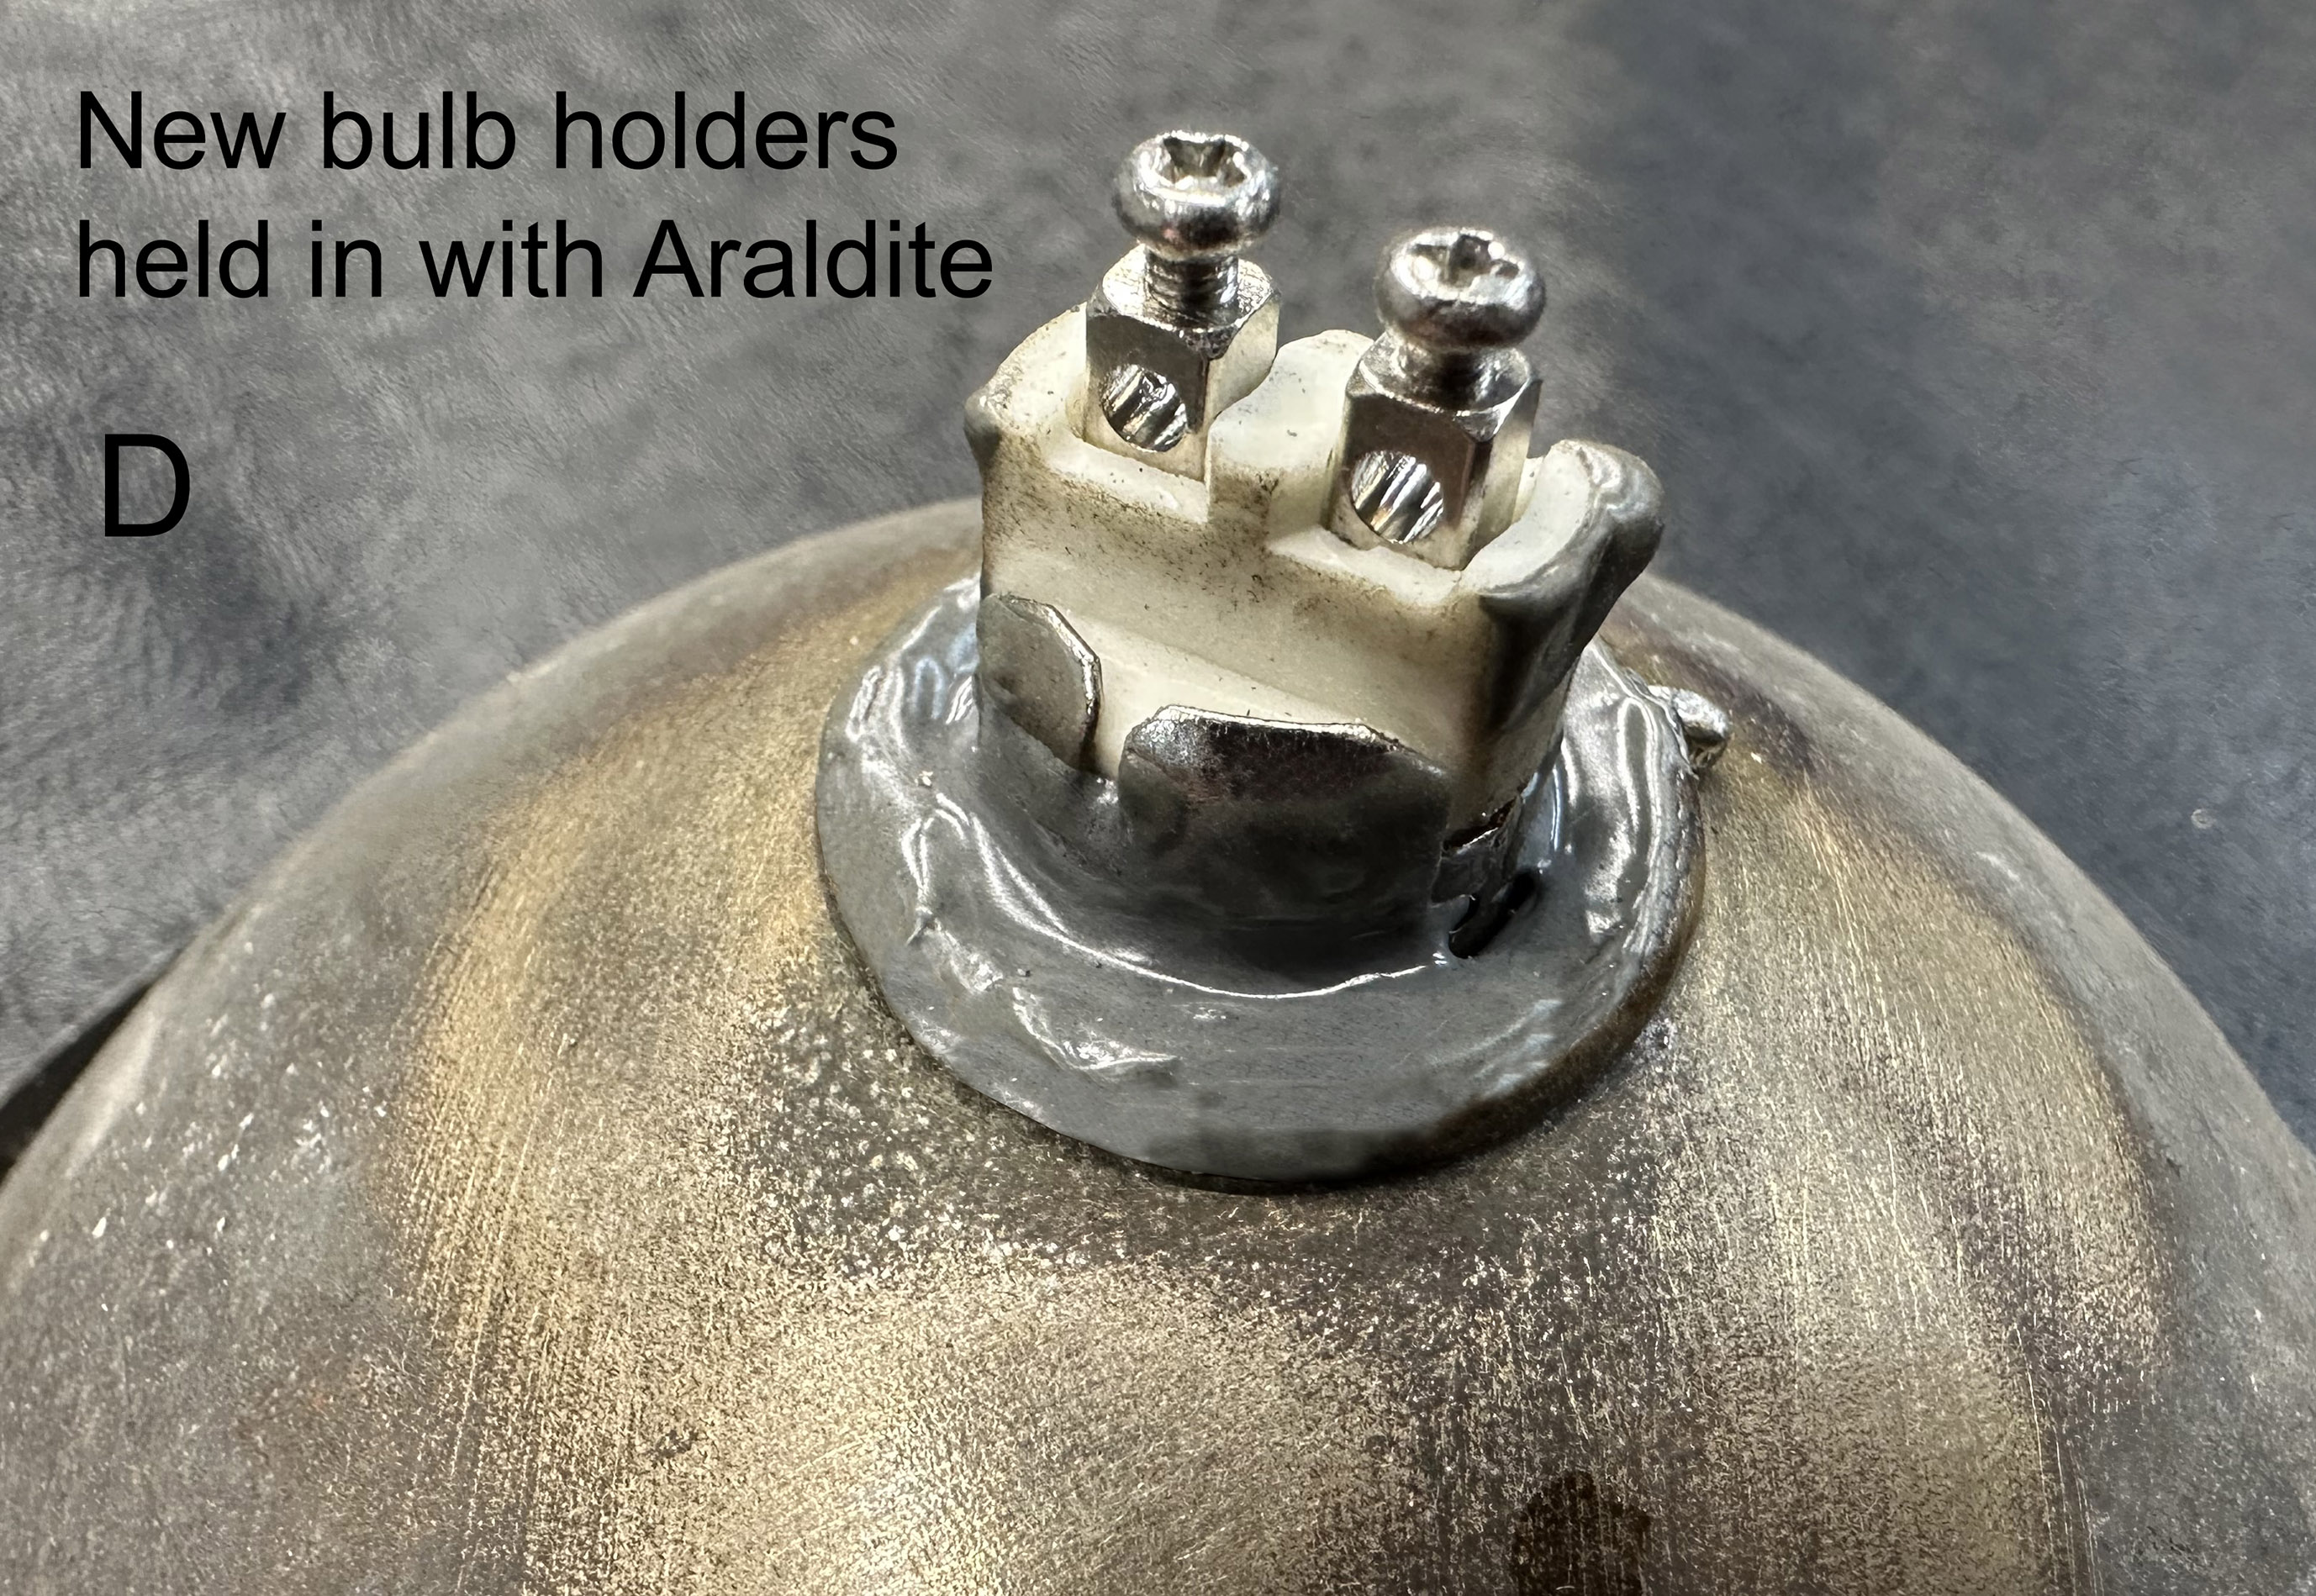
How is the double-contact holder fitted? In one case the writer managed to bend back the metal tabs holding the ceramic contact unit and fit just the latter into an existing holder. If this is not possible, the original holder will have to be swan off and the hole enlarged to fit the new. Cutting the old off with a Junior hacksaw is easy, but how to enlarge to the 17 mm diameter of the new holder in a rather delicate reflector? The writer managed this by using, with great care, an adjustable reamer and taking very small cuts until the new holder was a snug fit. Next, how to retain the holder: solder can be used, though this can be tricky and a far easier way (with which the writer has had success) is to use Araldite or a similar two-pack adhesive. If everything is cleaned thoroughly - finishing with alcohol - the job will be successful. Before getting the glue ready, remember that the bulls-eye bulbs need to be fitted so that the black line on their body is exactly at the top. With the Araldite still flexible, the holder can be positioned. IMPORTANT: If your reflector is the push-in-and-twist type ( like an R47) you'll need to install it into the headlamp shell and make a mark indicating the 'real' top. Next, with the bulb fitted into its holder, position it so that the black line on its body is at the top and mark this on the holder. With the glue still not set, the two marks can then be aligned--but, if the positioning is found to be slightly out, bulbs are provided with a small hex-head screw that allows the body to be twisted a little for final adjustment.
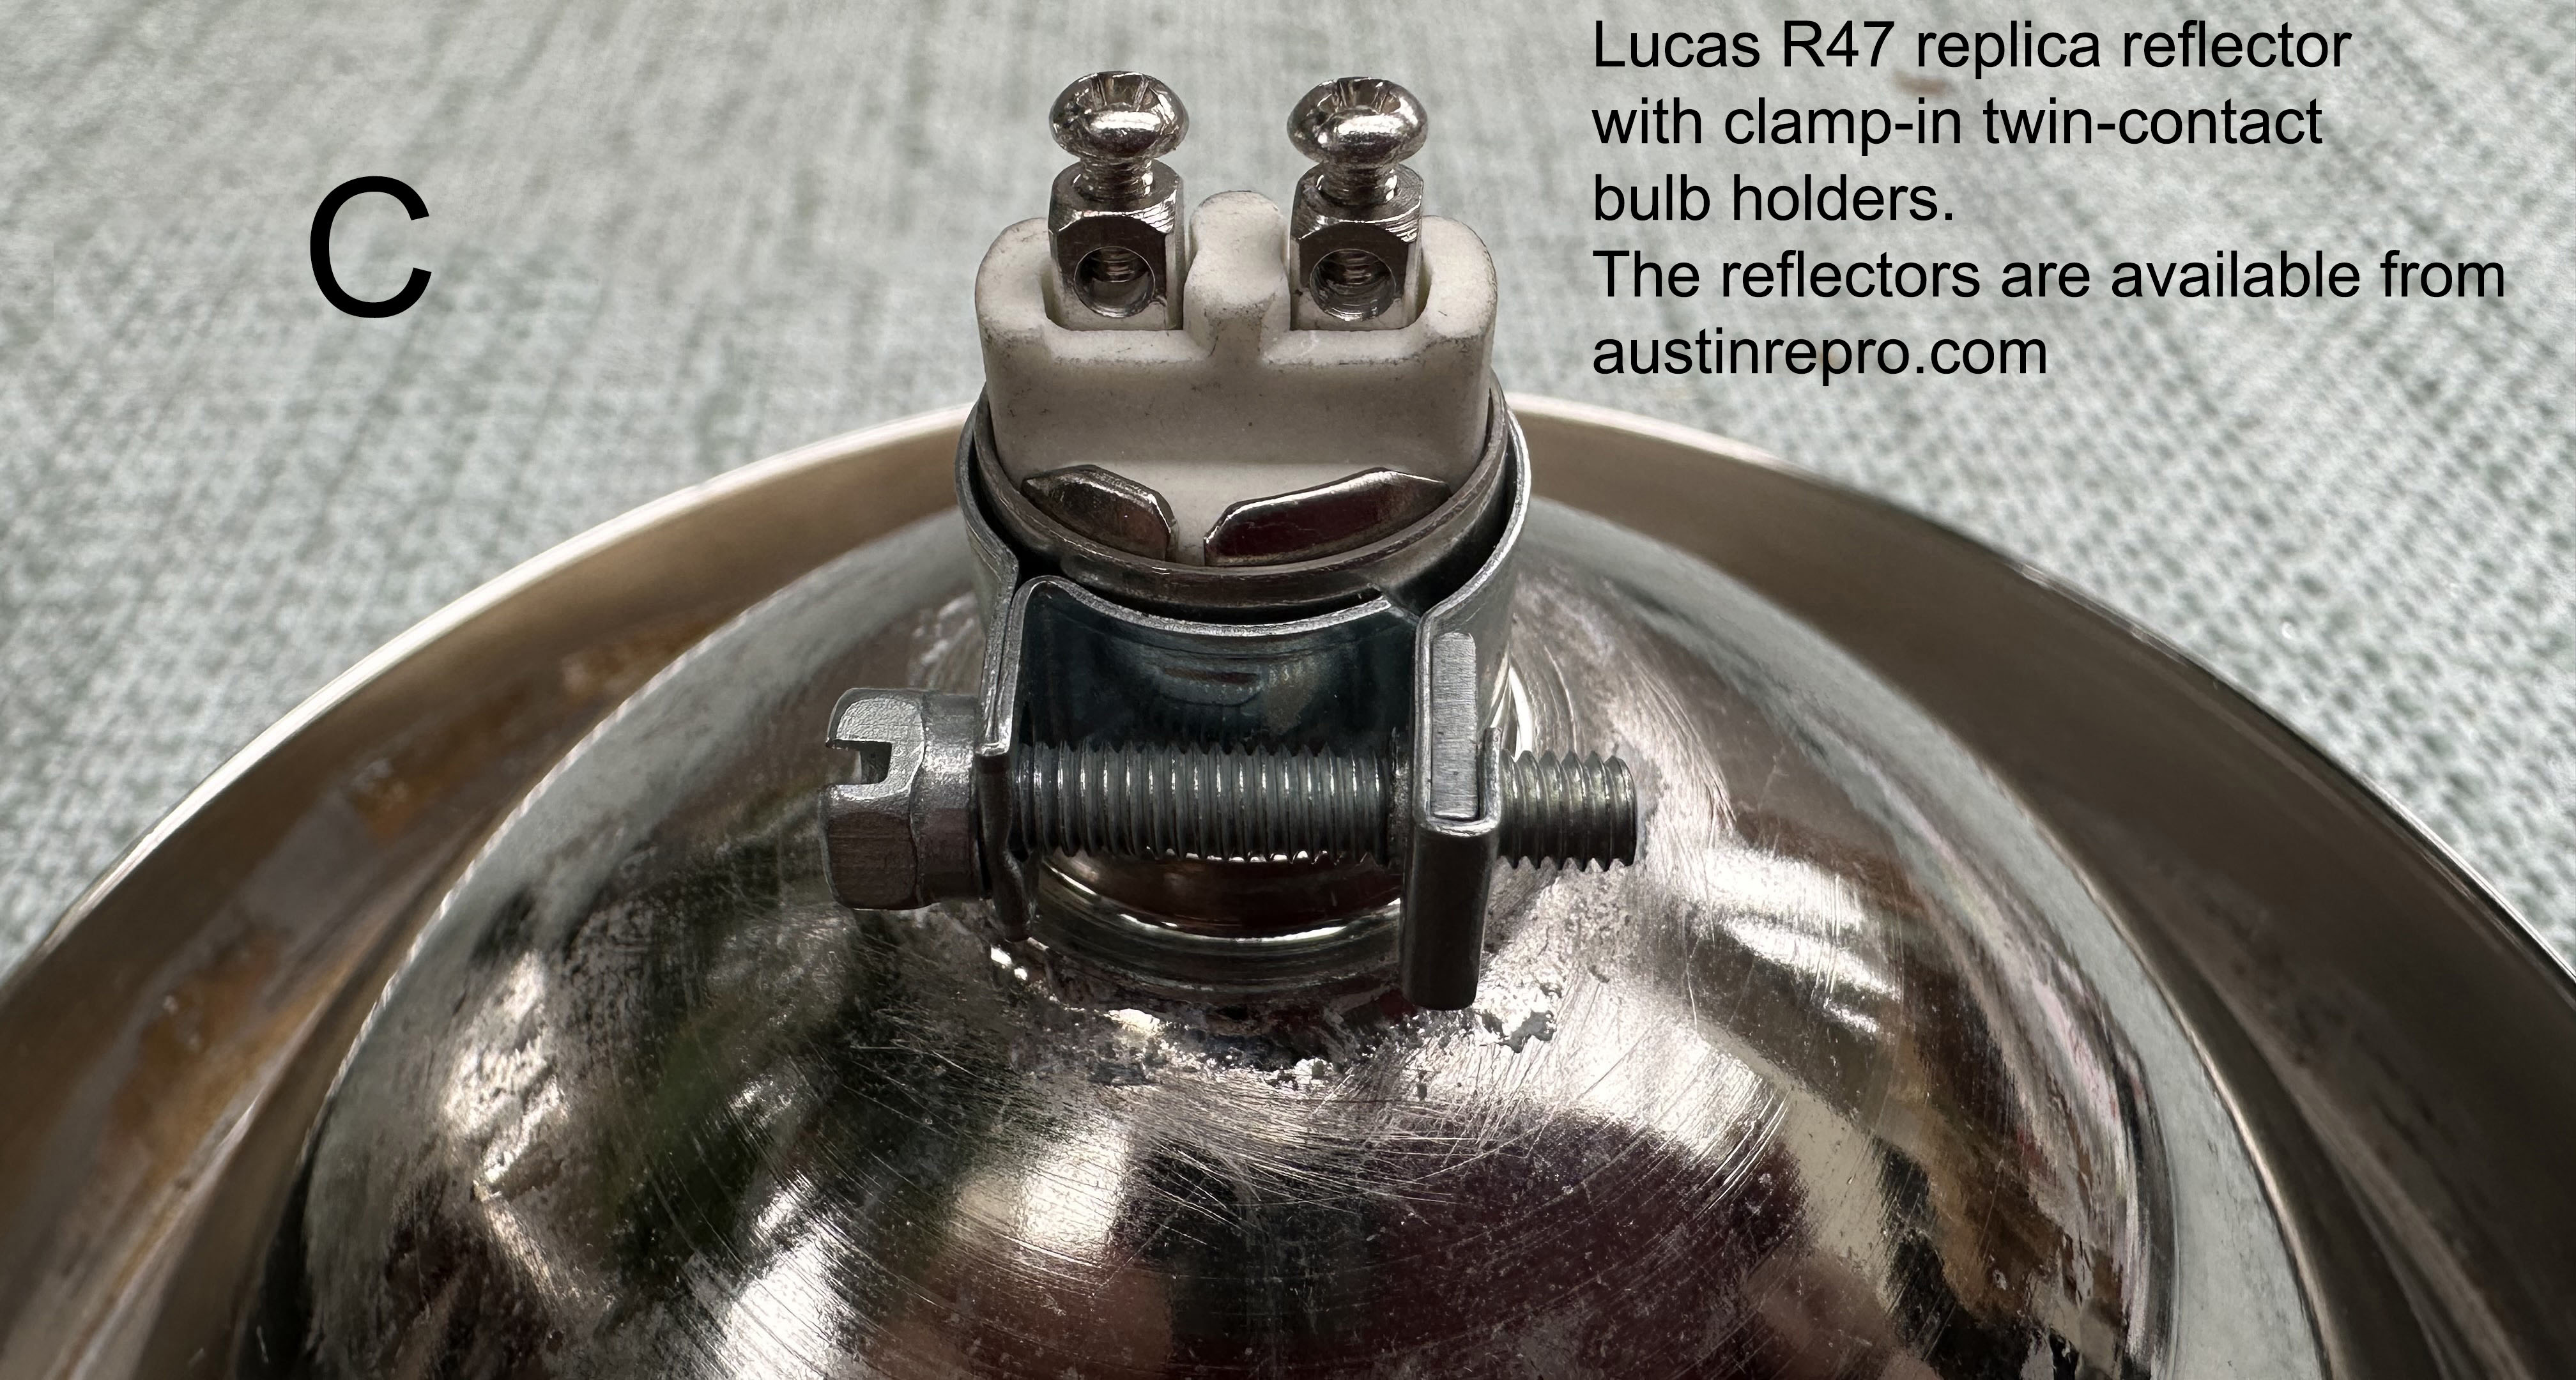
If you have early R47 headlamps with deep-rim reflectors and want to save a lot of time and trouble, austinrepro.com might be able to supply new reflectors with handy, drop-in twin-contact (BA15D) bulb holders. If you can, especially with 6 volts and LED bulbs, wire all the earth points back to the battery and not the car body shell.
Arranging Switches
You can, of course just use the existing switch on late-model cars with a sidelight, dipped and main beam settings but pre-Ruby models - with just sidelights and headlight positions - using those connectors would mean the dipped beam replacing the sidelights. Alternative solutions are to wire in a separate switch for the sidelights (which might means installing sidelight bulb holders) or fitting a new, separate switch of the three-way type that gives off/low-beam/high-beam. This also has the advantage of bypassing what can be a rickety original switch and its perhaps uncertain contacts. Various inconspicuous switches are available including ordinary three-position ones with off/on/on and even one that gives off/dip/dip+head with both on together. The following company has a wide selection: https://www.autoelectricsupplies.co.uk/
Rear Lights
Rear lights are usually very easy to convert, even the pork-pie type on the late cars is available with an LED board and, if you have, or want to fit indicators, bulbs are available that combine a white and amber function. A note on the commonly-available and often-found replica rear lights fitted to the rear mudguards. The writer has found examples with quite hopeless brass contact strips that failed to work. One solution is to solder the brass strip onto the bulbs, or, even better, solder a short length of cable to the brass contact strip and another to the bulb. Join the two cables together with an easily-removed, miniature screw-type connector and then the bulb will be easy to replace when it fails.
Text continued below the pictures:
Suppliers
In addition to the companies already mentioned, the following can also help with advice and supplies of suitable bulbs and lamps.
https://www.dynamoregulatorconversions.com
https://vintageandclassicspares.co.uk/classic-auto-bulbs
https://www.classicbulbs.co.uk/
https://www.classiccarleds.co.uk/
https://www.s-v-c.co.uk/
Fitting Indicators? See this page
|
|