 |
|
|
|
|
|
|
|
|
|
|
|
|
|
|
|
|
|
|
|
|
|
|
|
|
|
|
|
|
|
|
|
|
|
|
|
|
|
|
|
|
|
|
|
|
|
|
email: tony@lathes.co.uk
Home Machine Tool Archive Machine-tools Sale & Wanted
Machine Tool Manuals Catalogues Belts Books Accessories
lathes.co.uk
Austin 7: Original Hood-to-windscreen Fasteners
Sidescreen Fittings & Hood Frame Straps
Continued on Page 2
Austin Seven Home Page
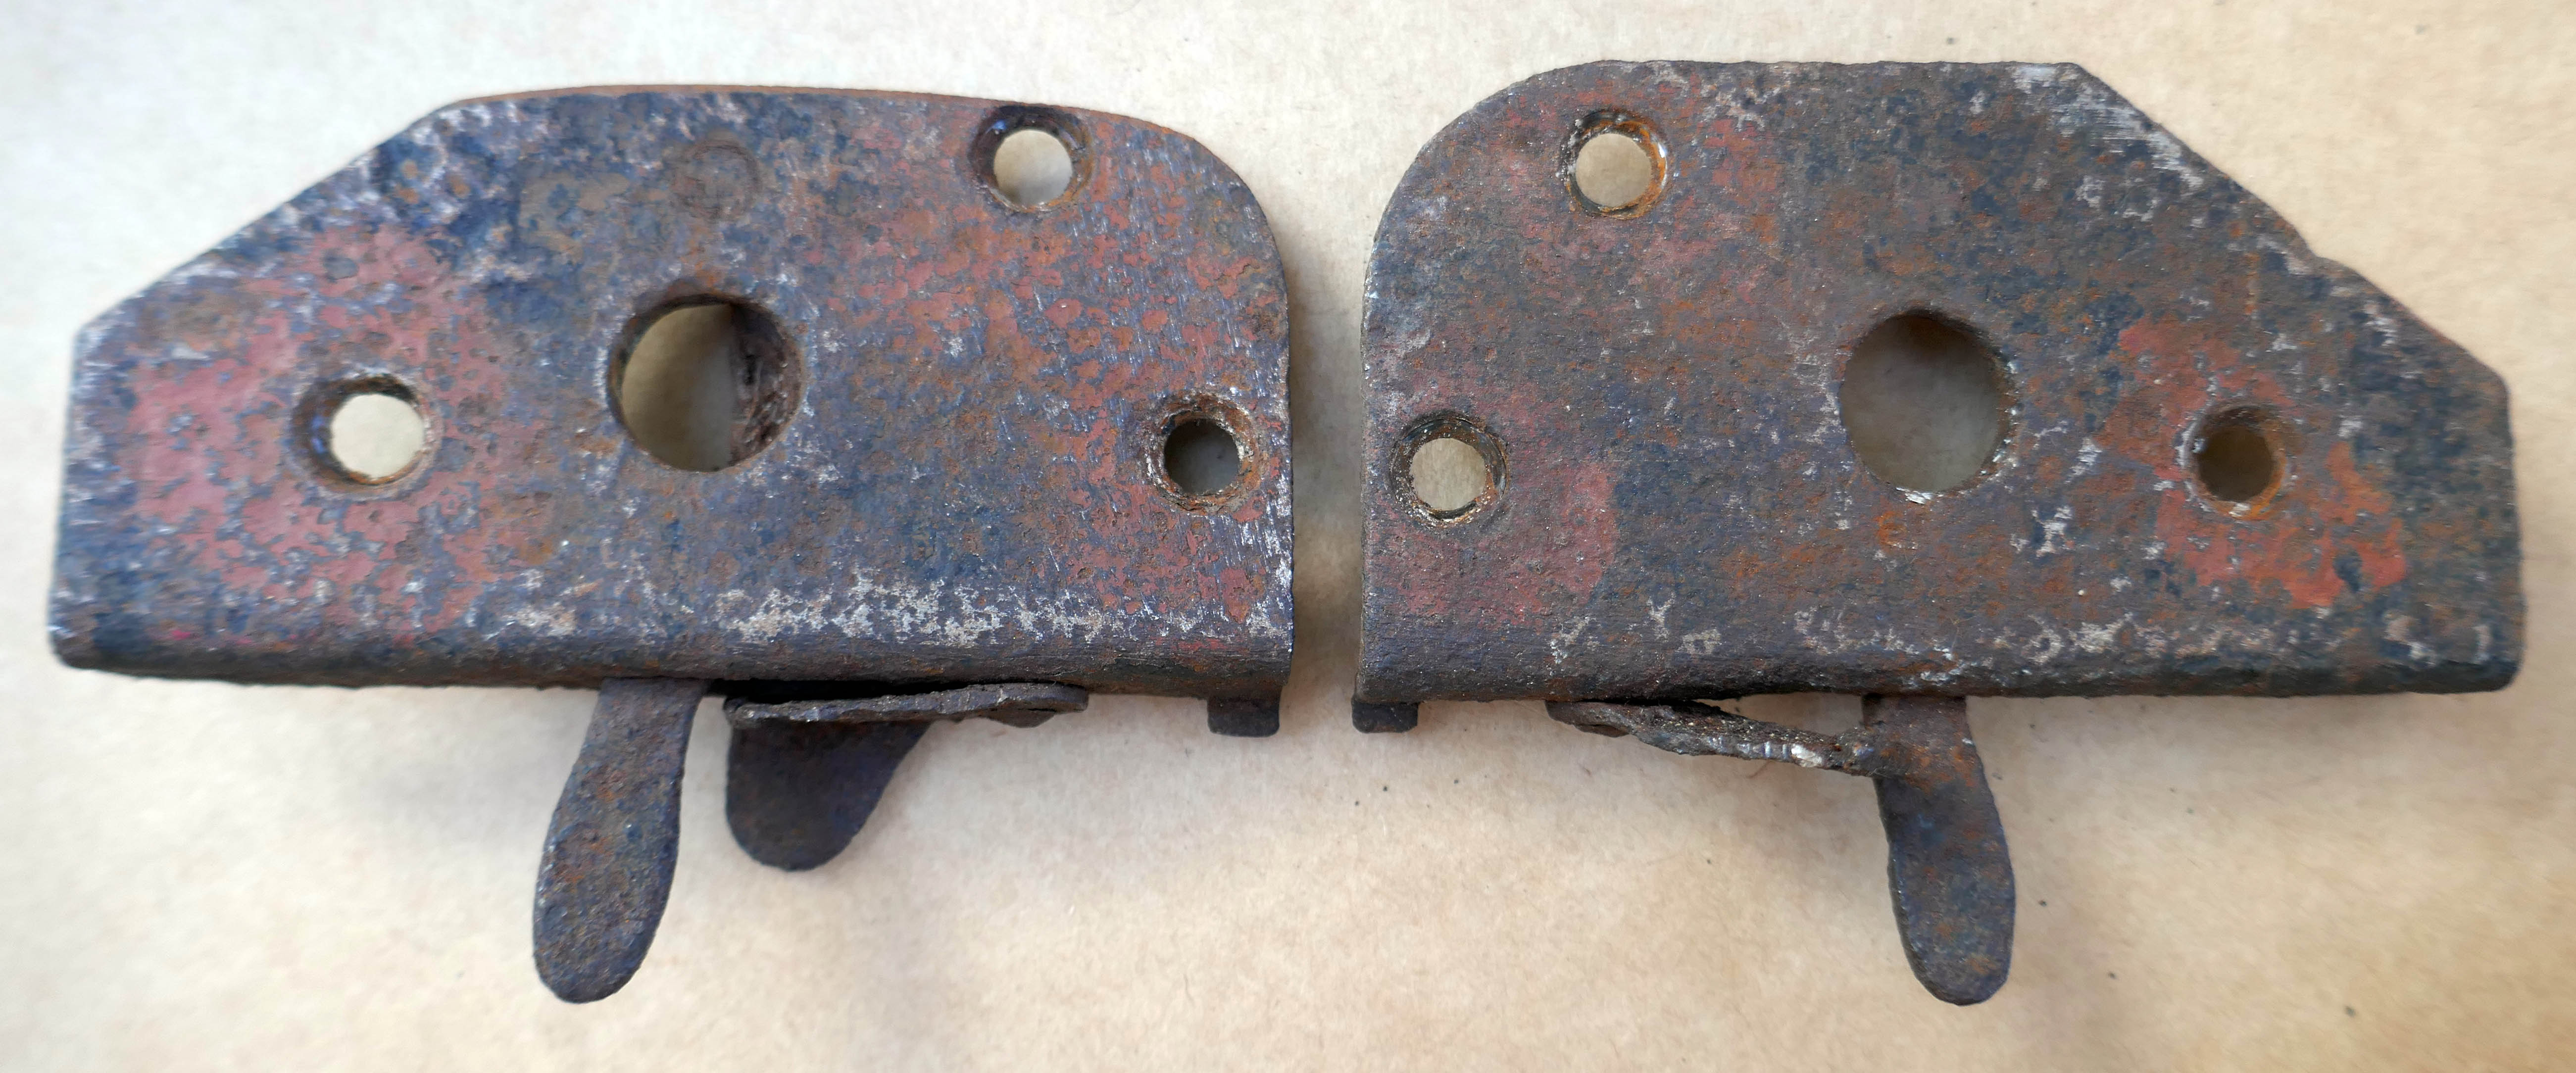
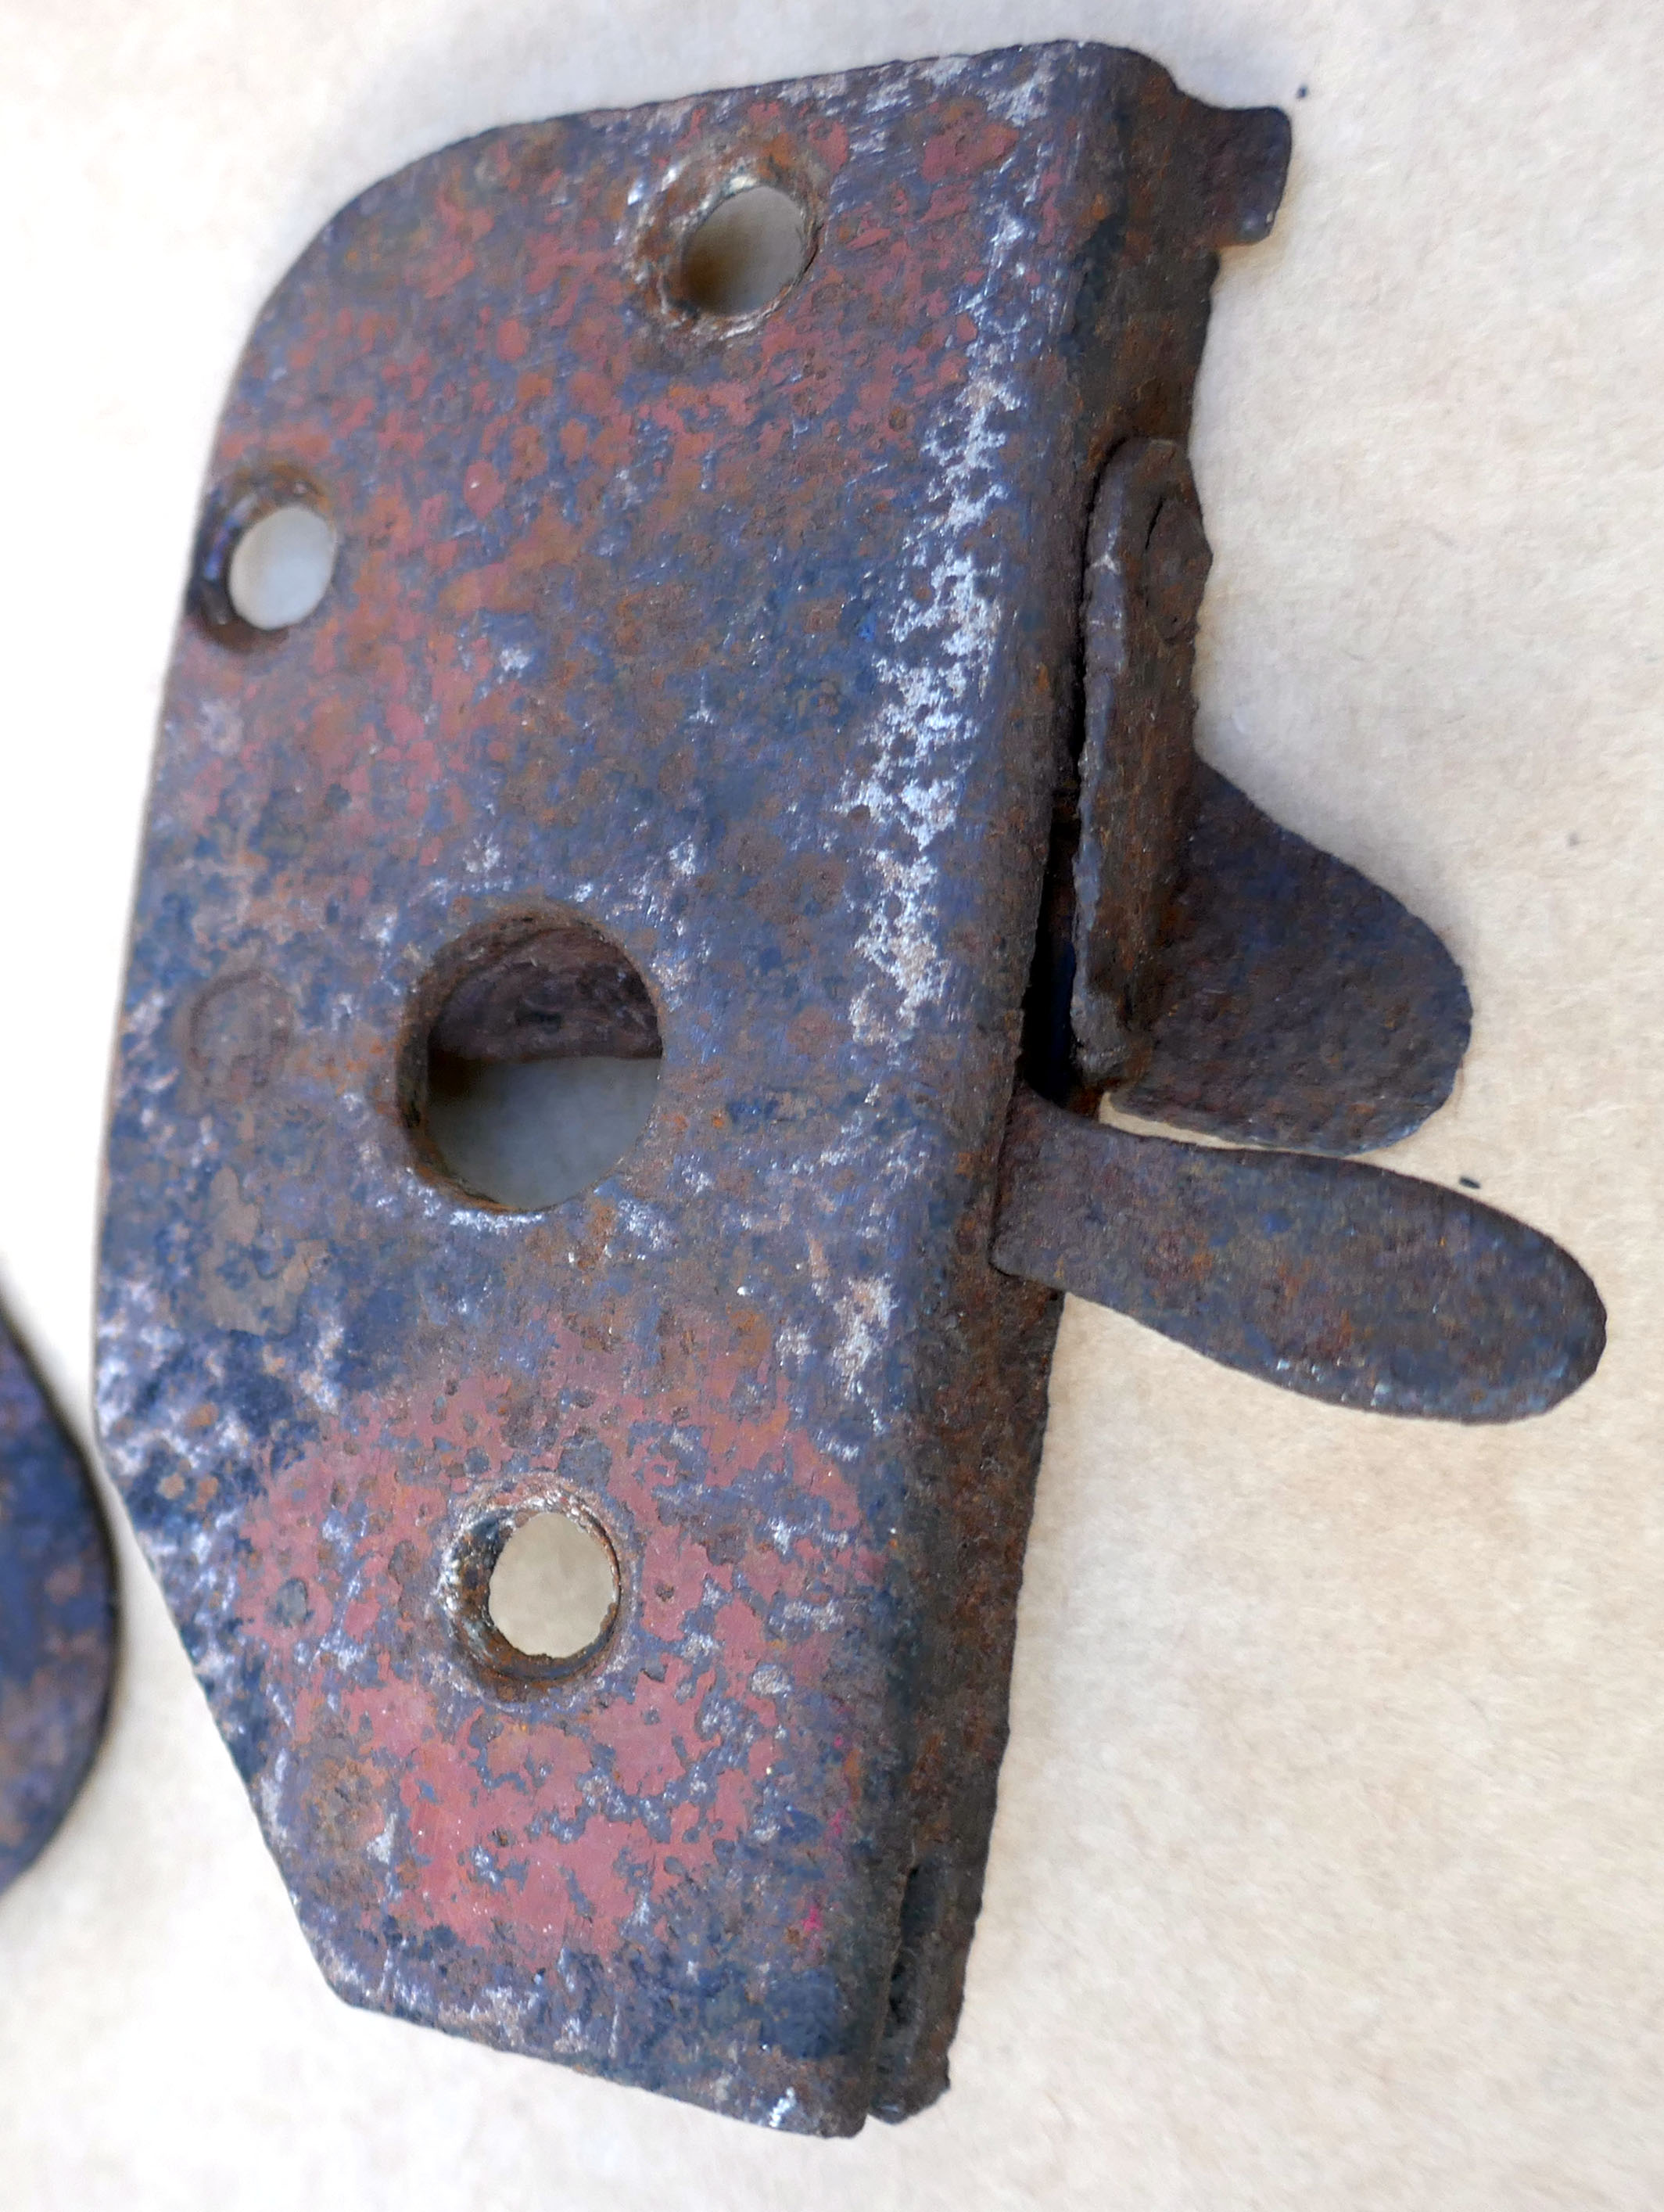
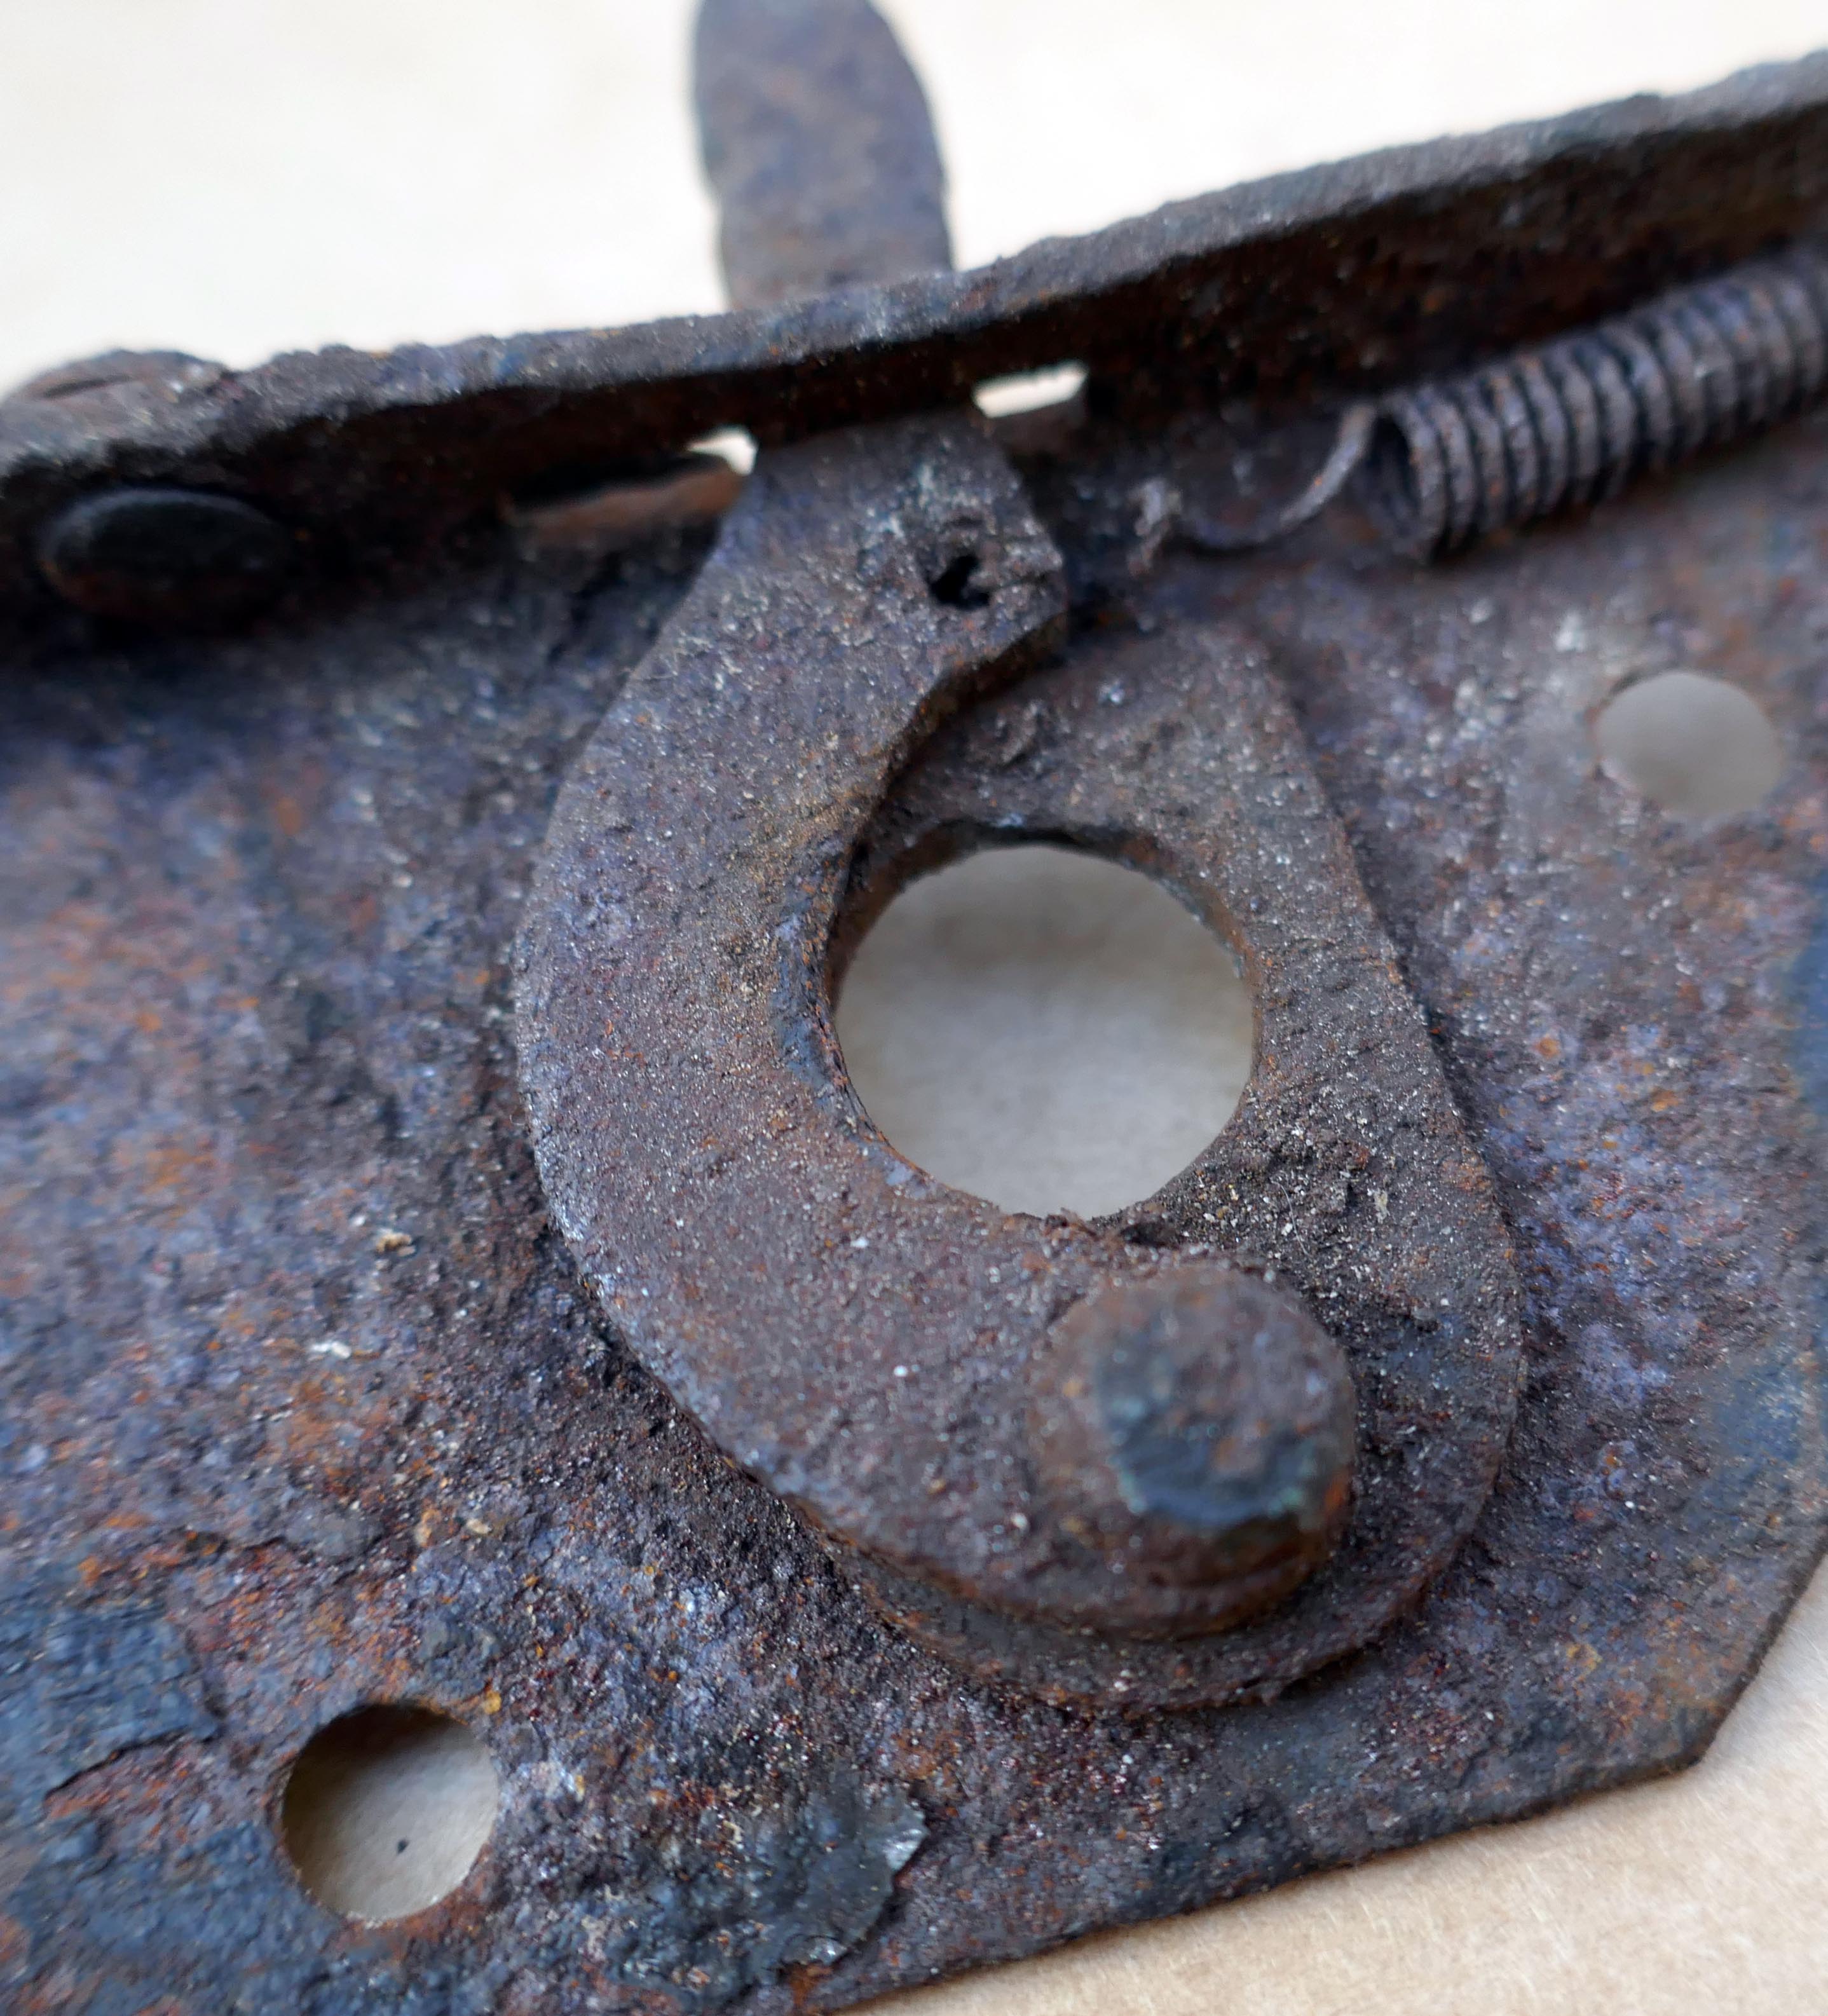
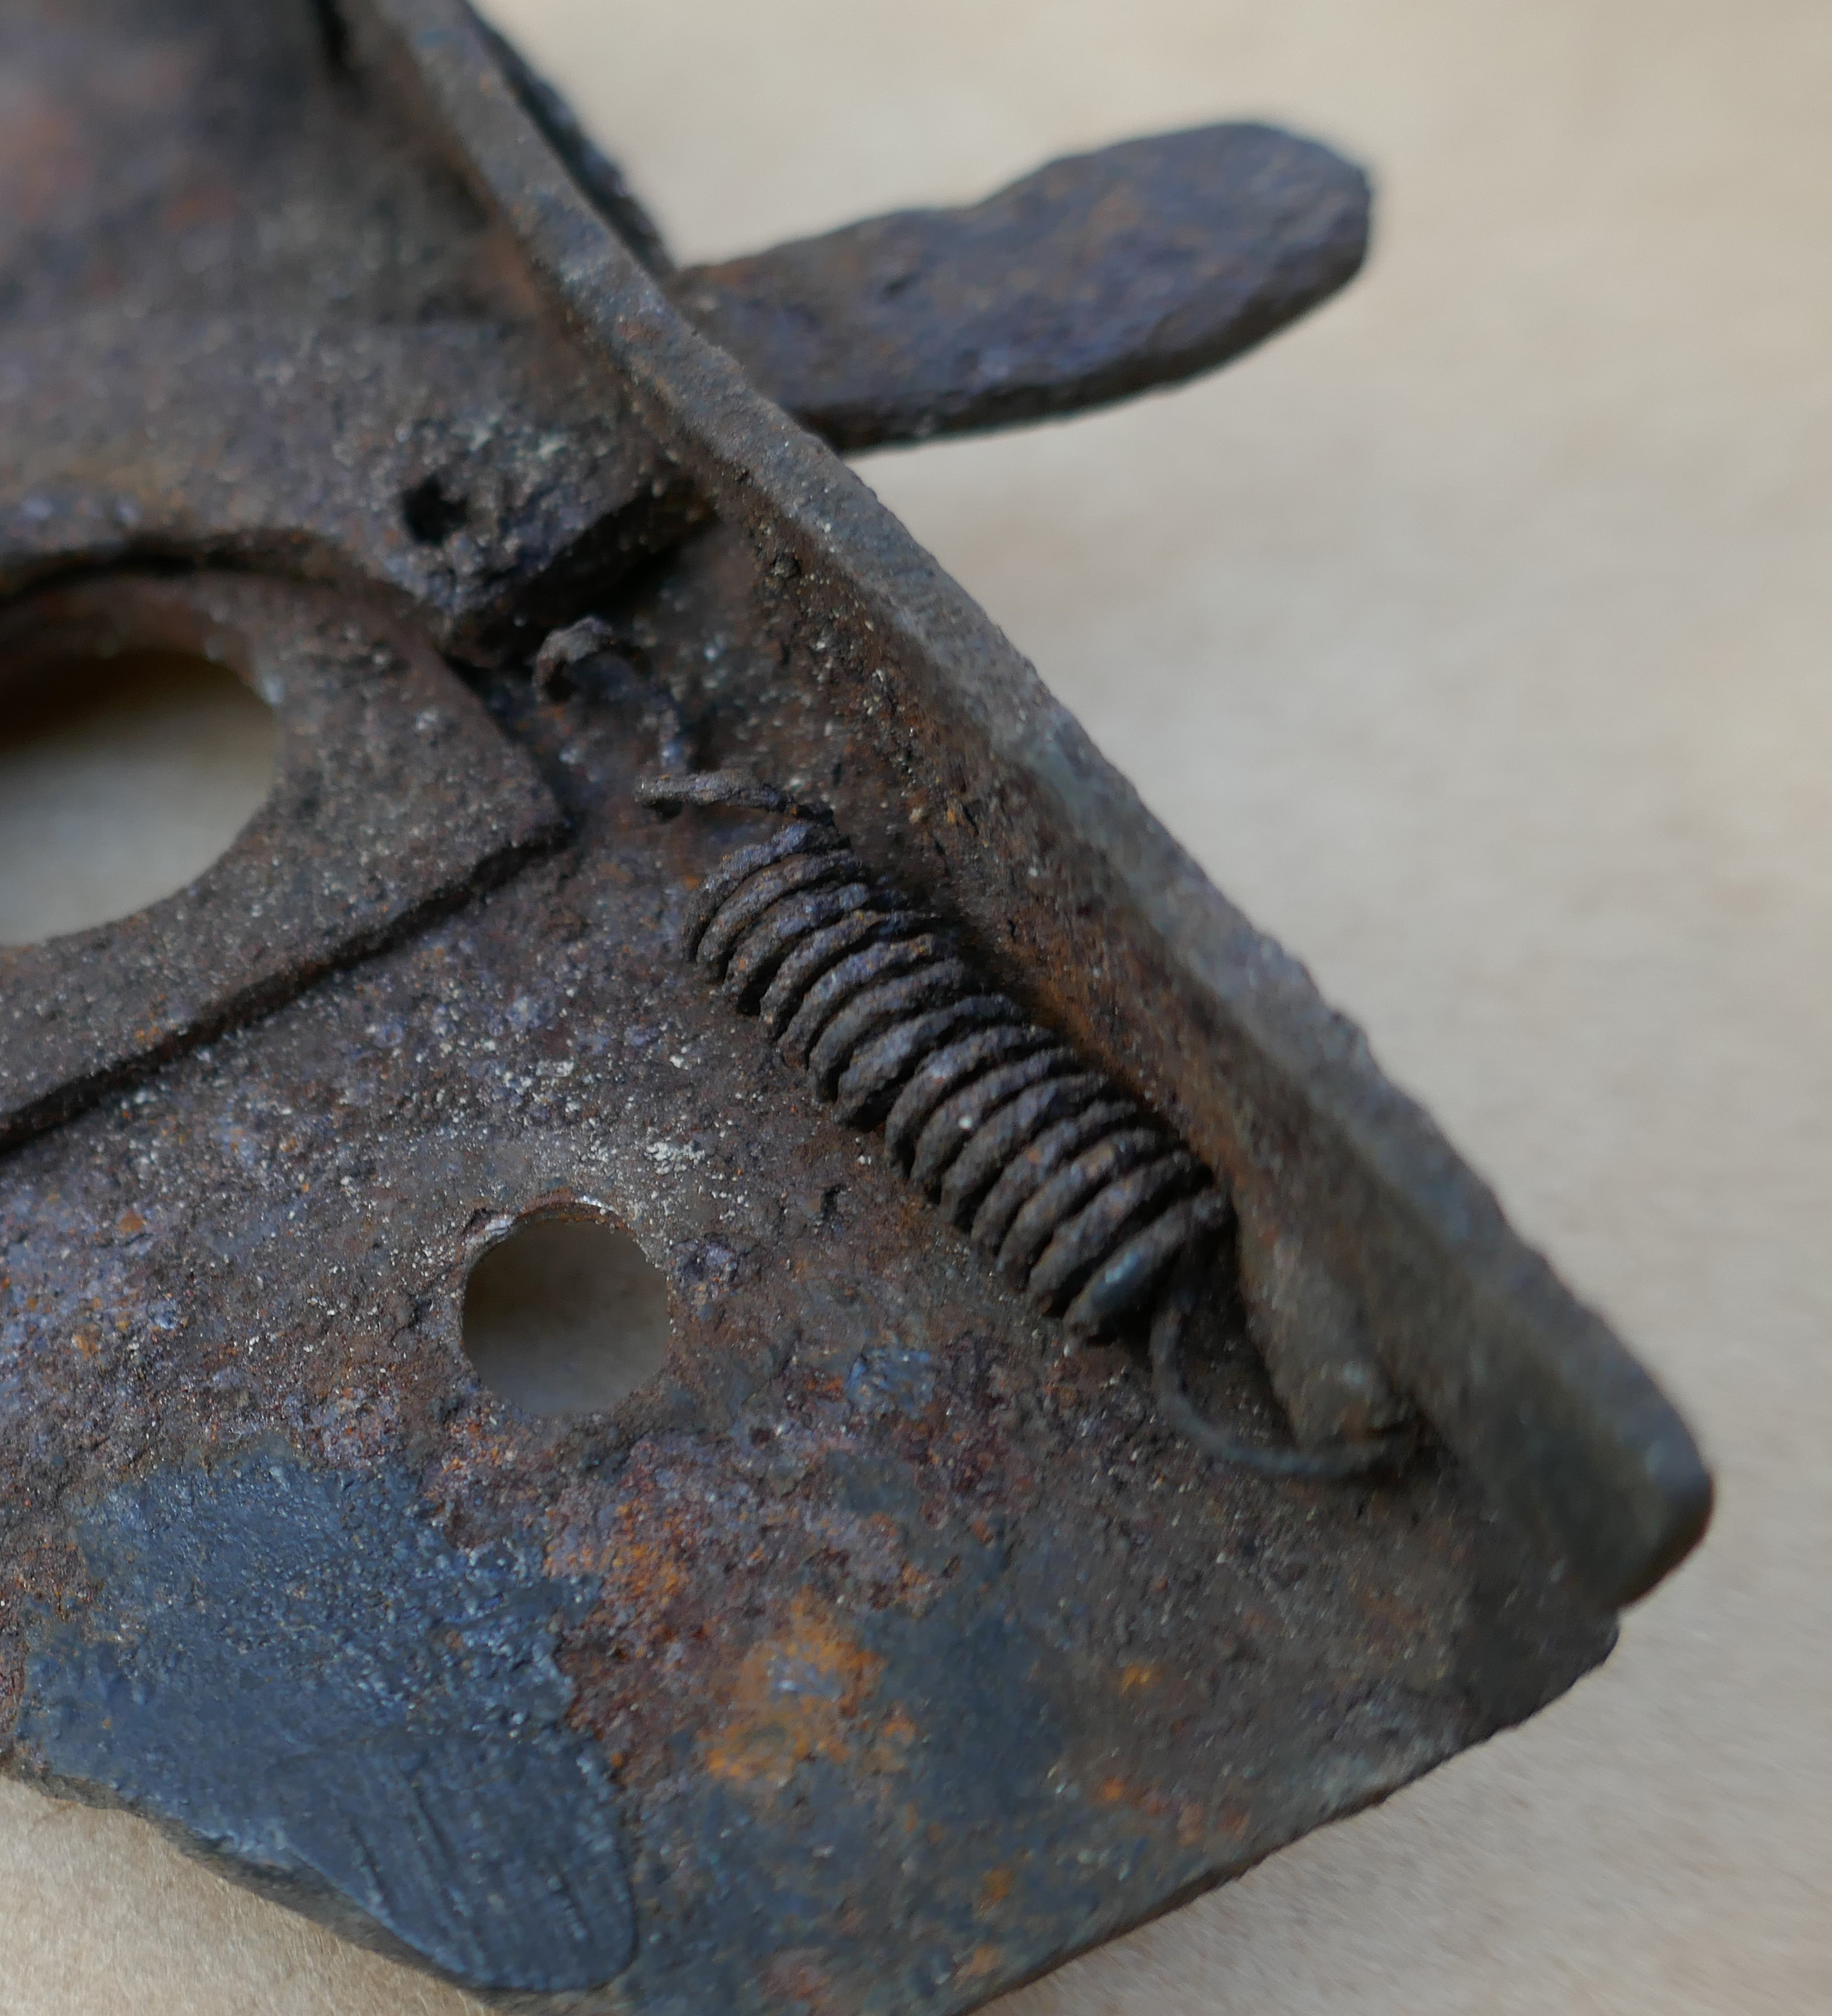
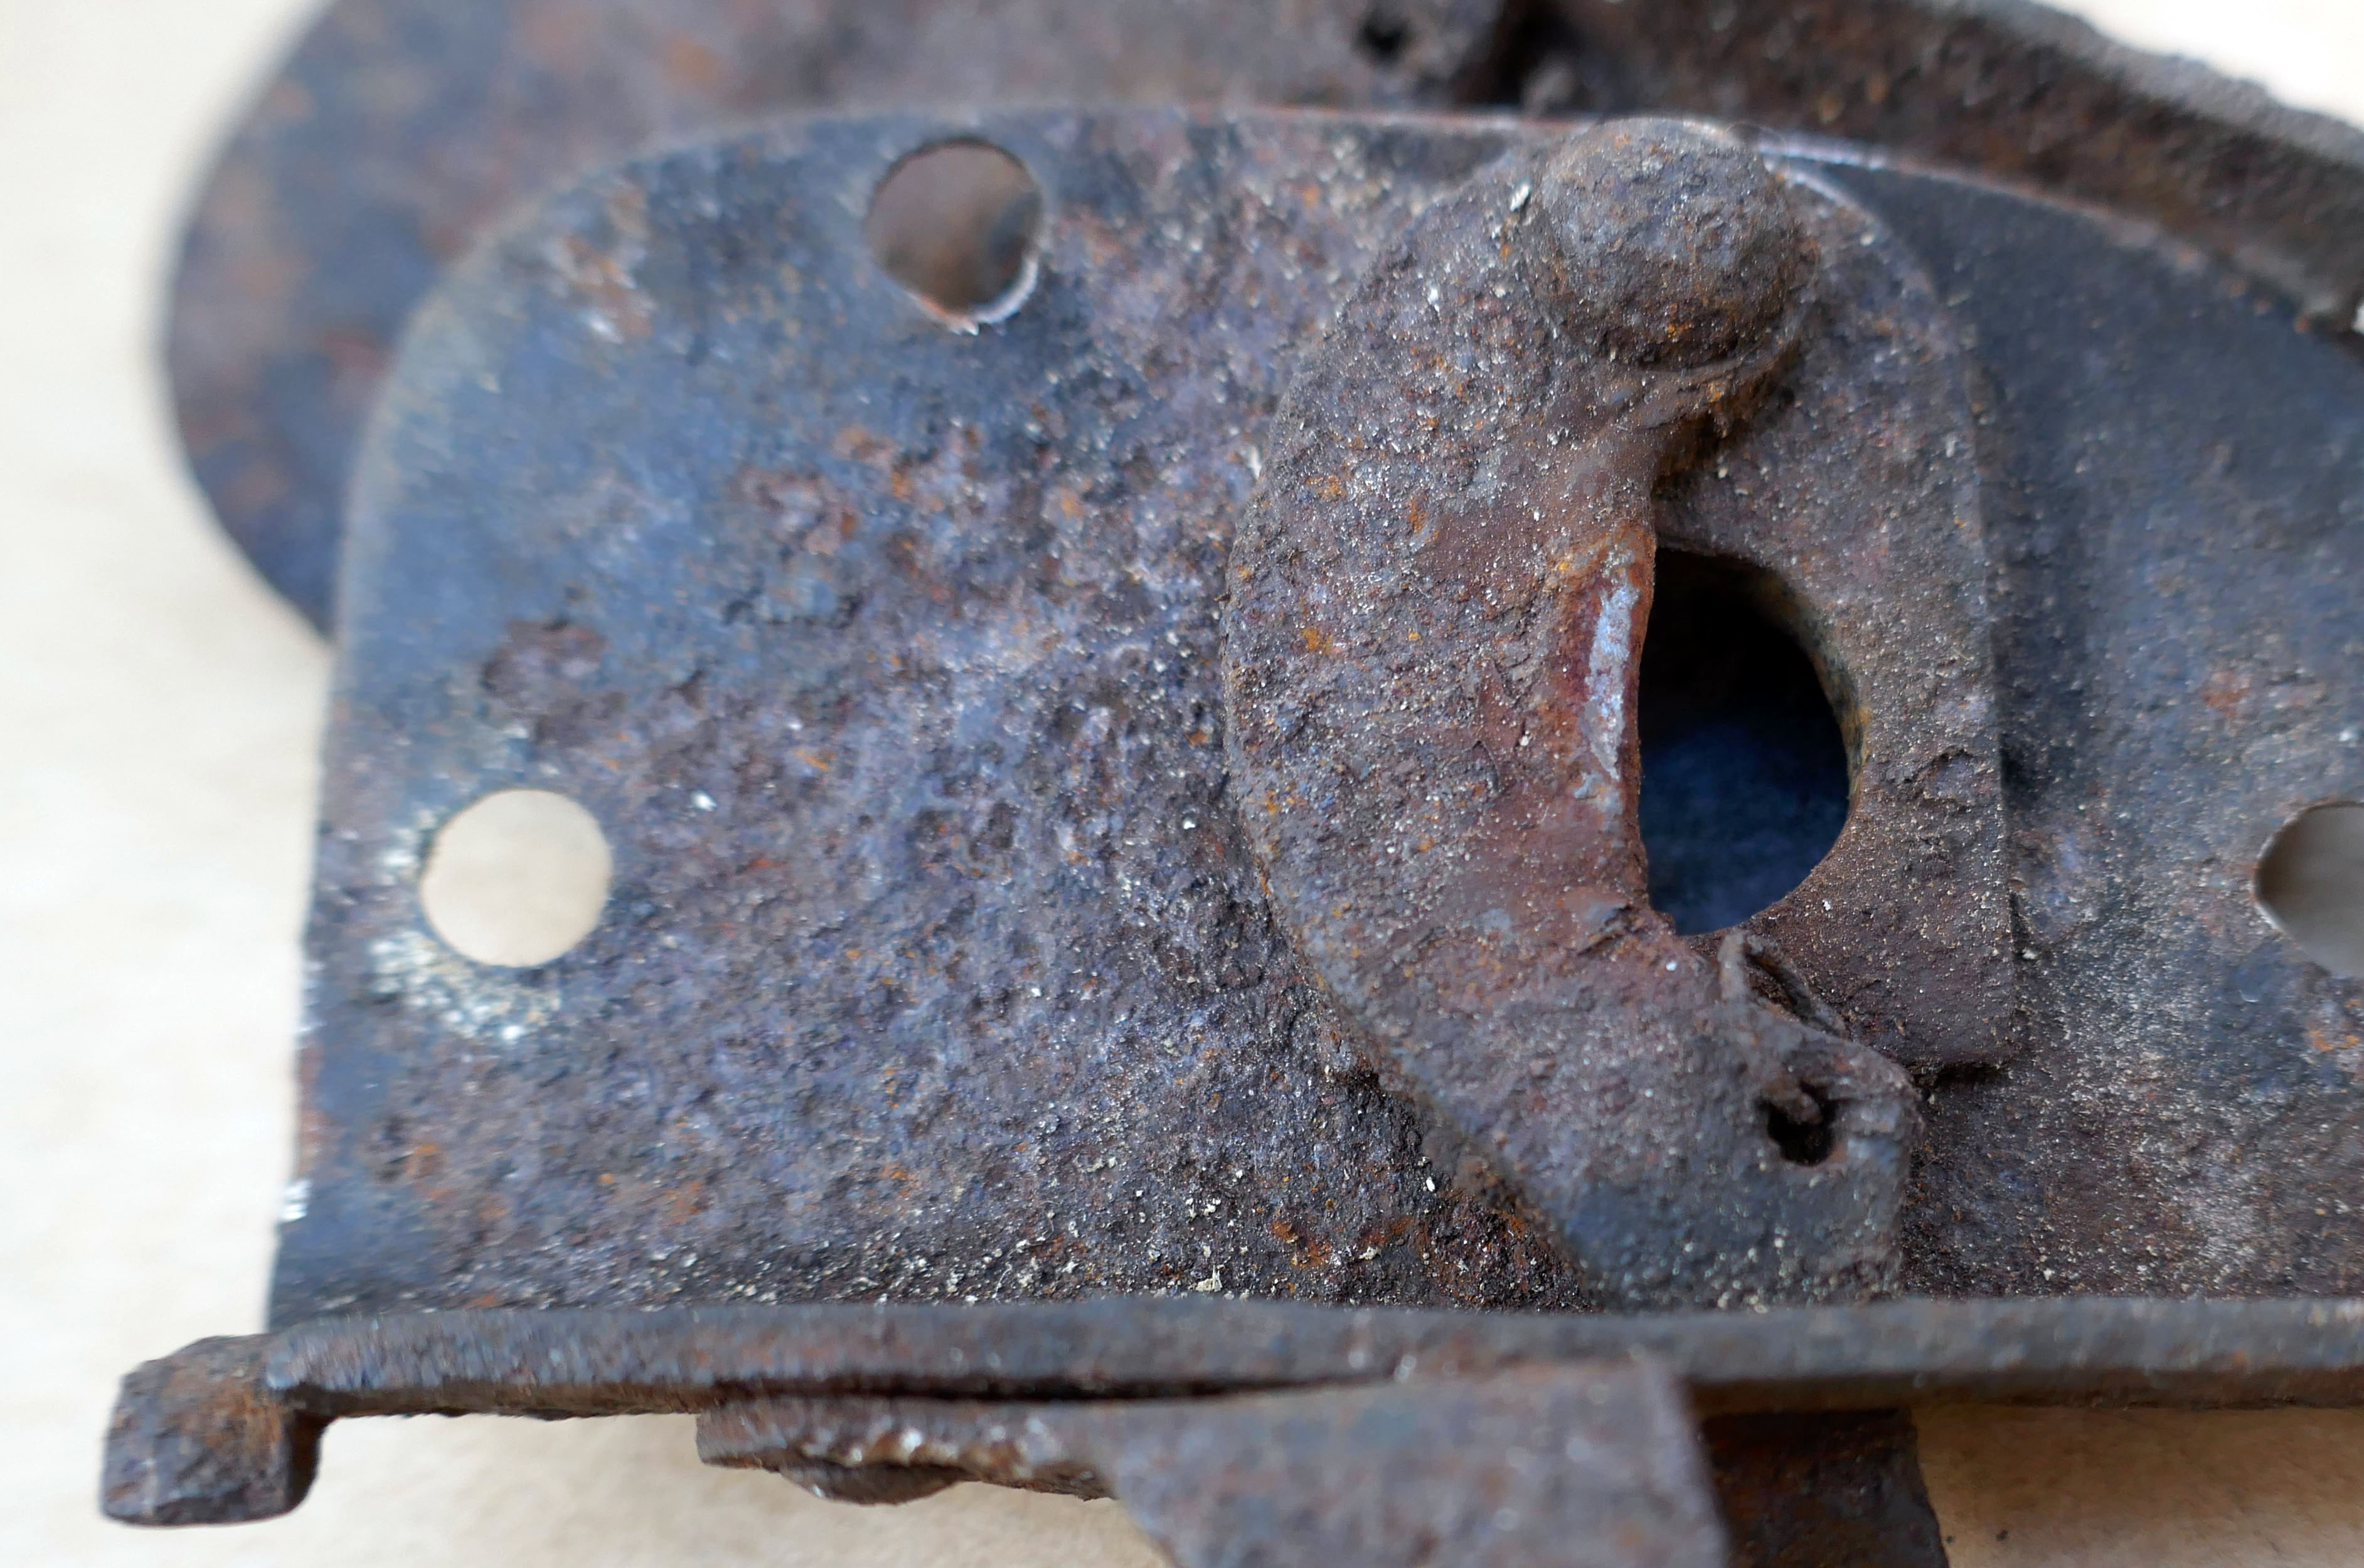
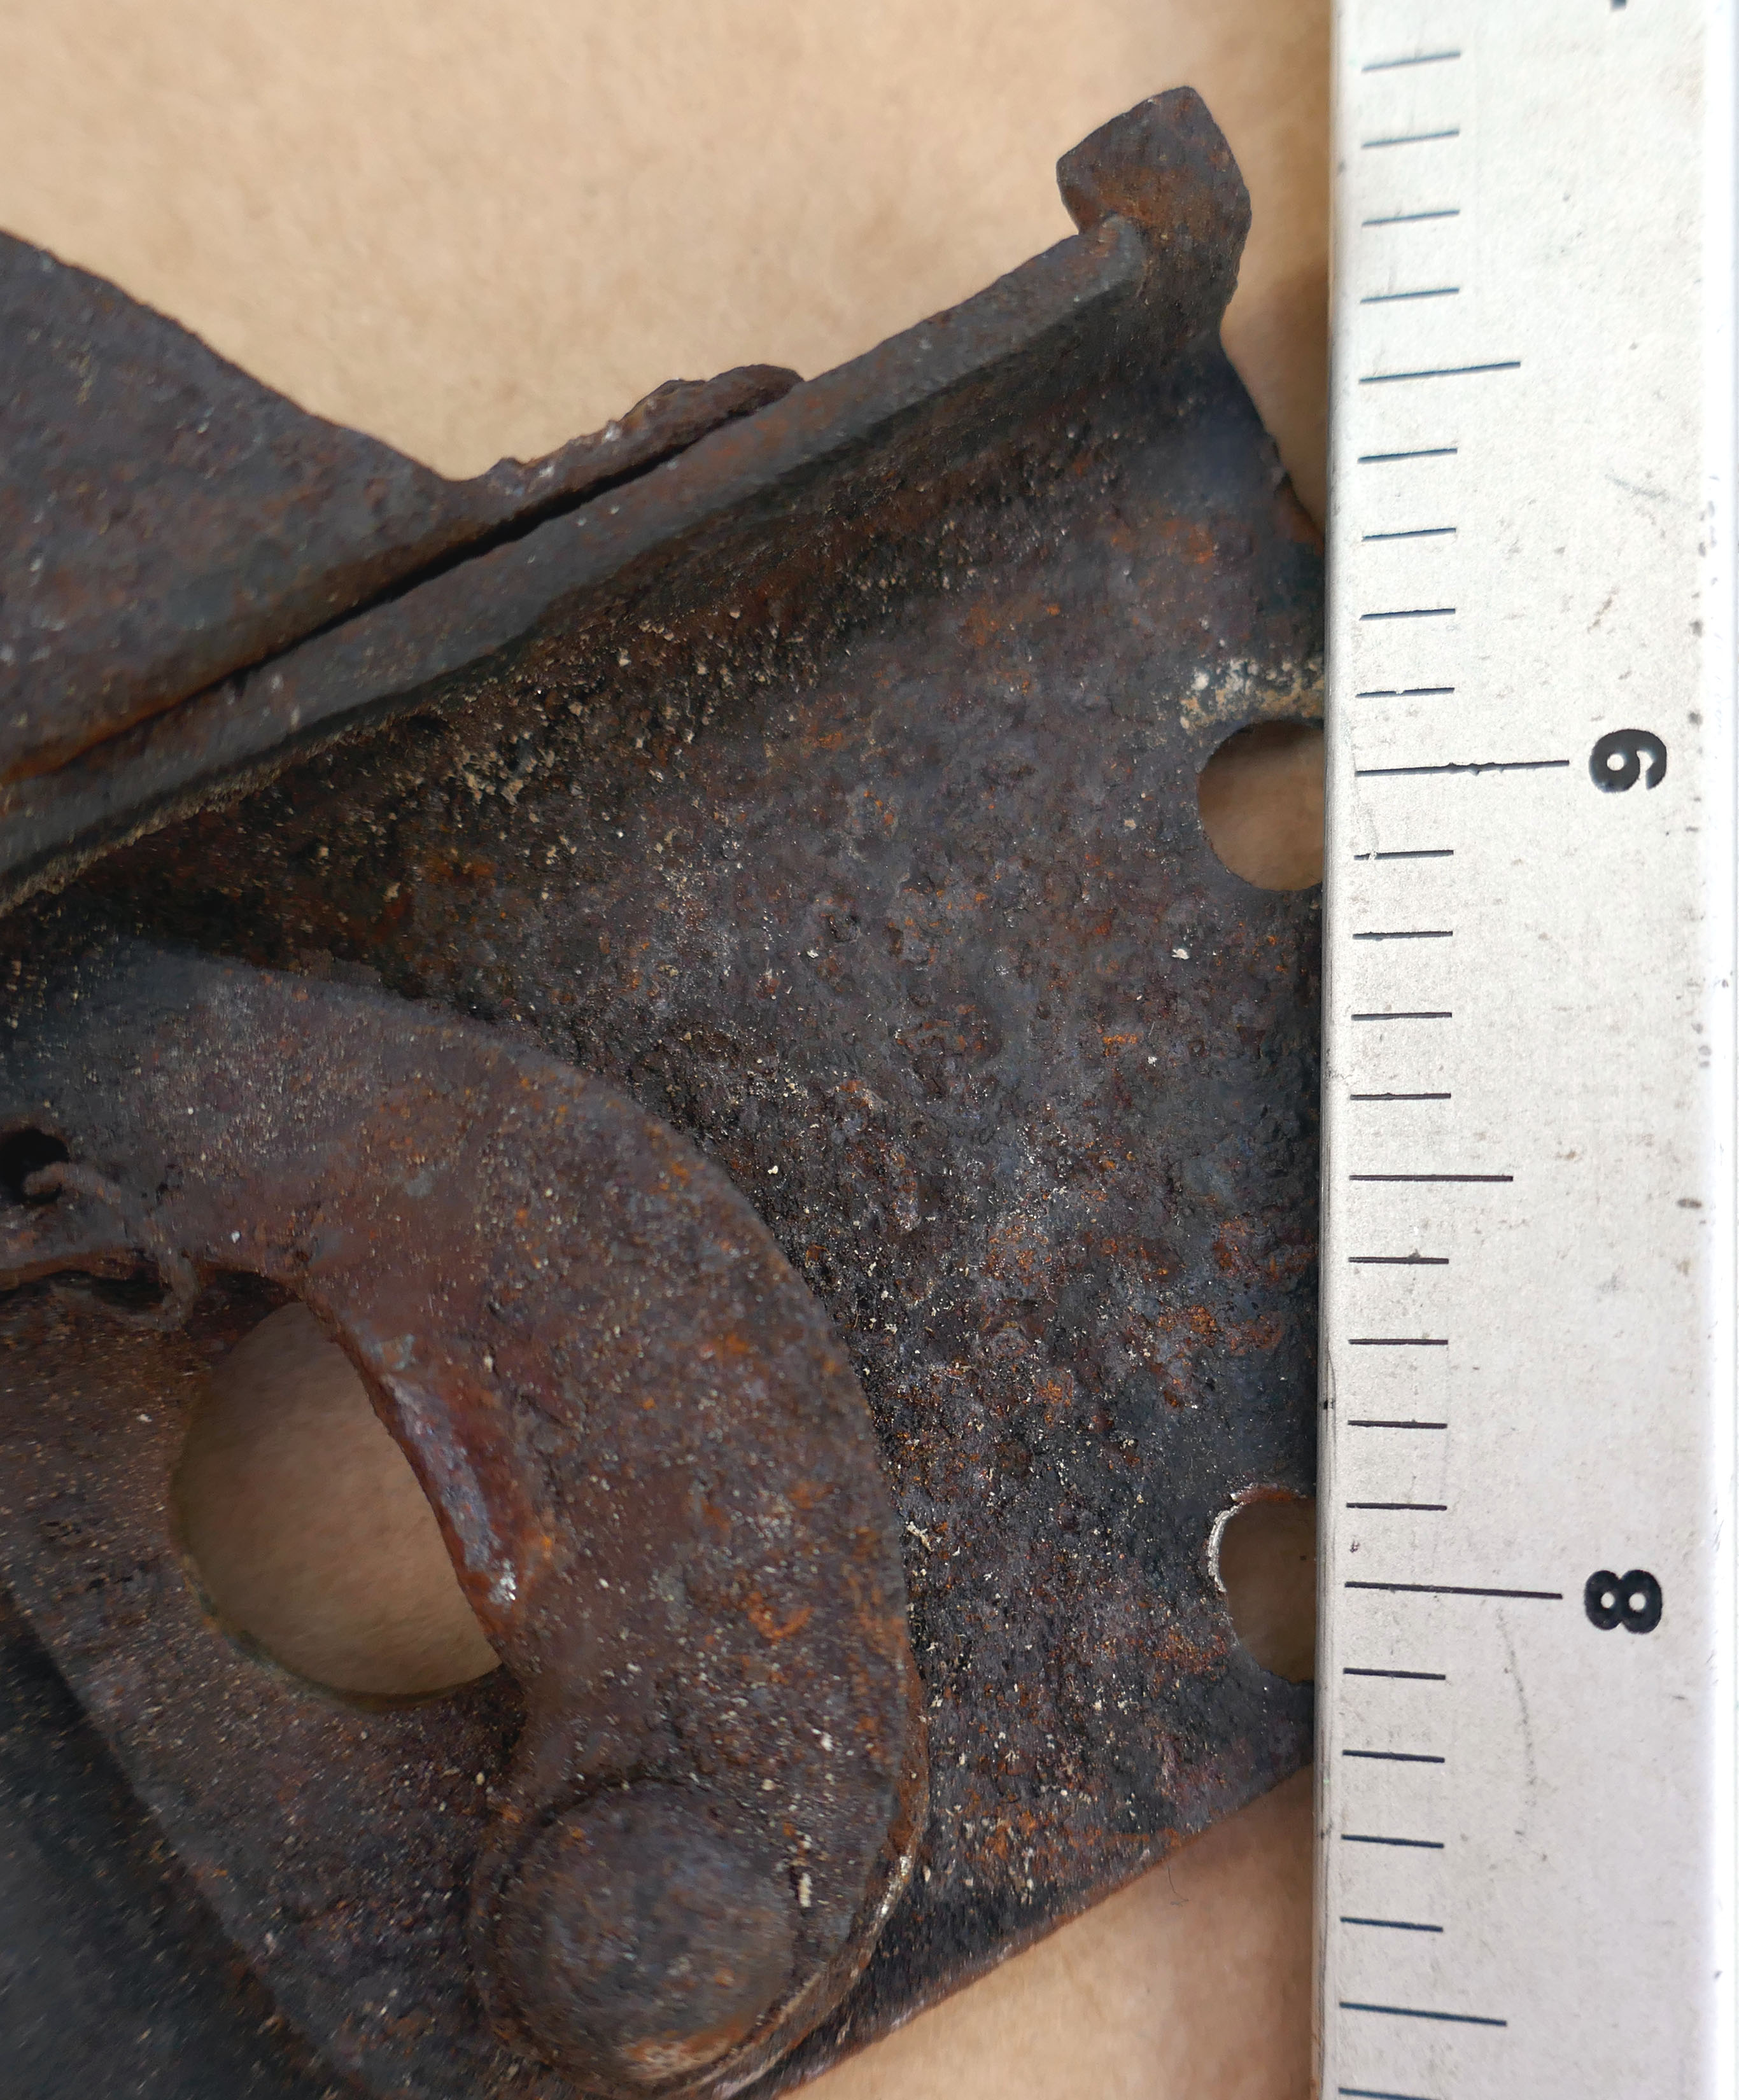
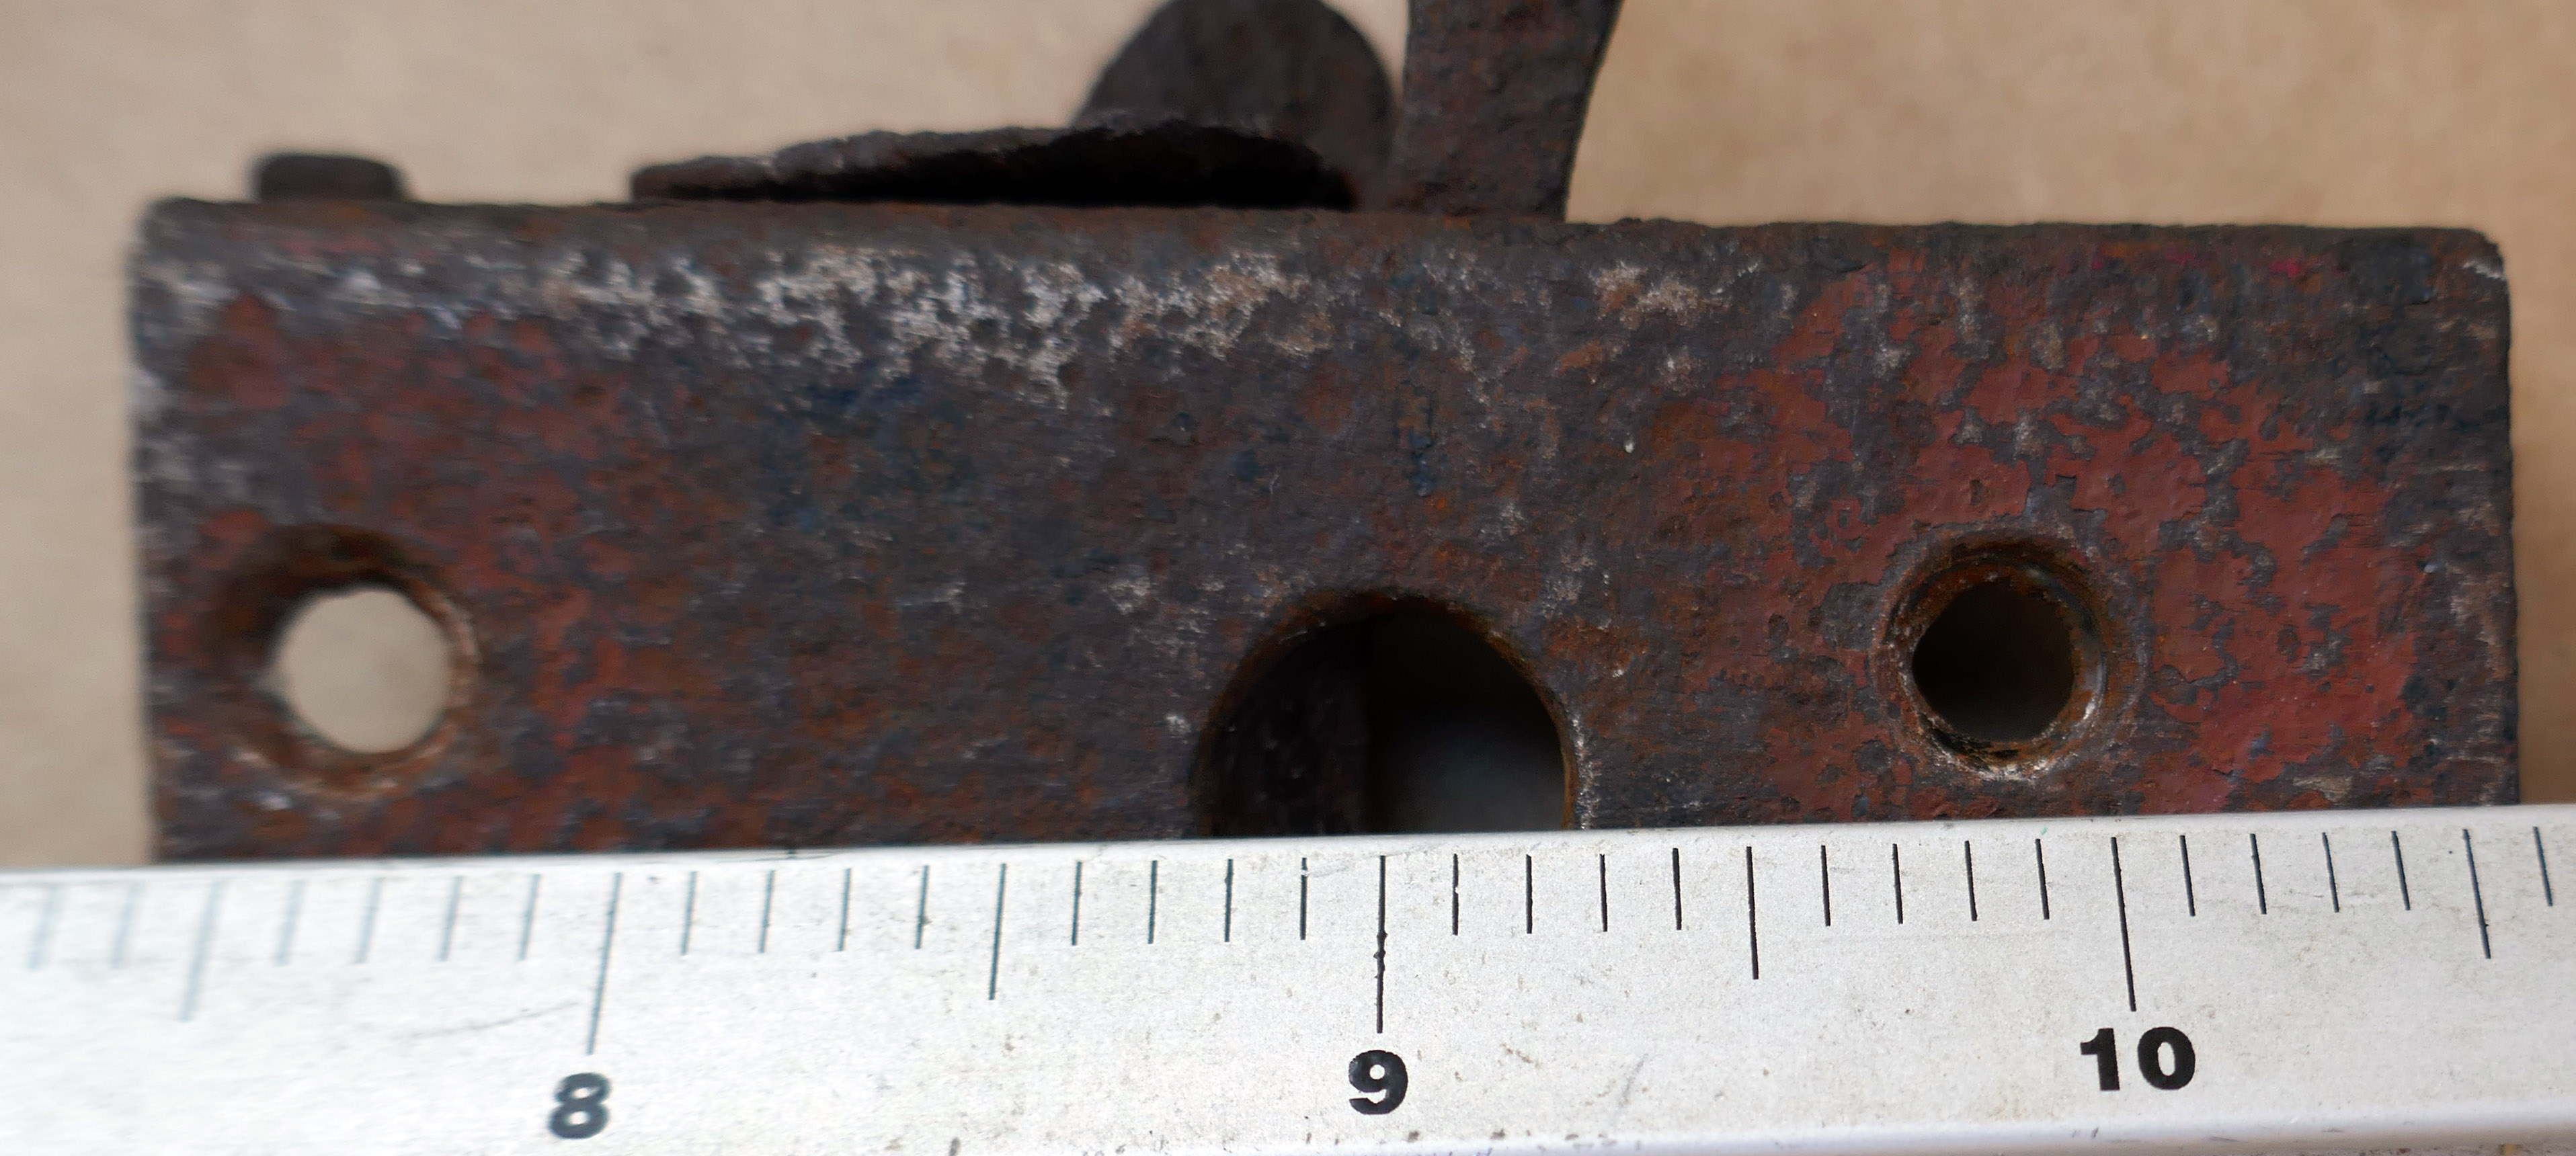
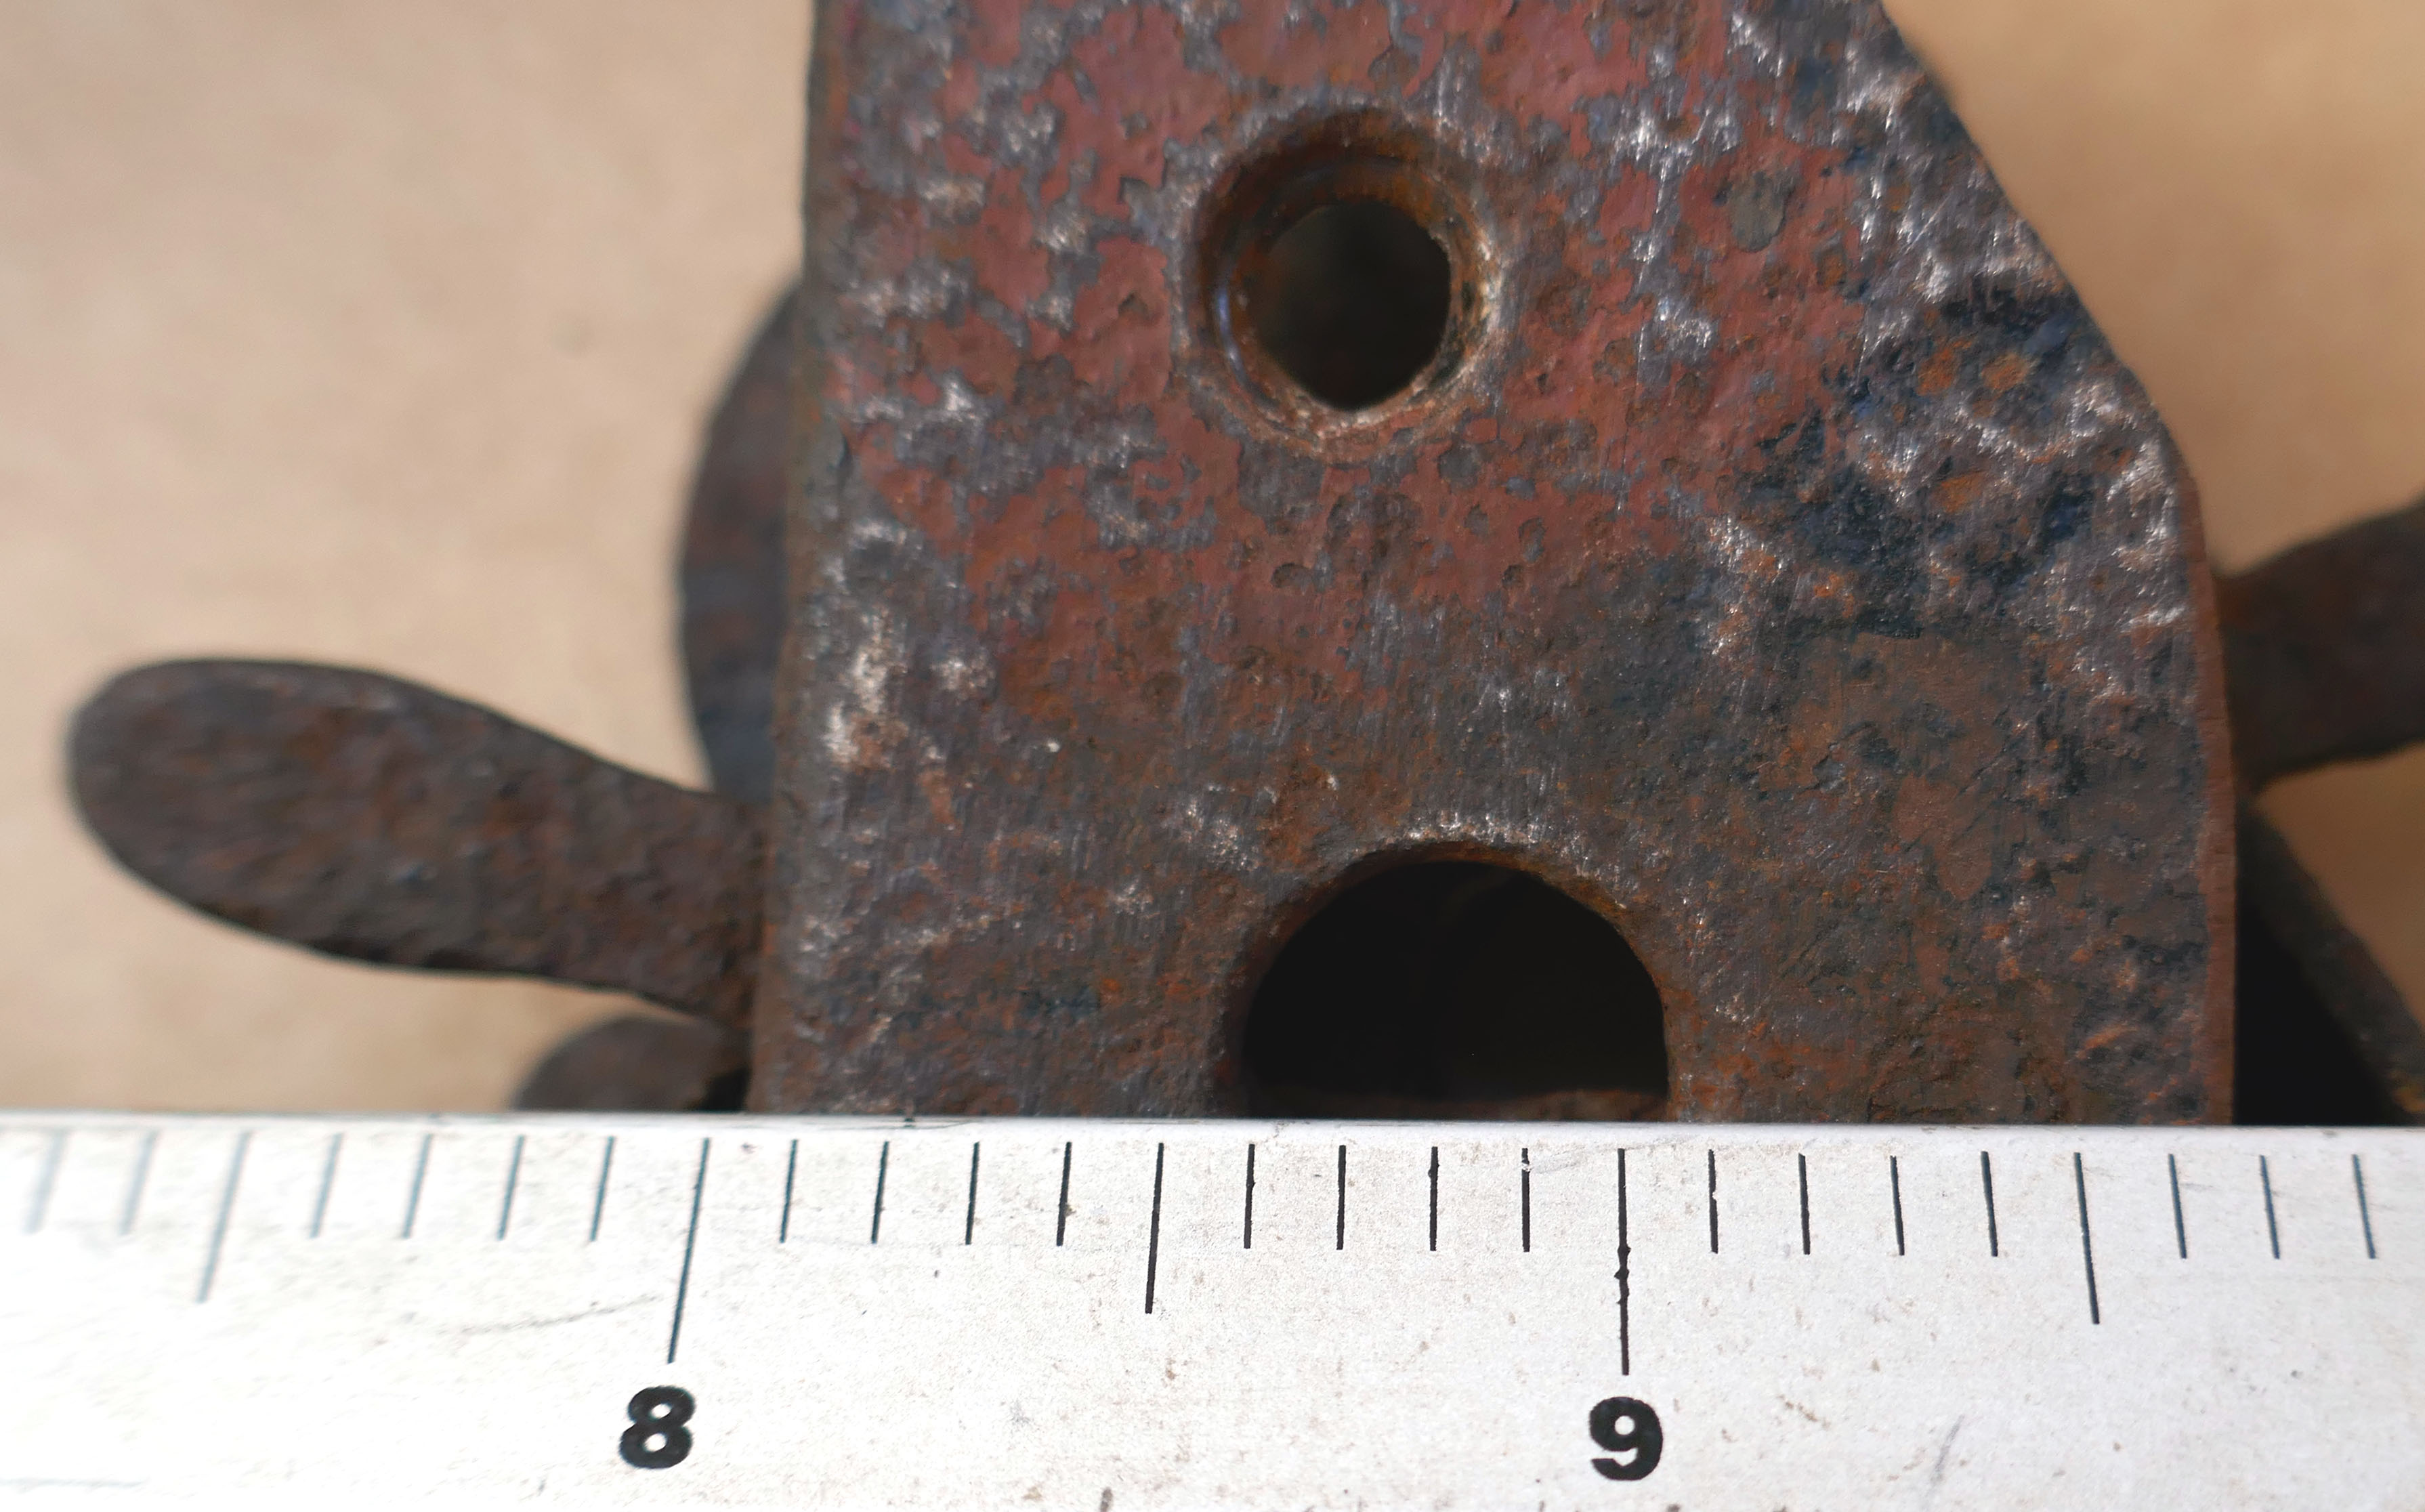
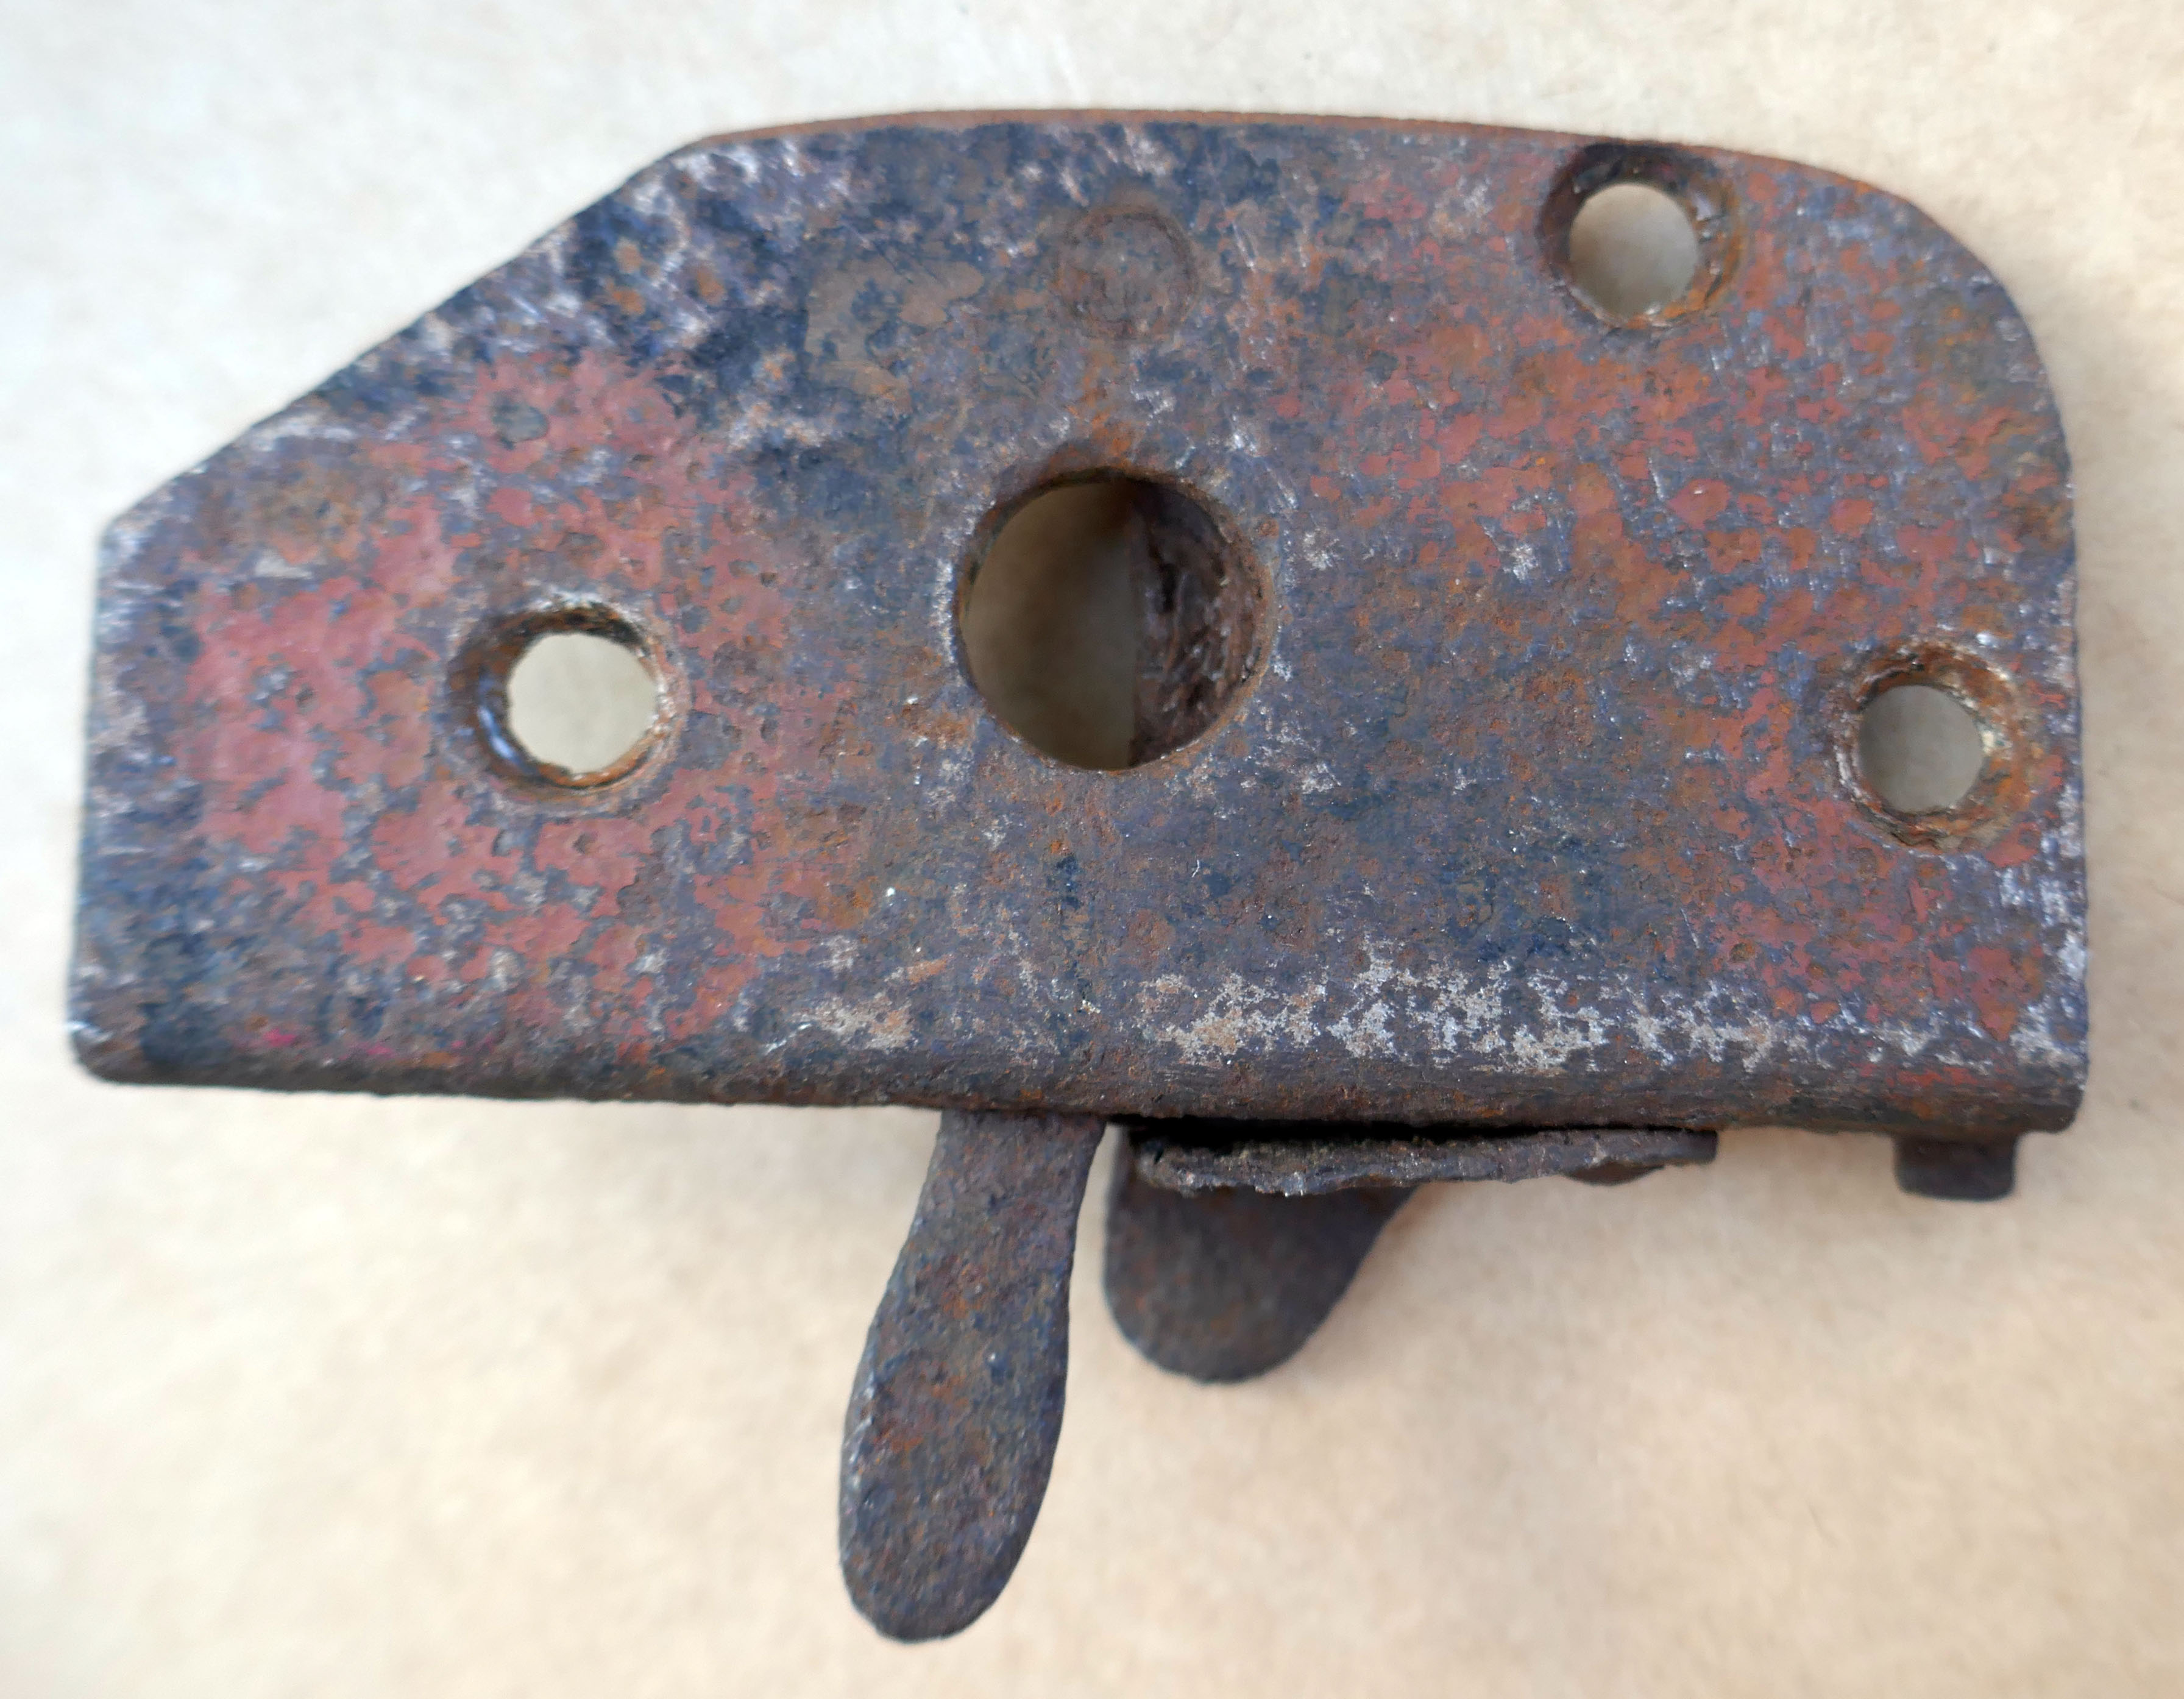
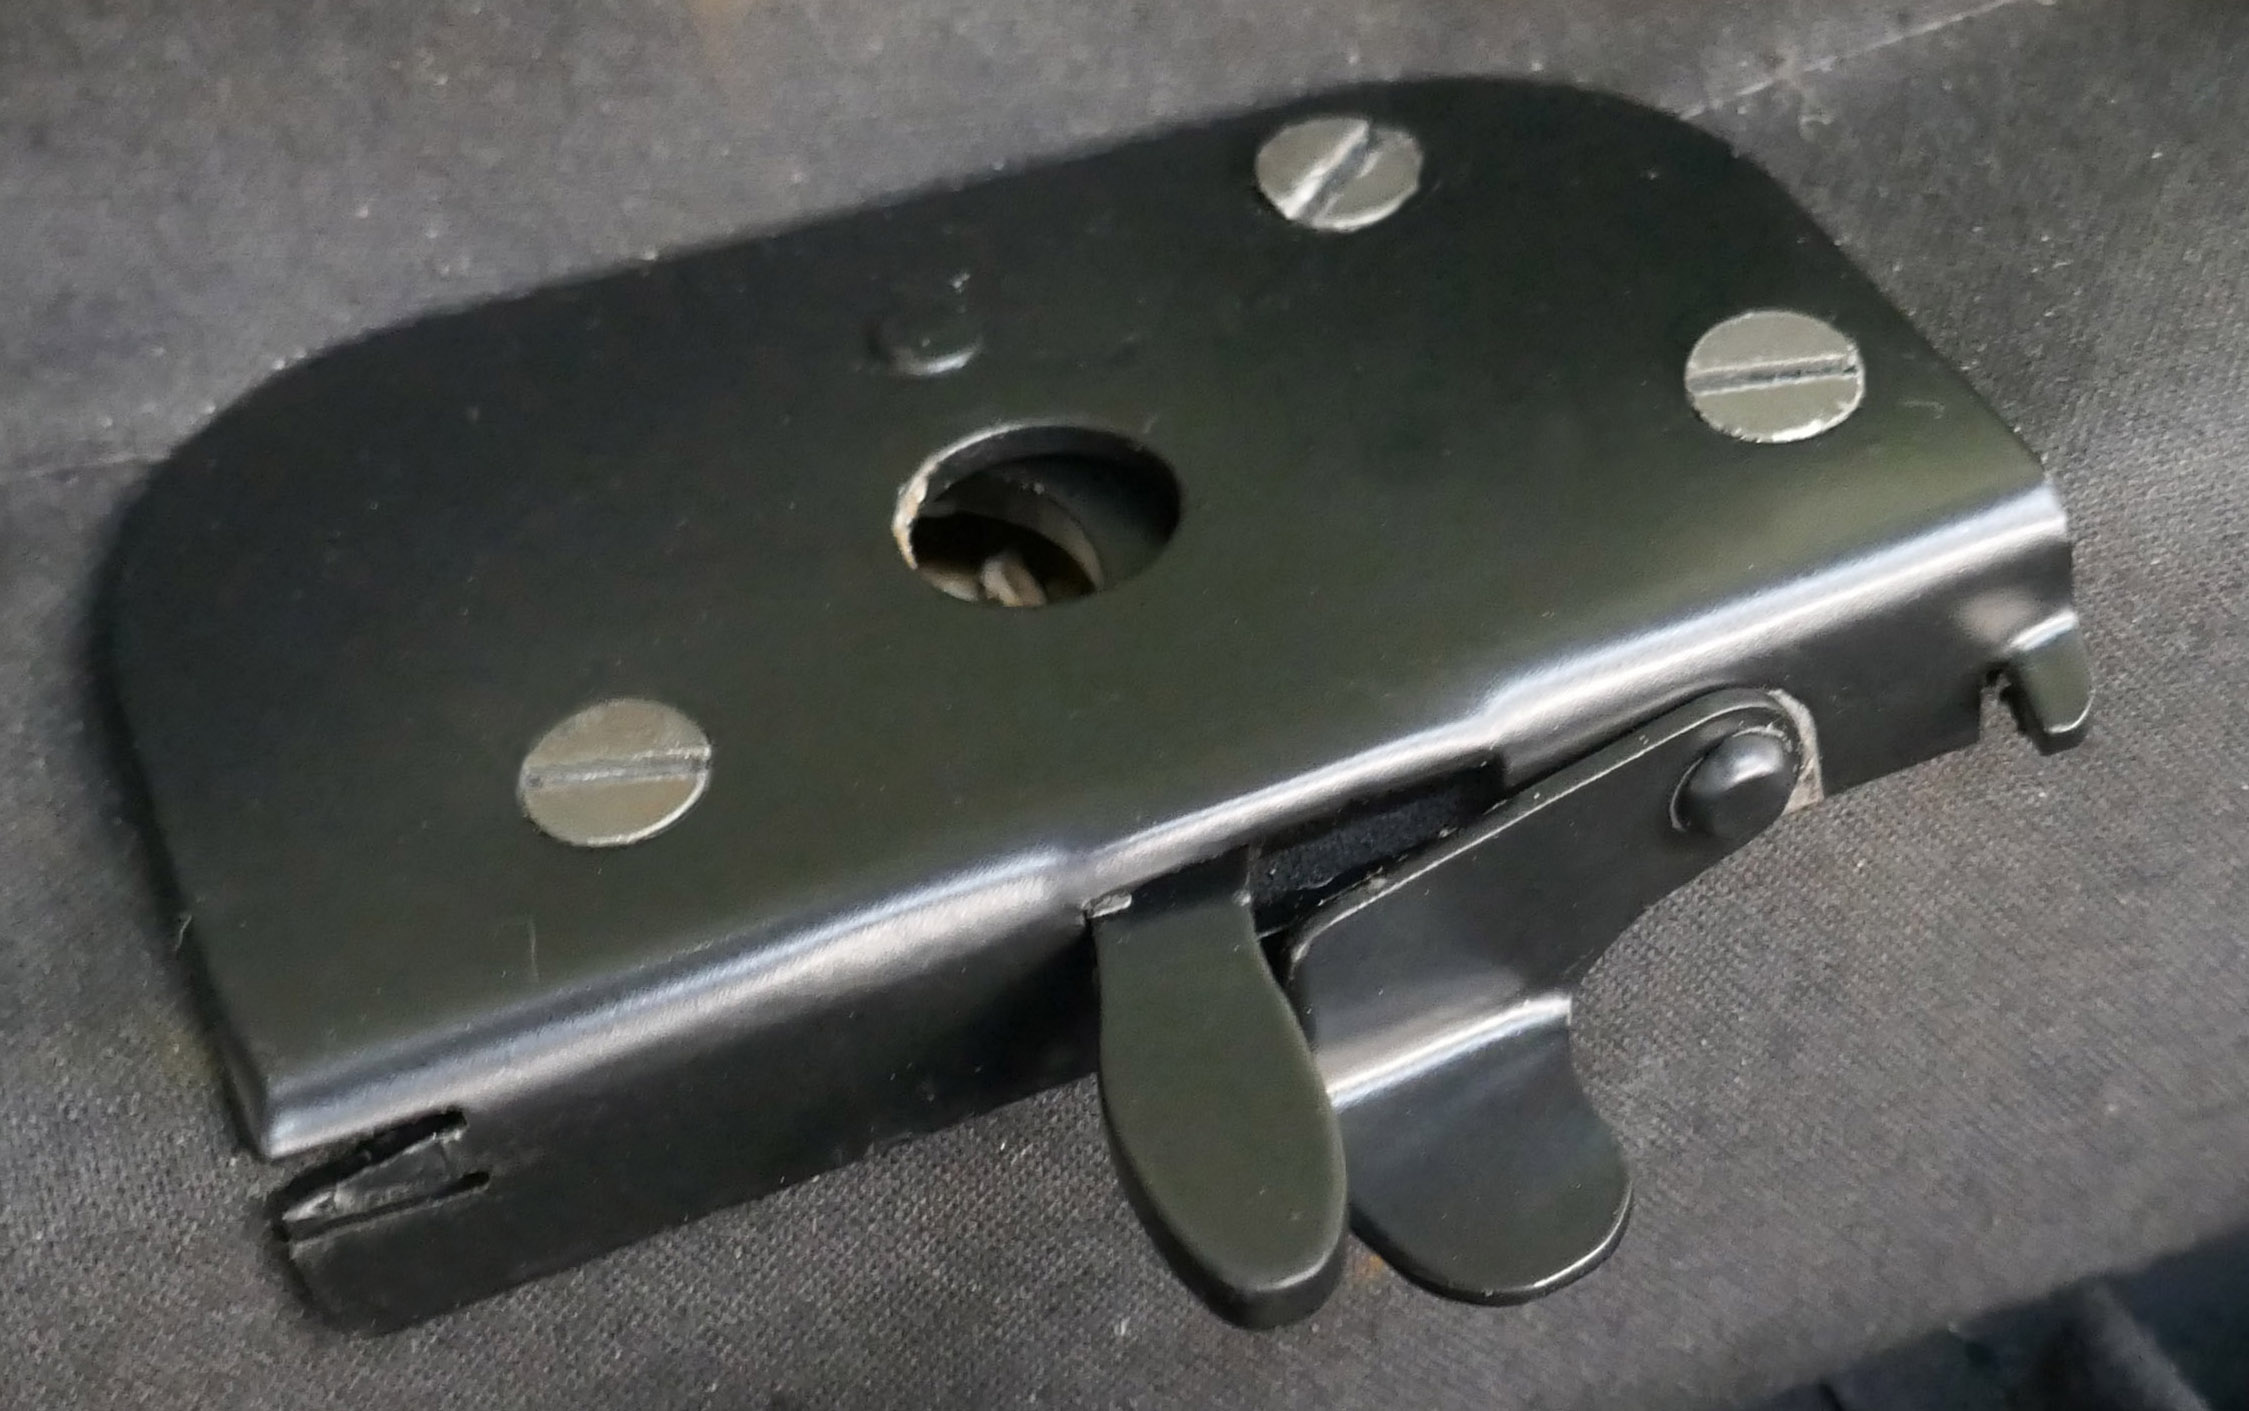
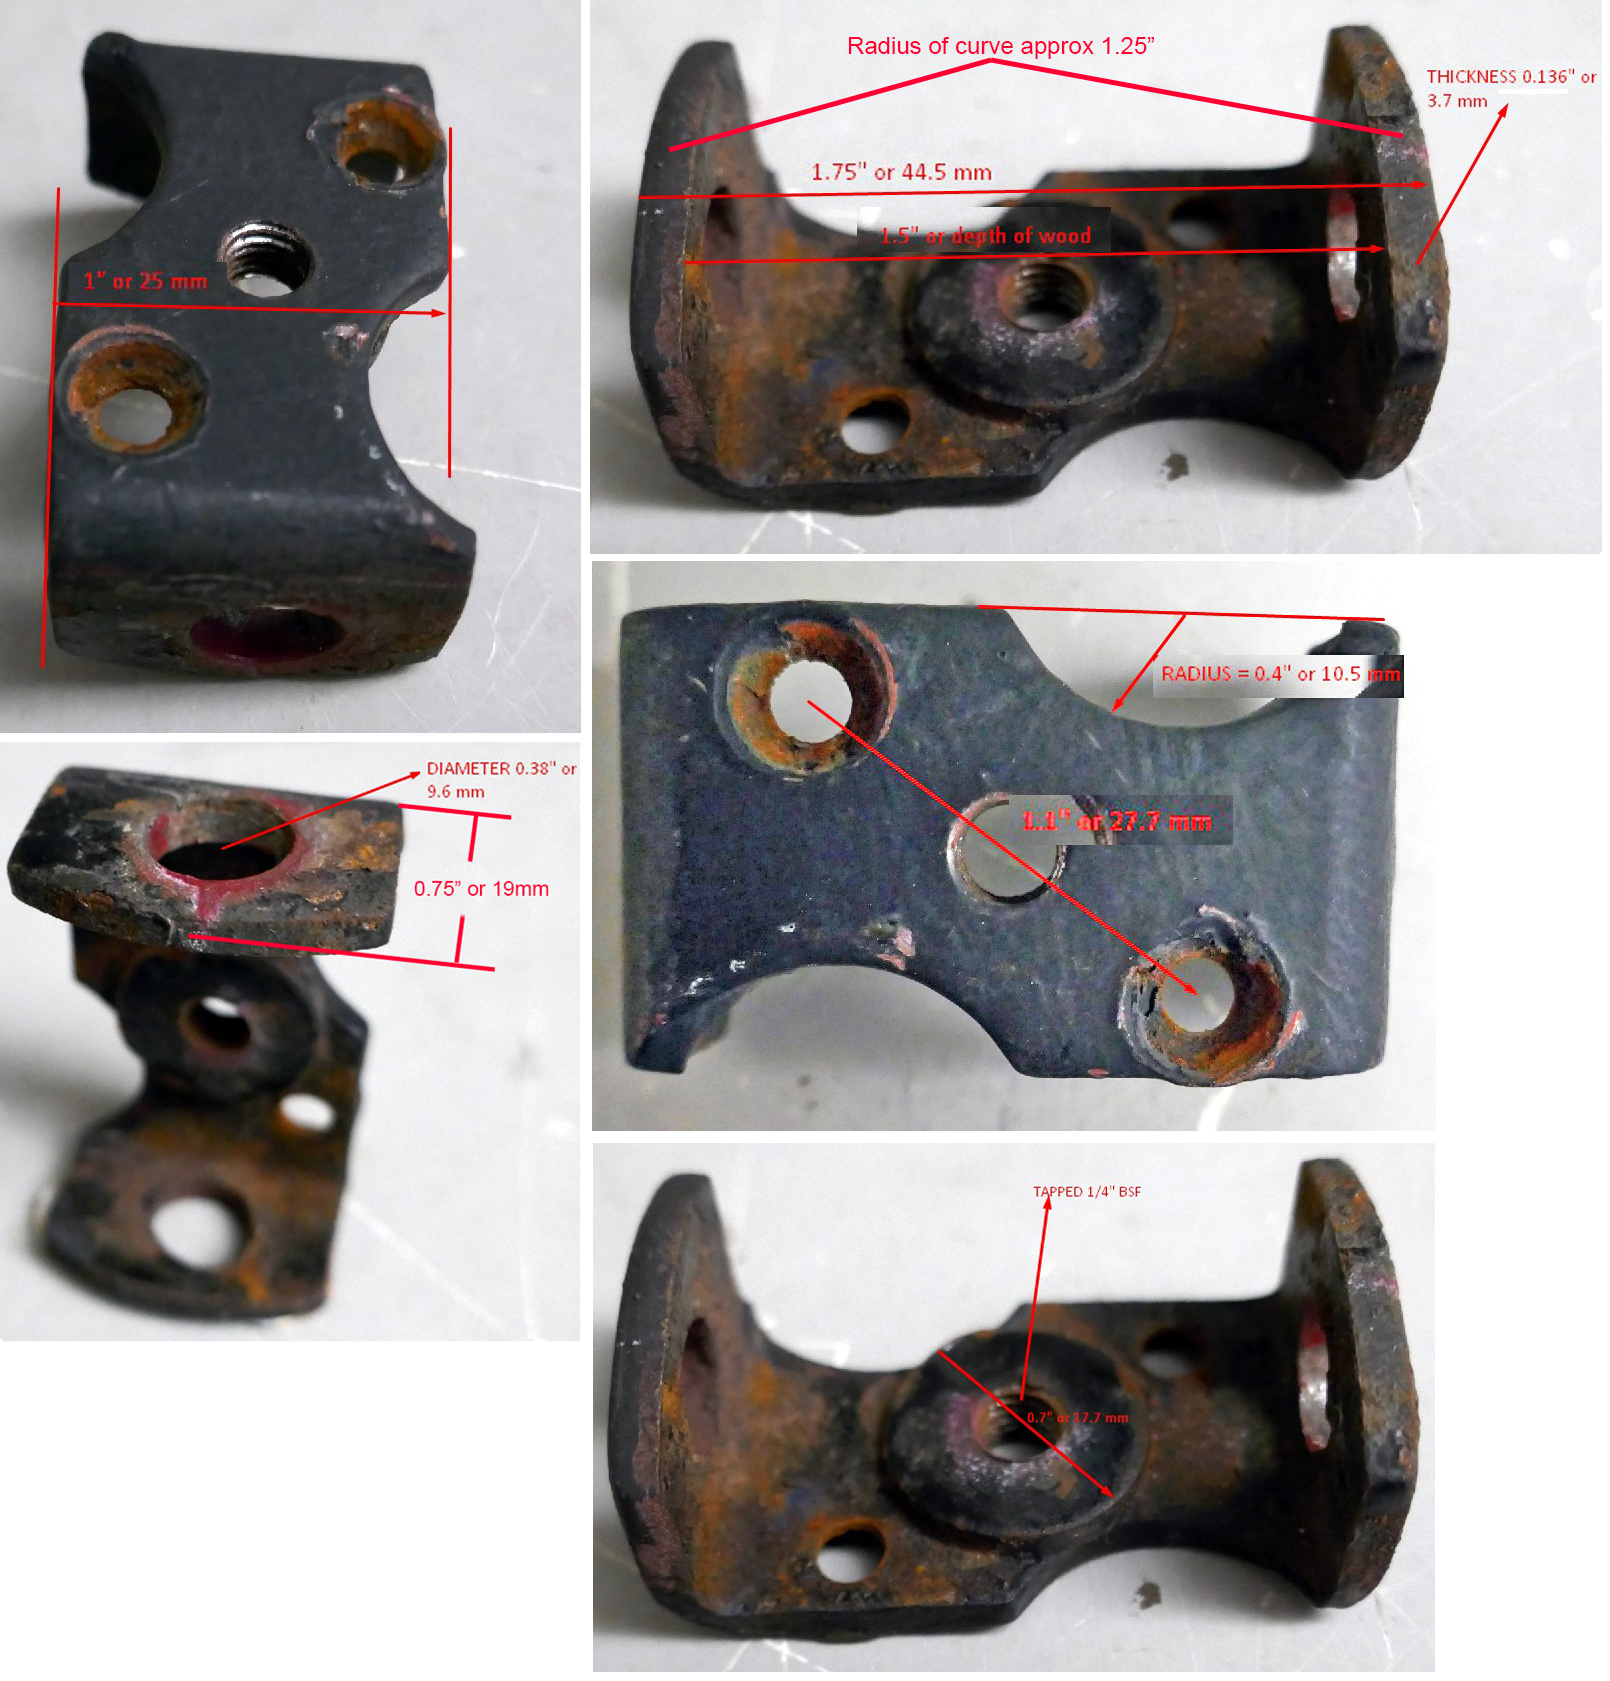
Although the currently-available replacement late-type clip works perfectly well, it is not identical to the original. If you want to make your own or modify the new type, the following collection of pictures might help.
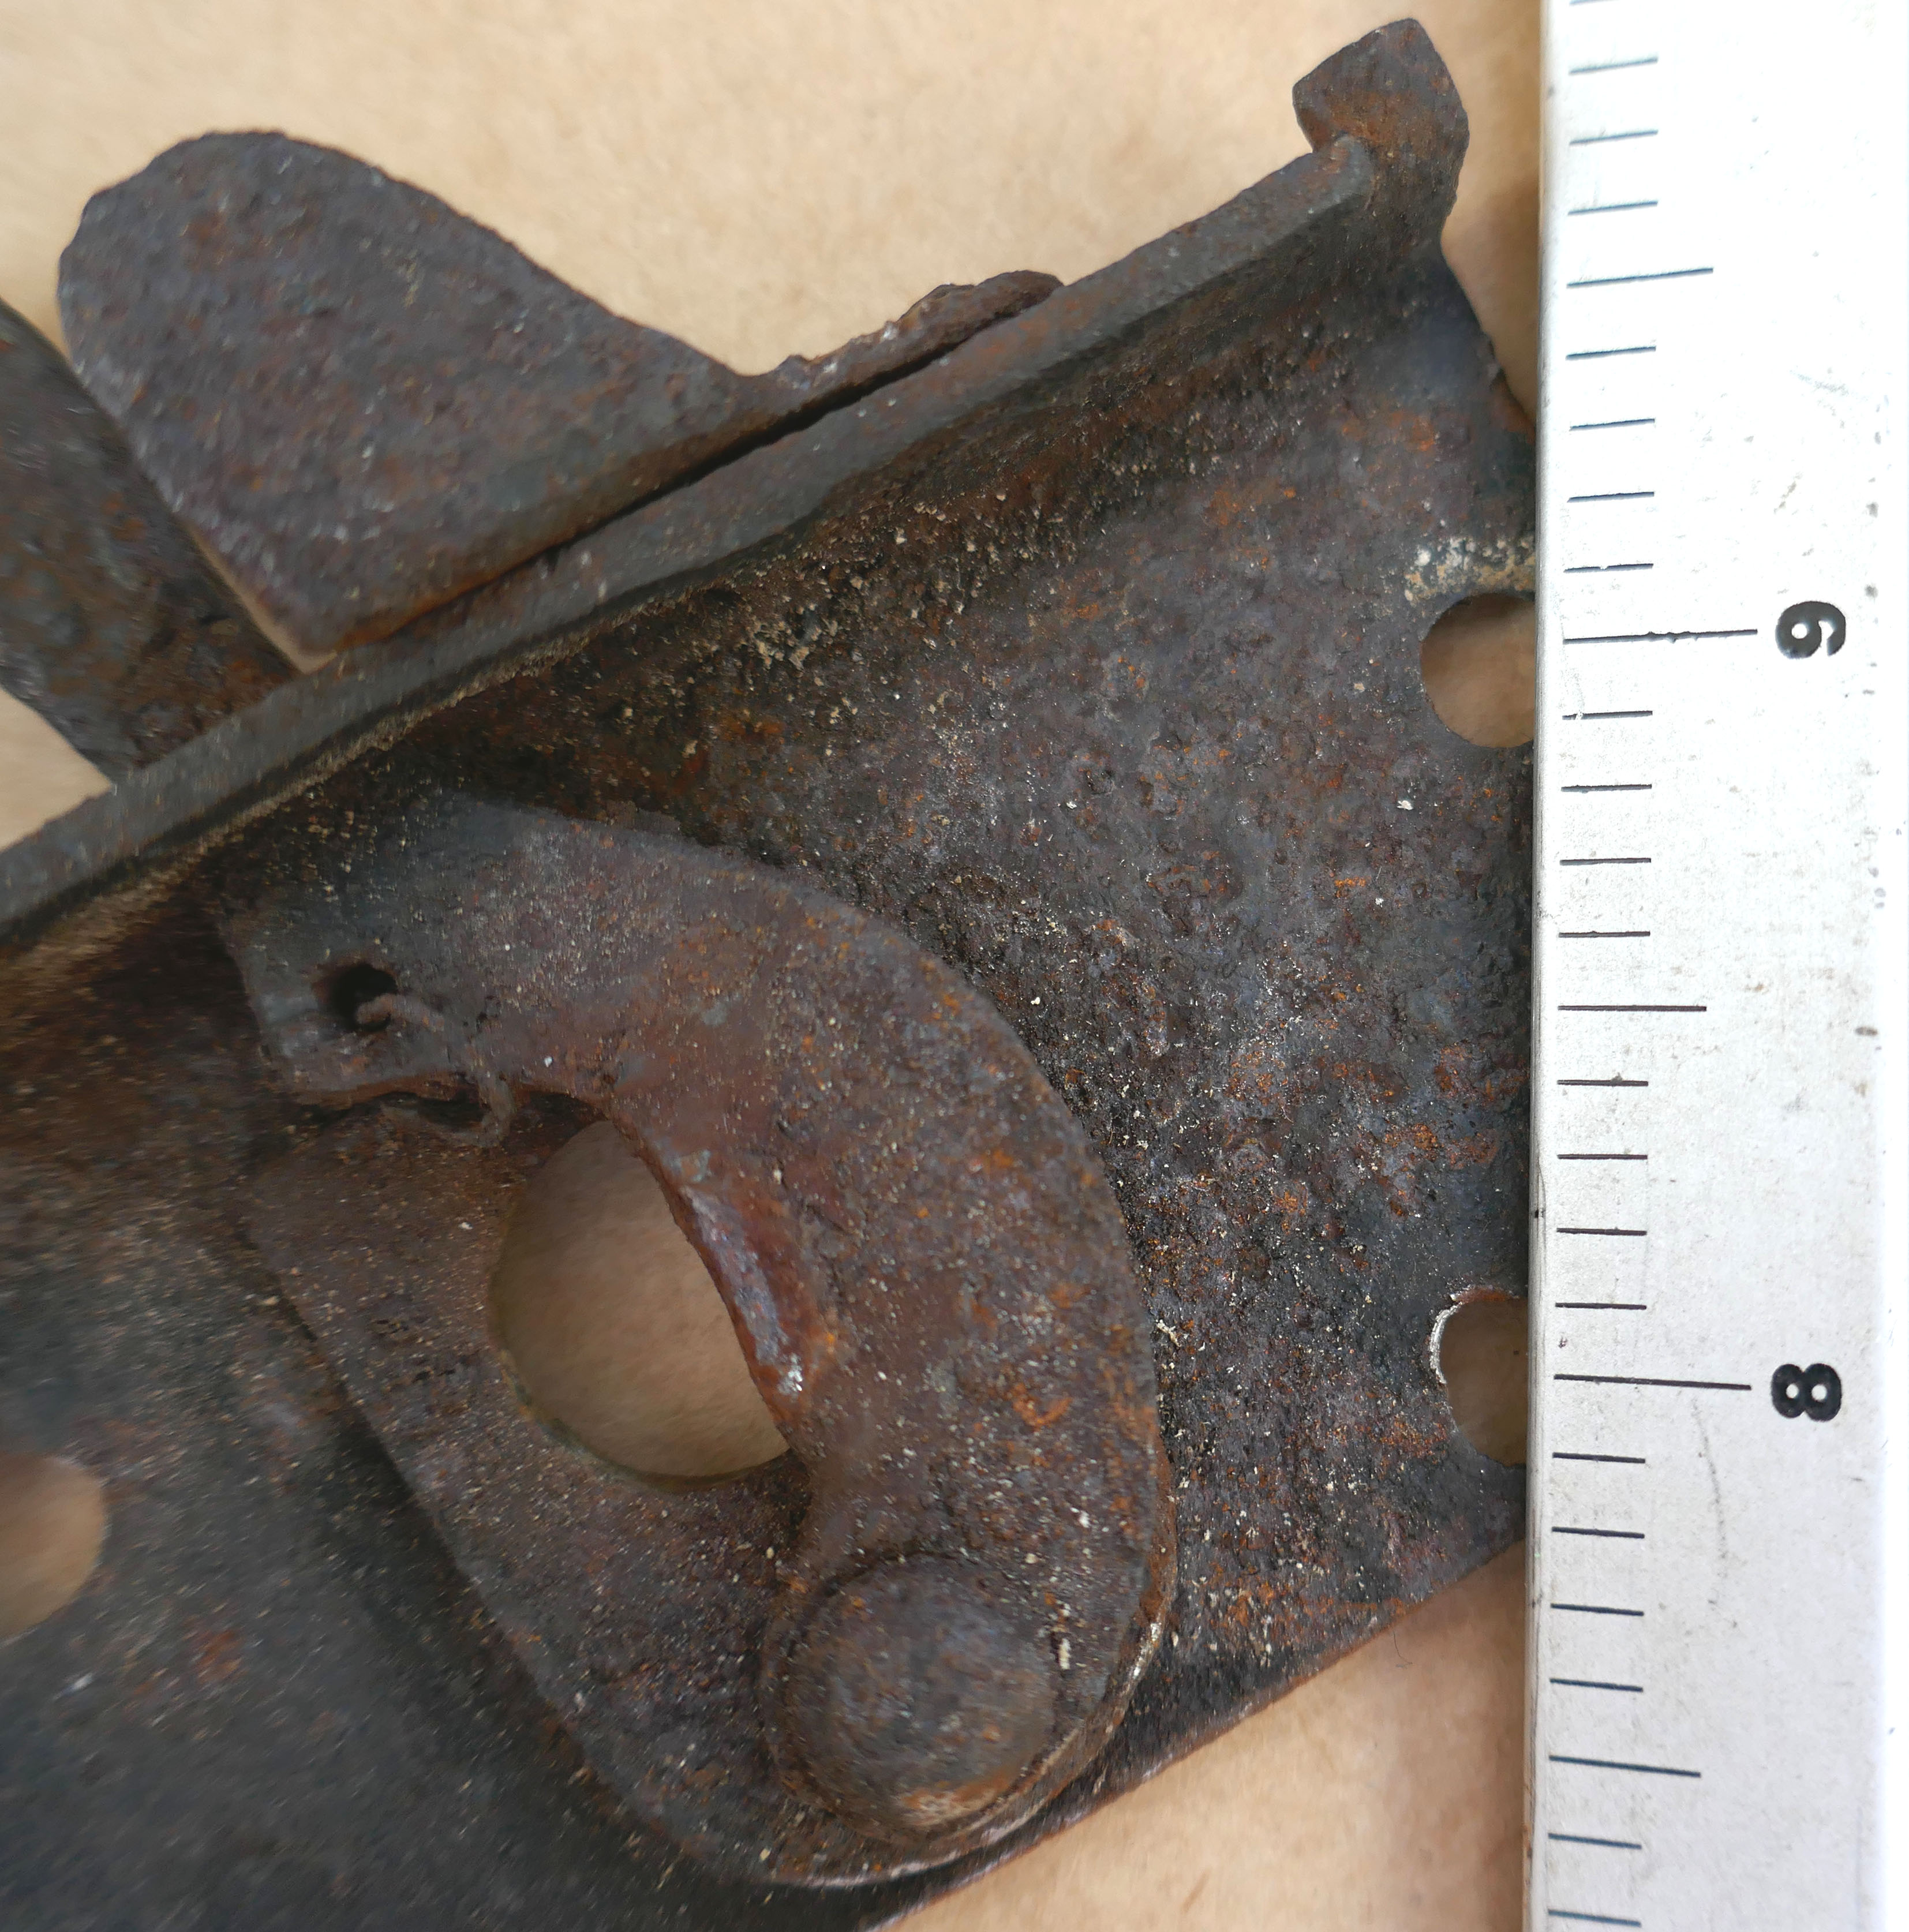
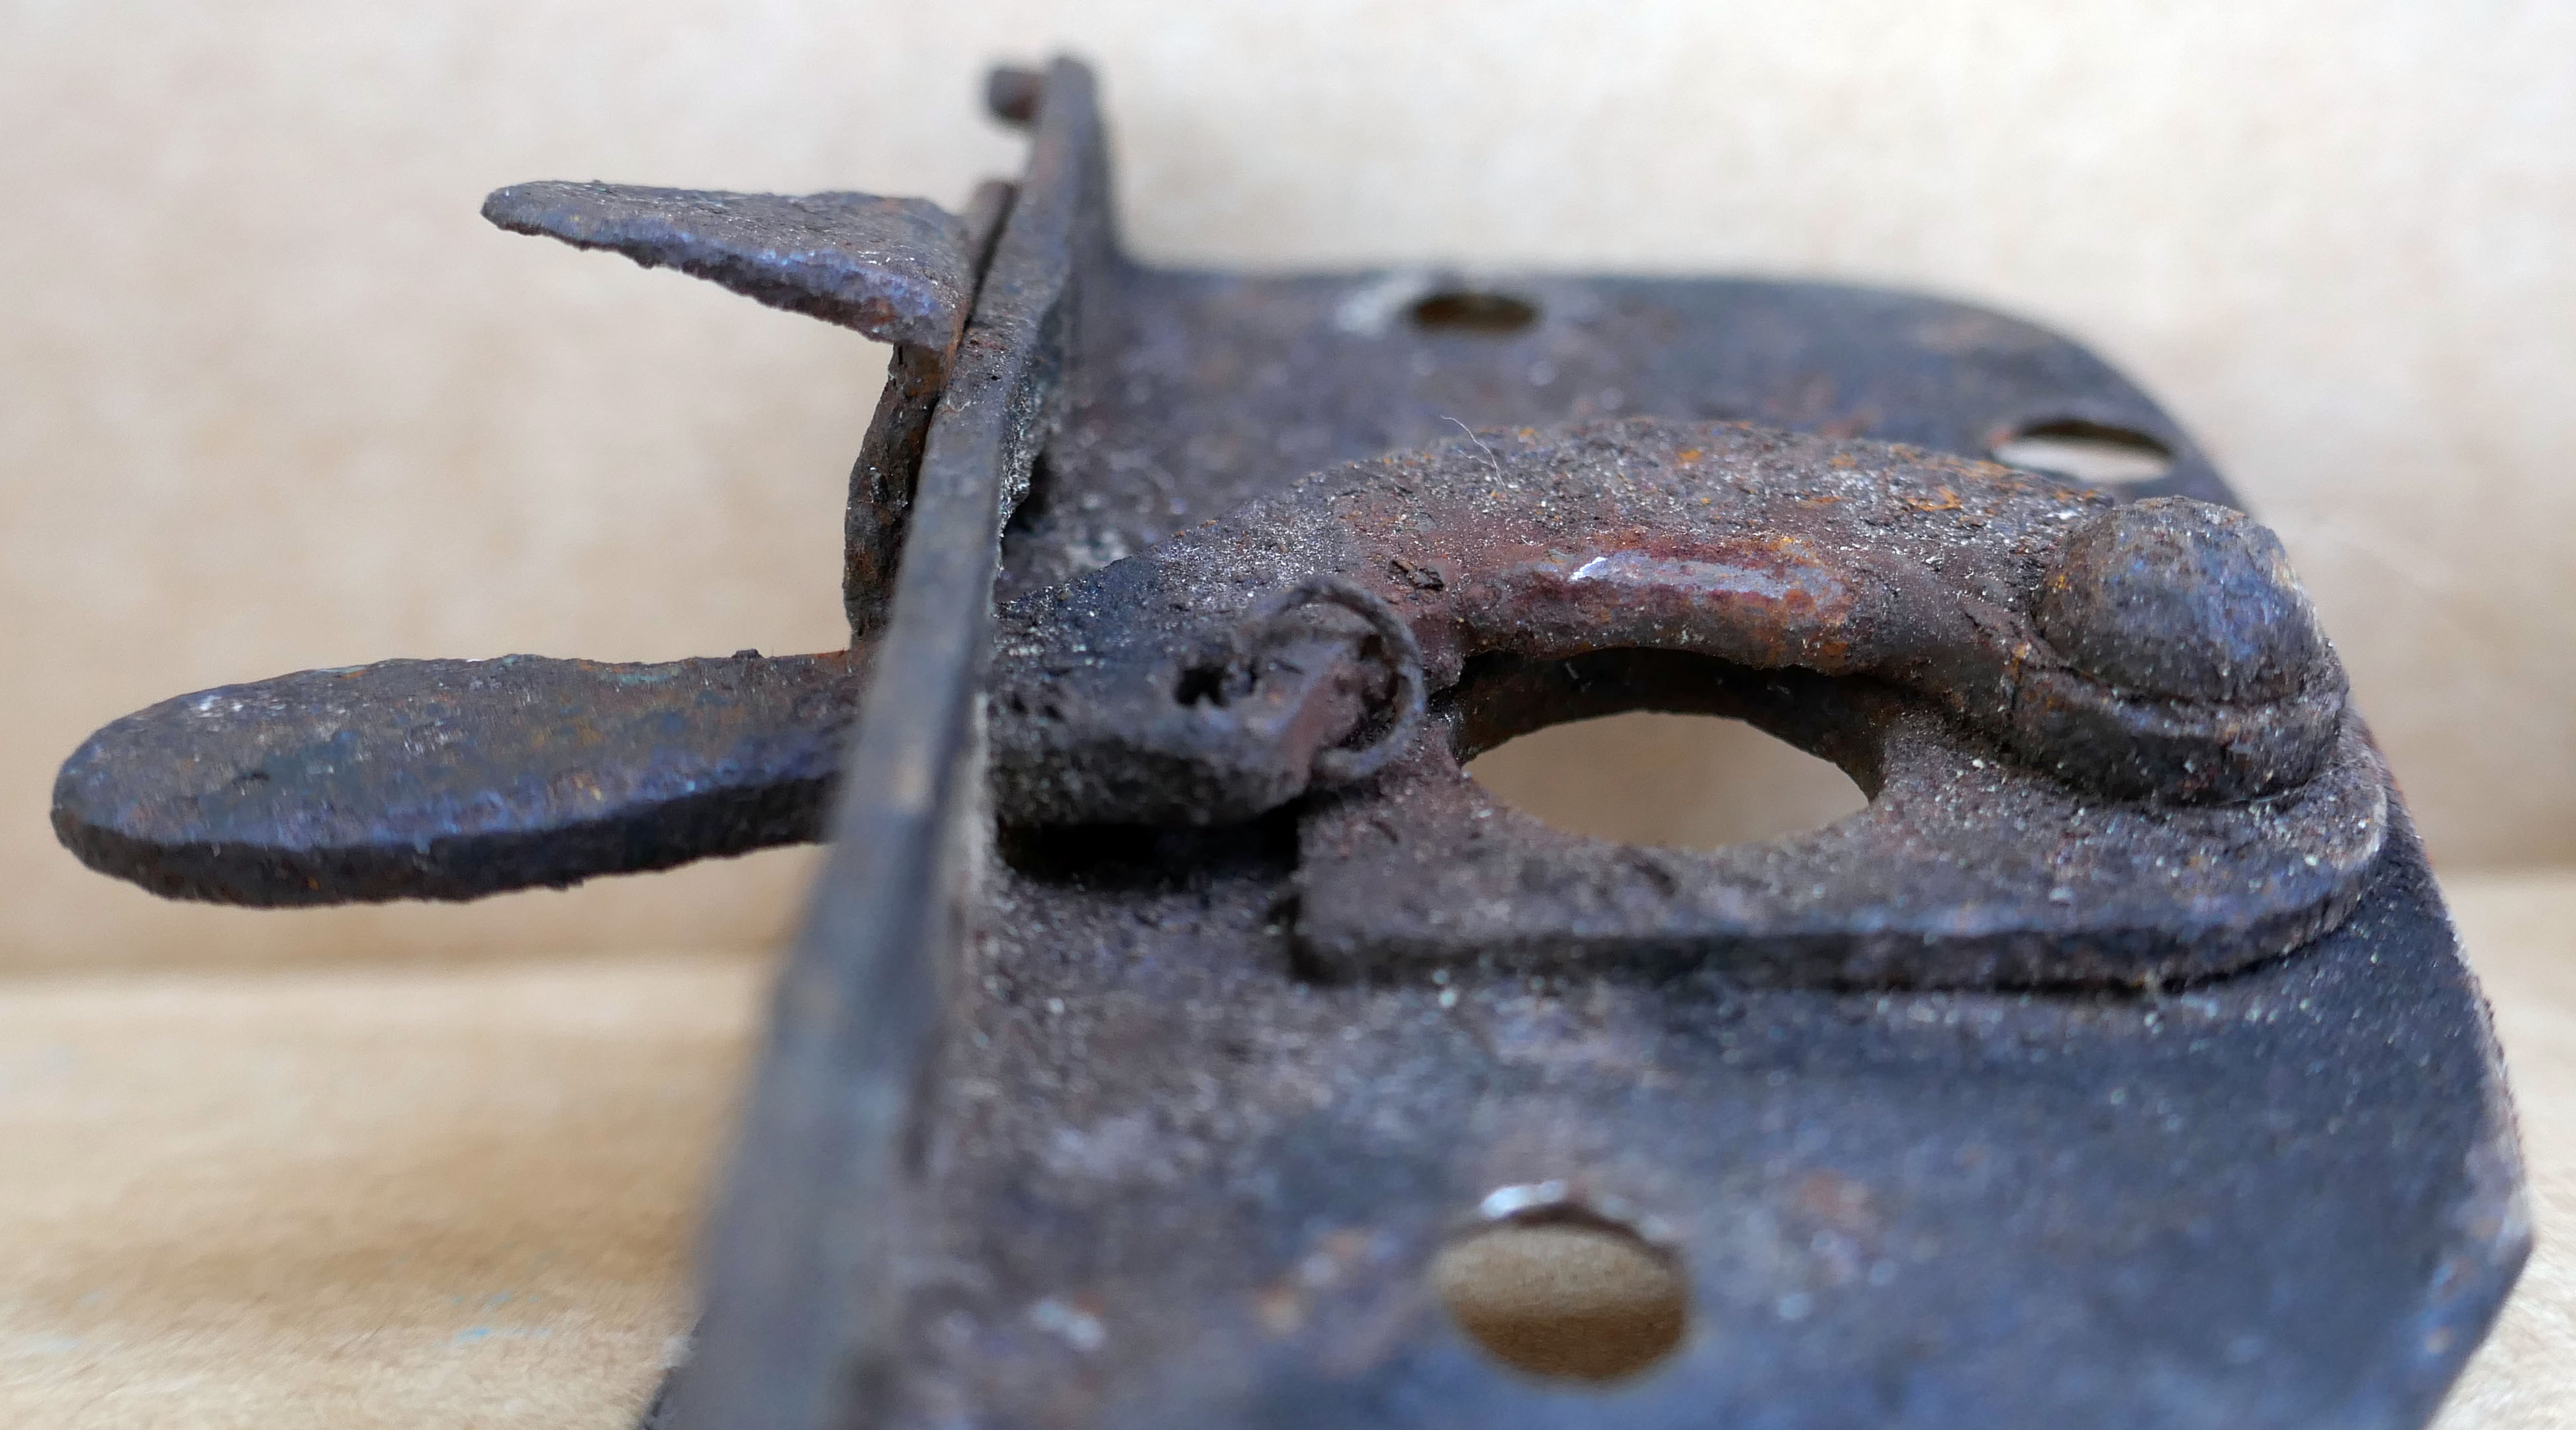
The design allowed the front of the hood to be snapped into place with the conical ends of the windscreen support posts automatically pushing the spring-load keeper plates open. As the hood frame went slightly lower, the plates sprang into rectangular-shaped cutouts, and the hood was locked in the down position. Each keeper plate was extended to form a lever that released it, allowing the hood to be raised. A small hinged safety tab was provided to lock the lever in the closed position, without which, as many units have suffered from weakened or broken springs over the decades, it could have vibrated out and the hood opened by itself.
When fitting the units, do check the slots in the windscreen uprights; the writer has seen several where the slots are no longer sharp, but rounded off from years of use. In the worst cases, the slots need welding up and new ones cut; those most just needed a little judicious work with a small, square-section file.
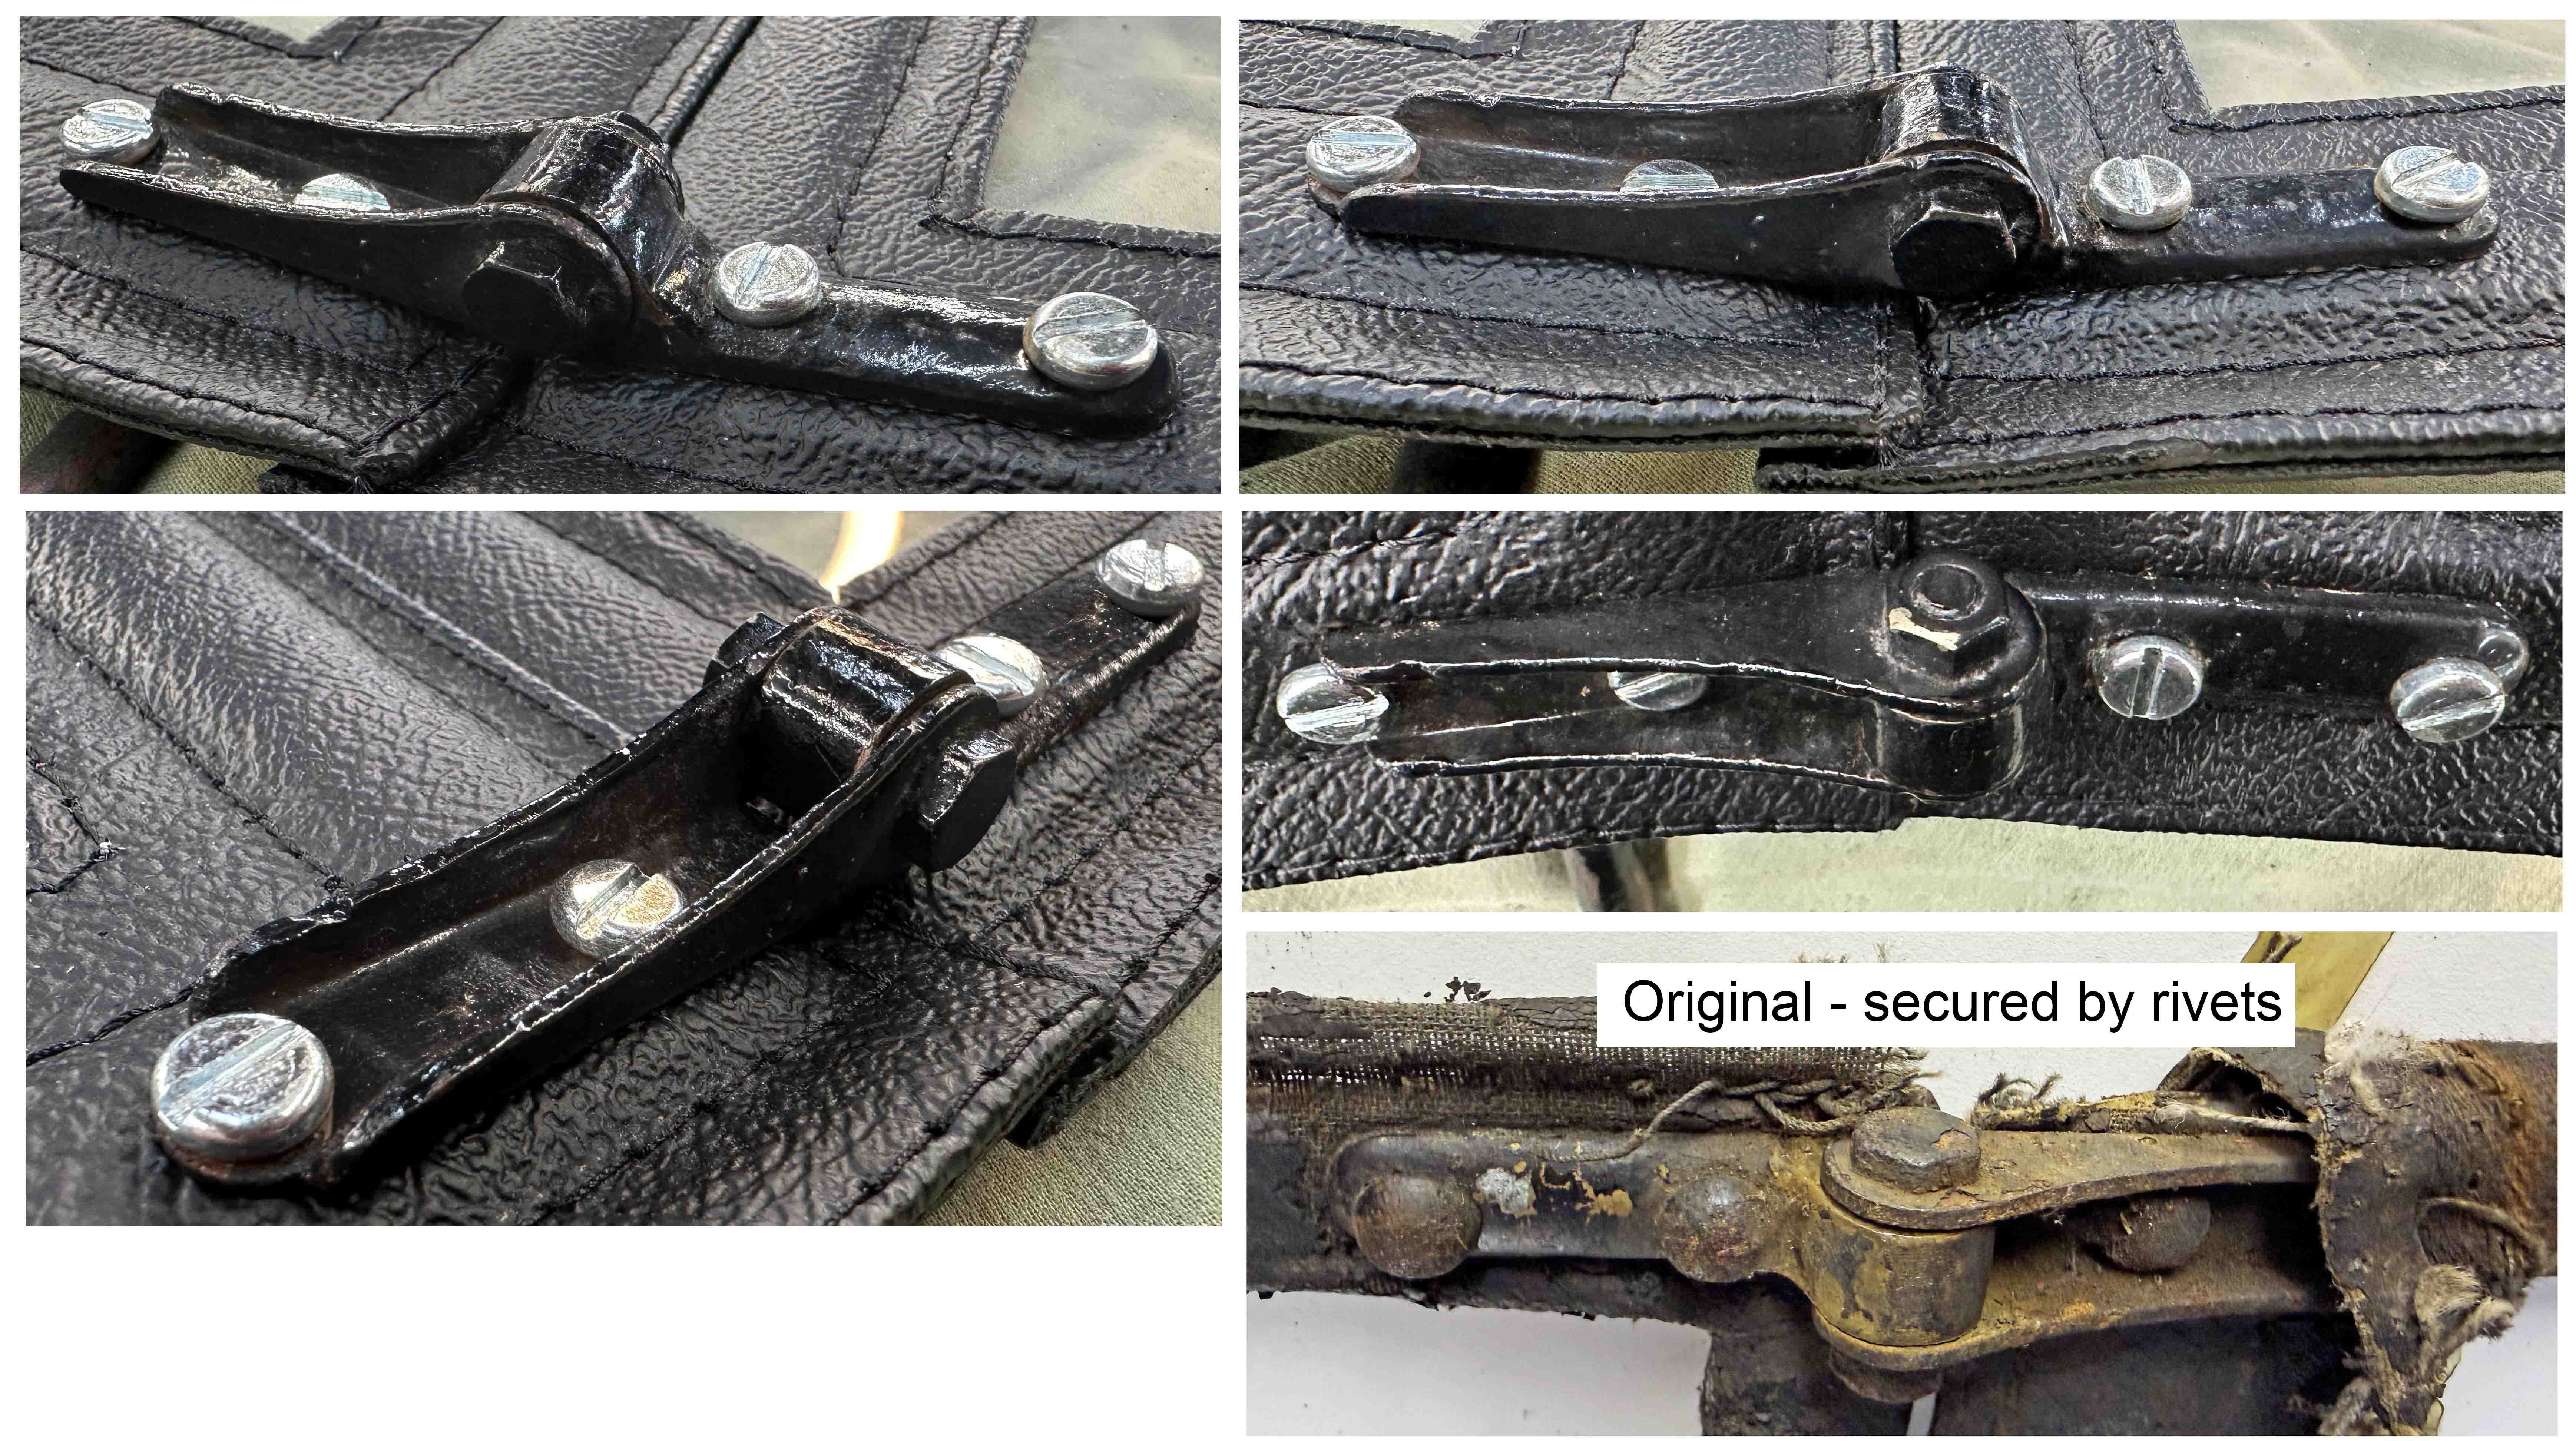
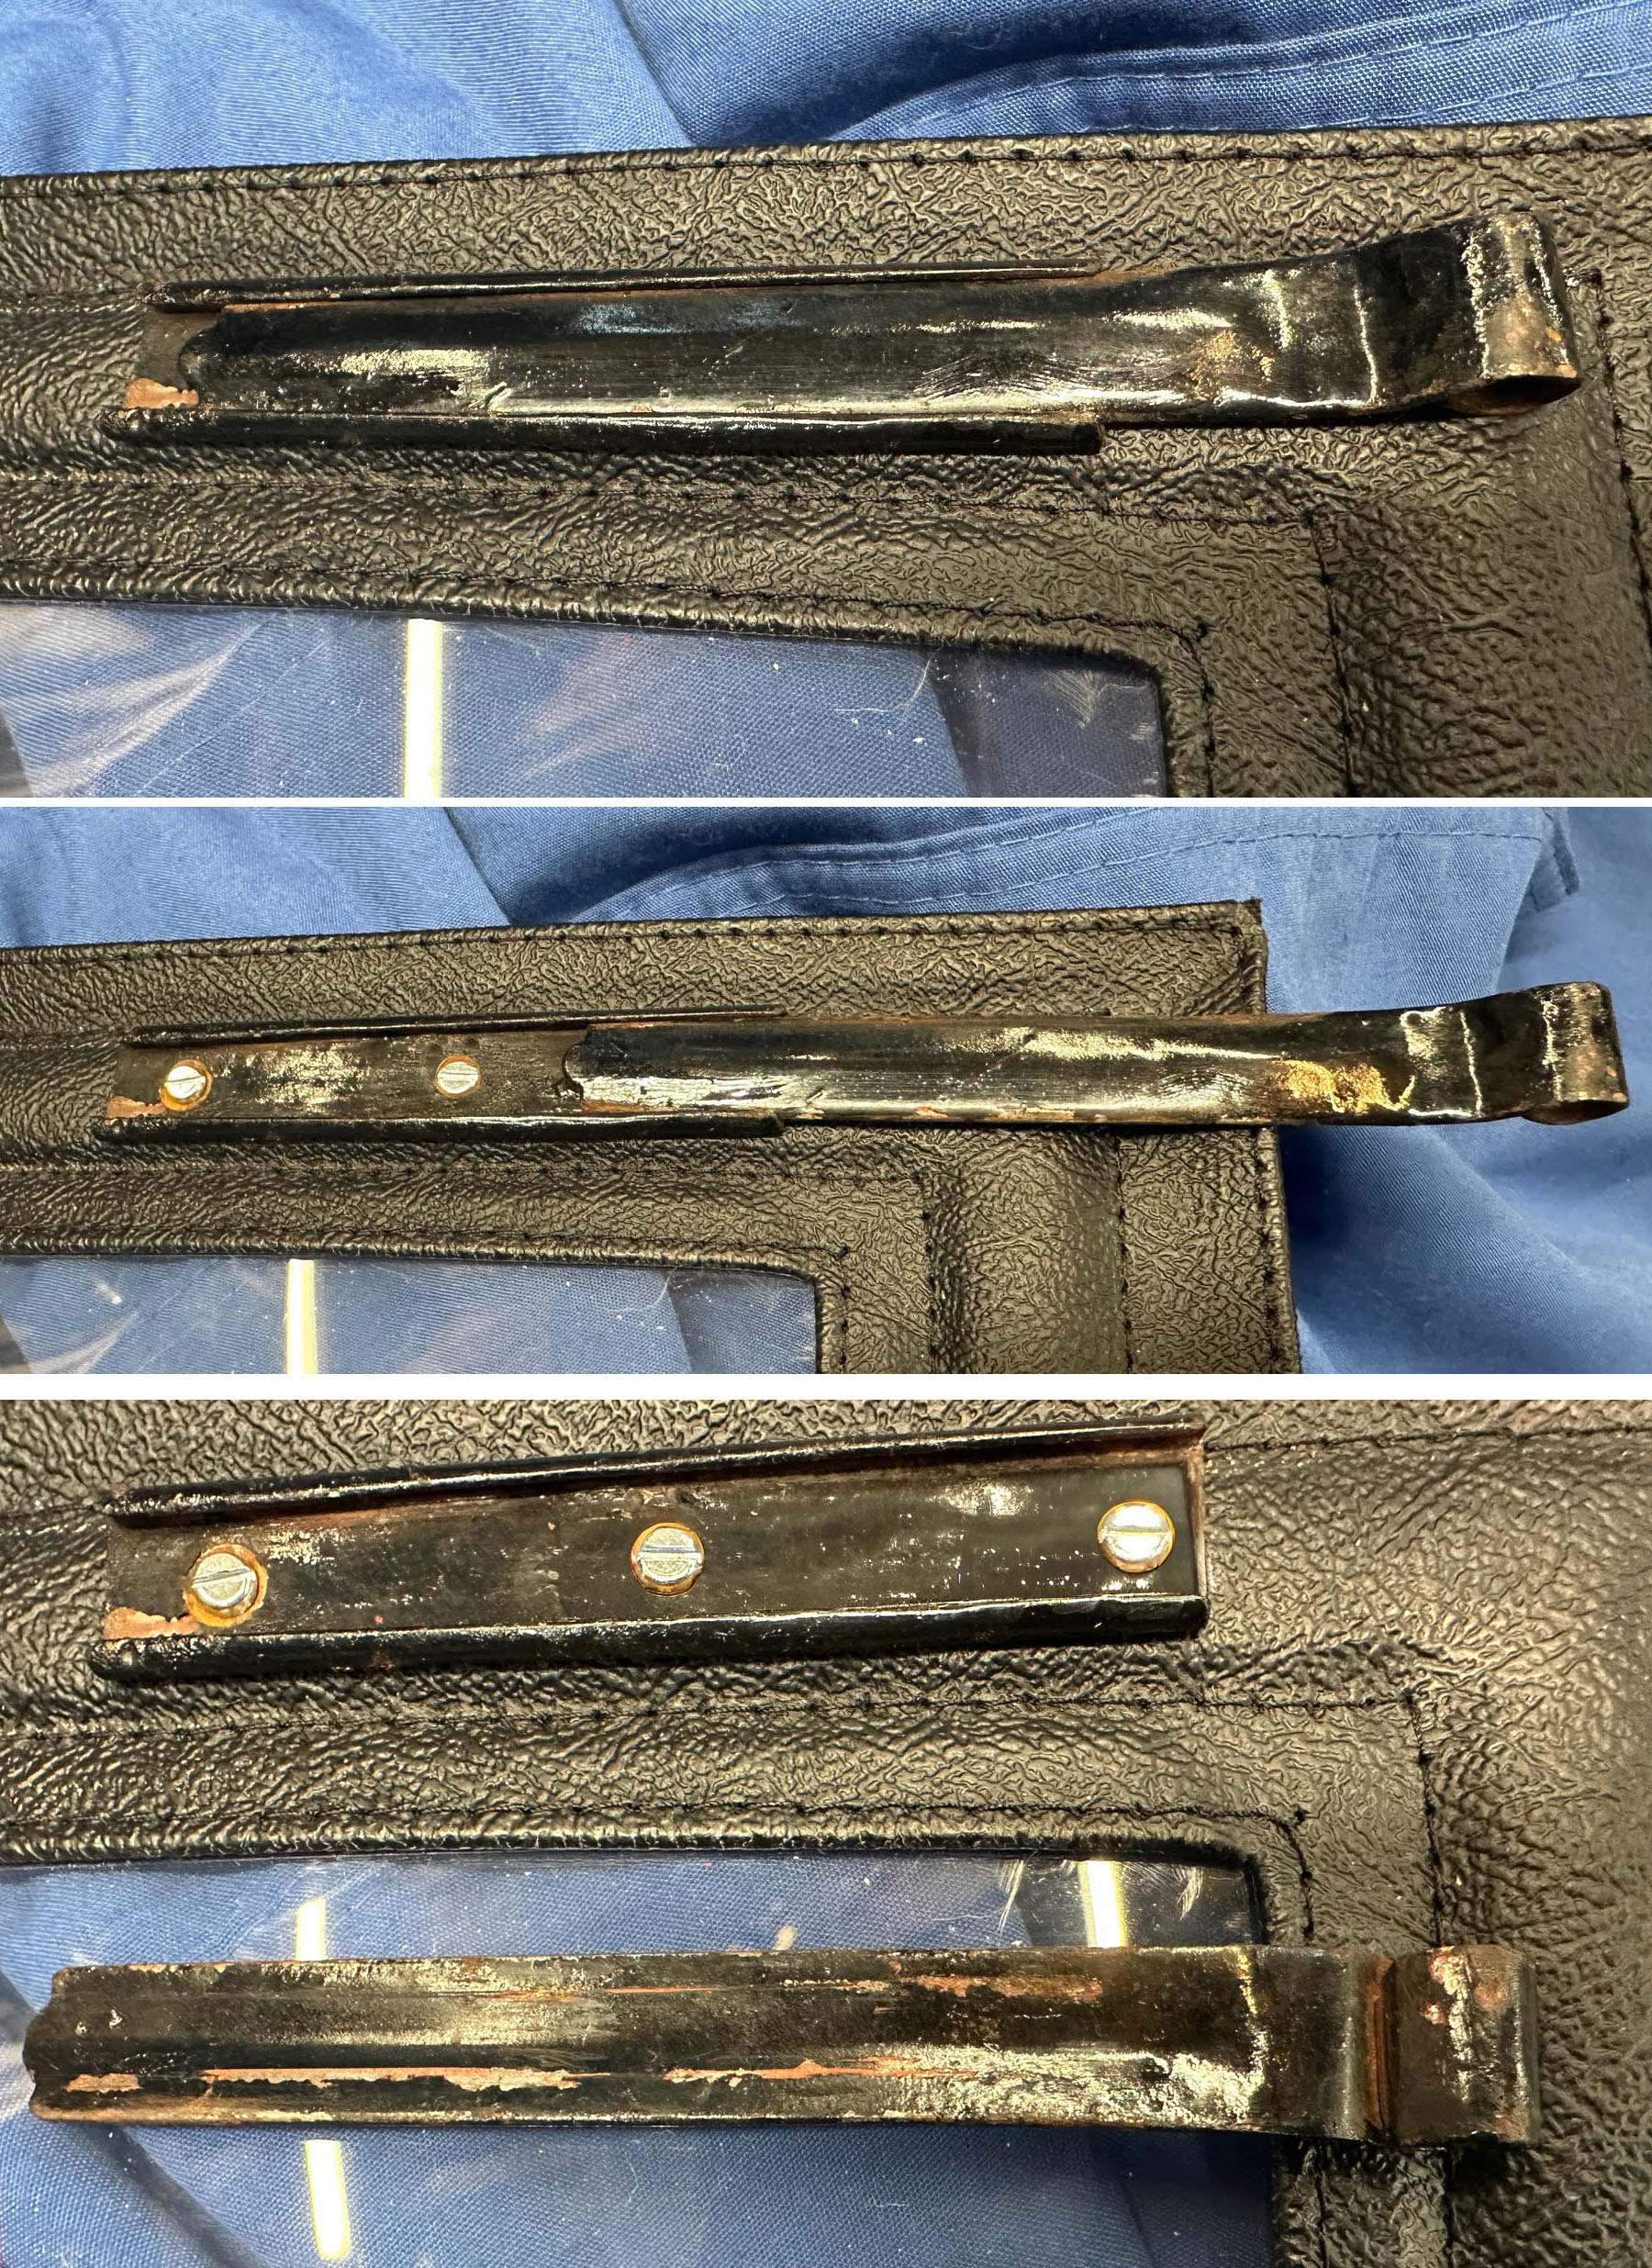
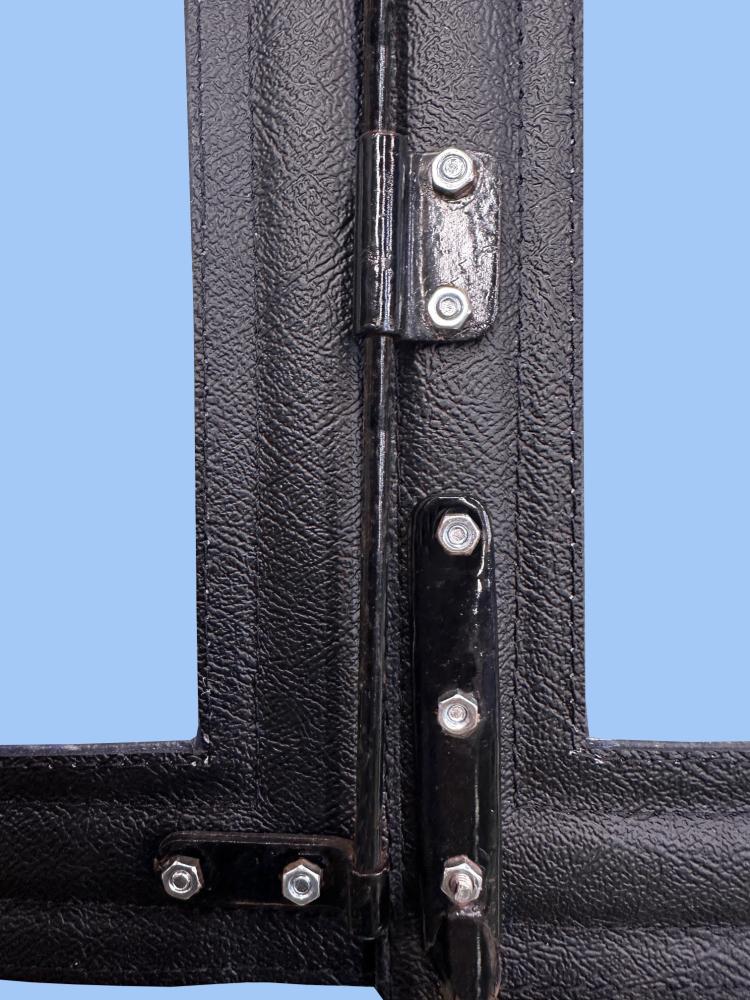
Over the page are details of the often-missing pair of leather straps that helped fasten together the hood frame tubes when the hood was down.
|
|
|
|
|
|
|
|
|
|
|
|
|
|
|
|
|
|
|
|
|
|
|
|
|
|
|
|
|
|
|
|
|
|
|
|
|
|
|
|
|
|
|
|
 |
|
|
|
|
|
 |
|
|
|
|
 |
|
|
|
|
|
 |
|
|
|
|
|
|
|
|
|
|
|
 |
|
|
|
|
|
 |
|
|
|
|
|
 |
|
|
|
|
|
 |
|
|
|
|
|
 |
|
|
|
|
|
|
|
|
|
|
|
 |
|
|
|
|
|
 |
|
|
|
|
|
 |
|
|
|
|
|
 |
|
|
|
|
|
 |
|
|
|
|
|
 |
|
|
|
|
|
 |
|
|
|
|
|
 |
|
|
|
|
|
 |
|
|
|
|
|
 |
|
|
|
|
|
|
|
|
|
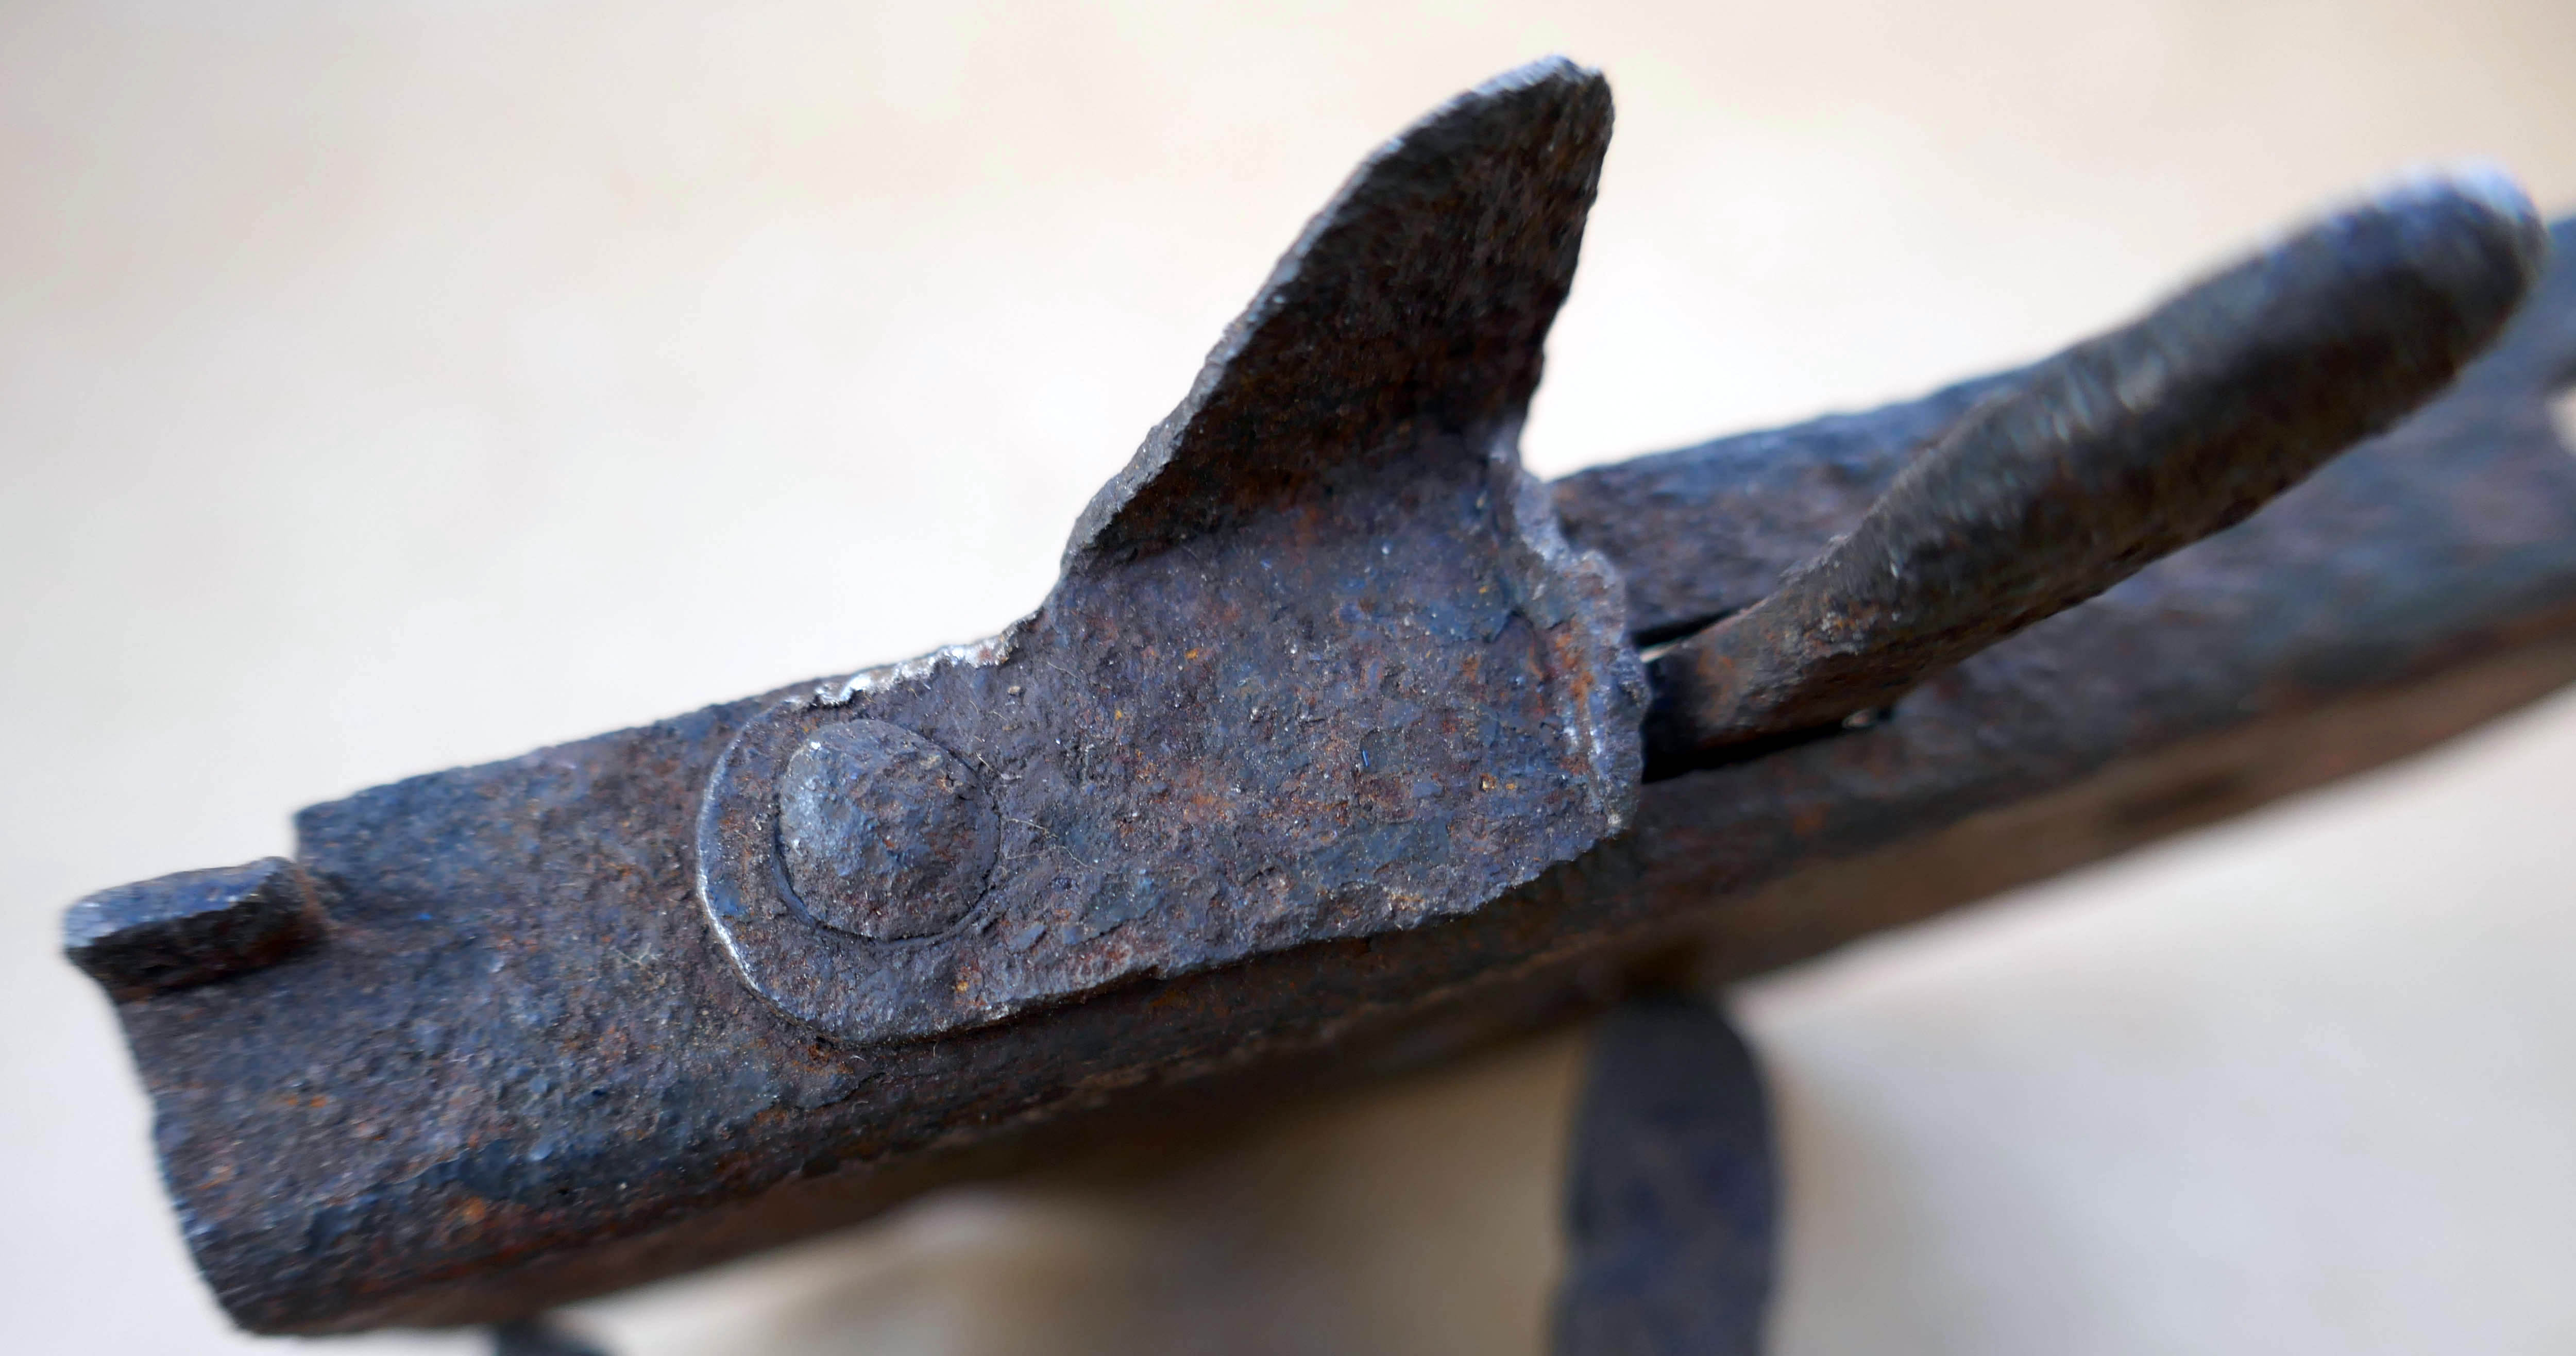
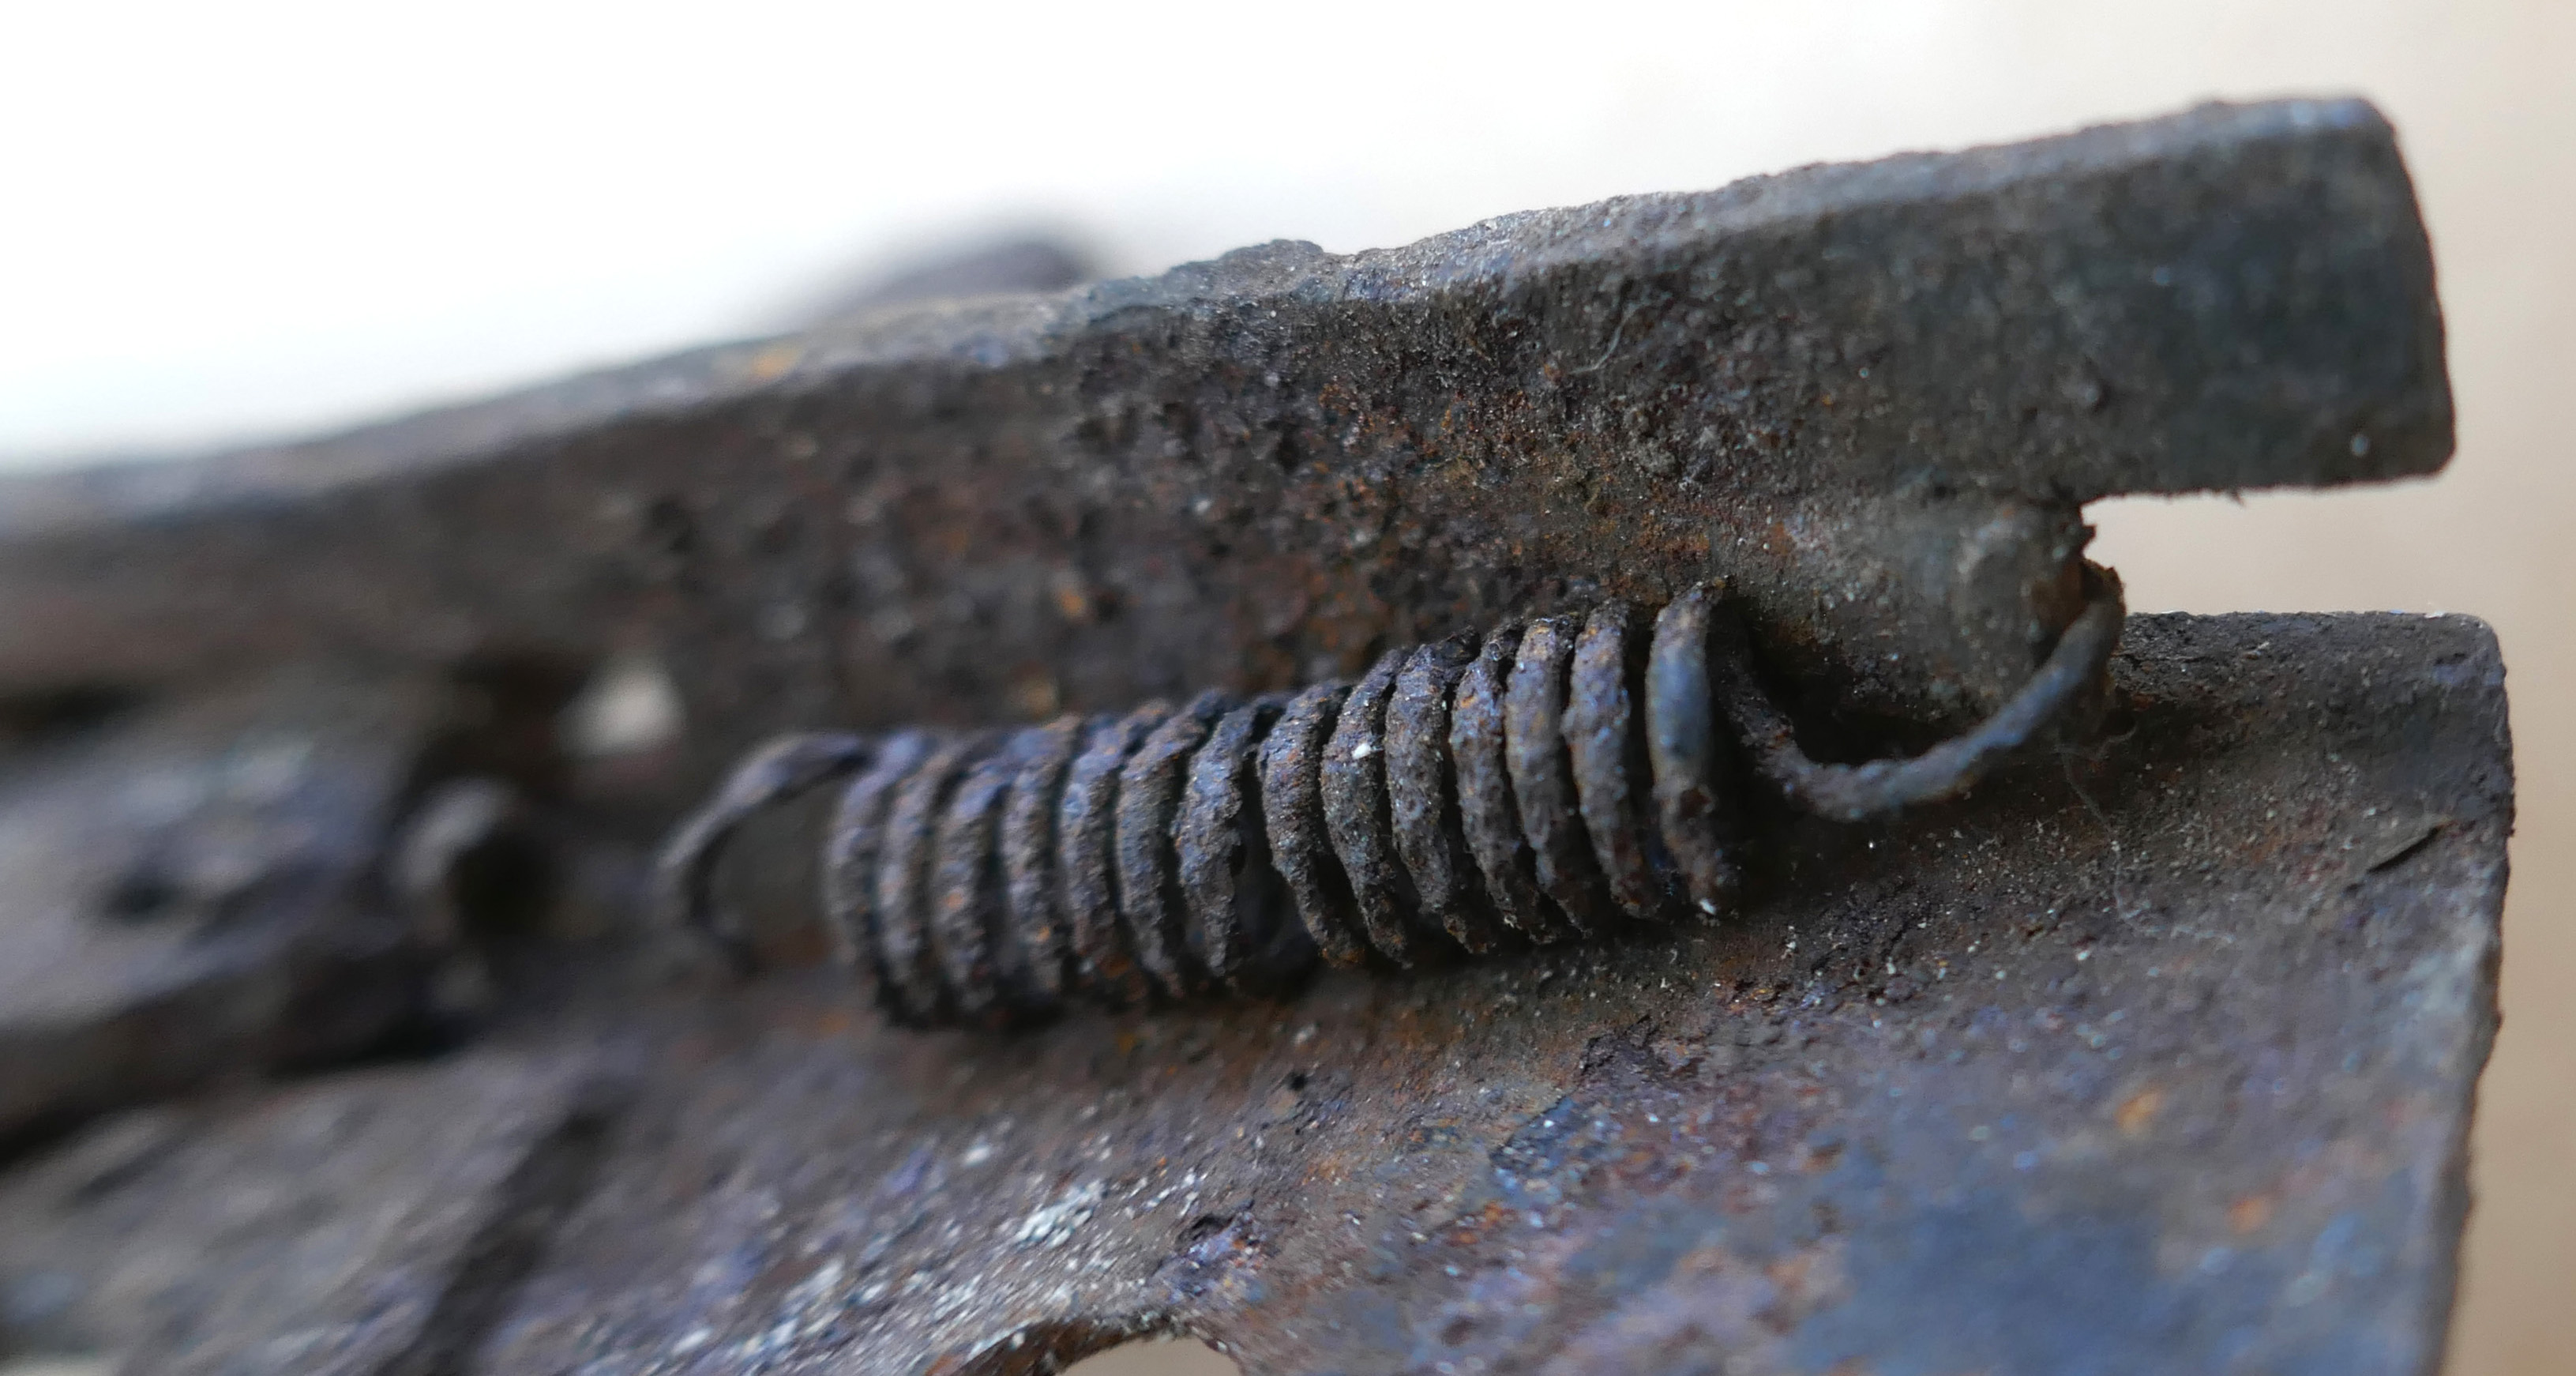
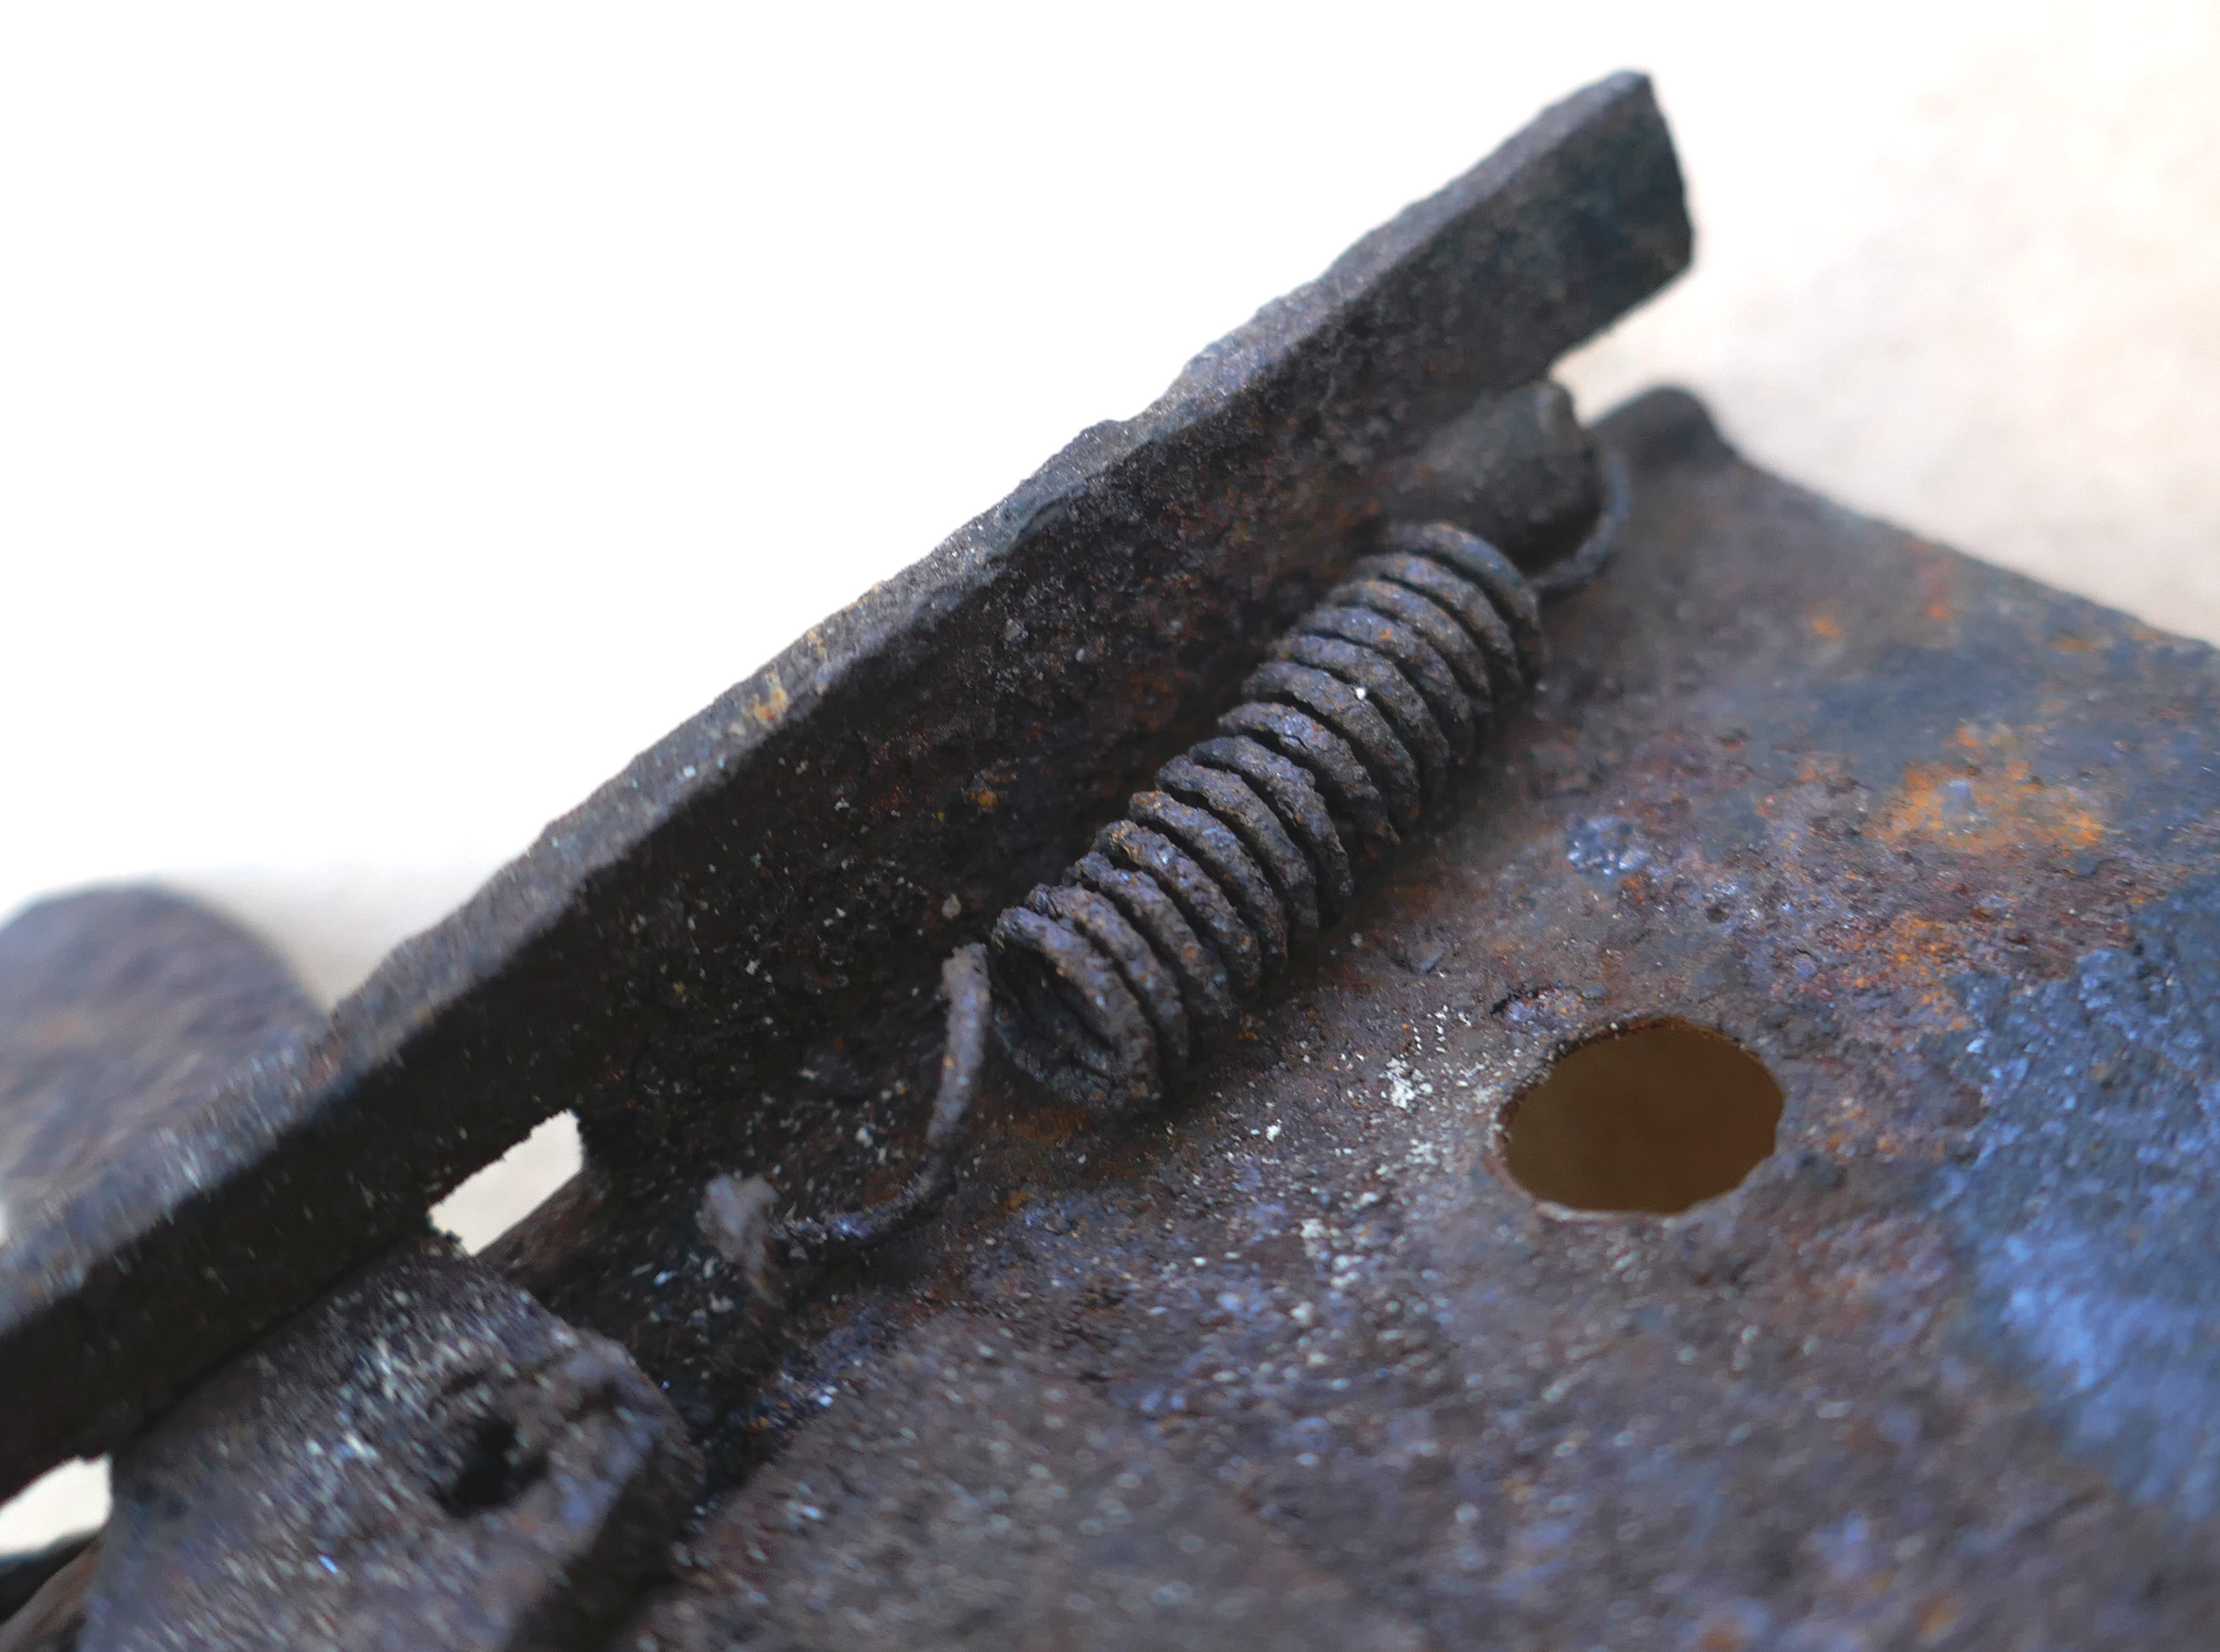
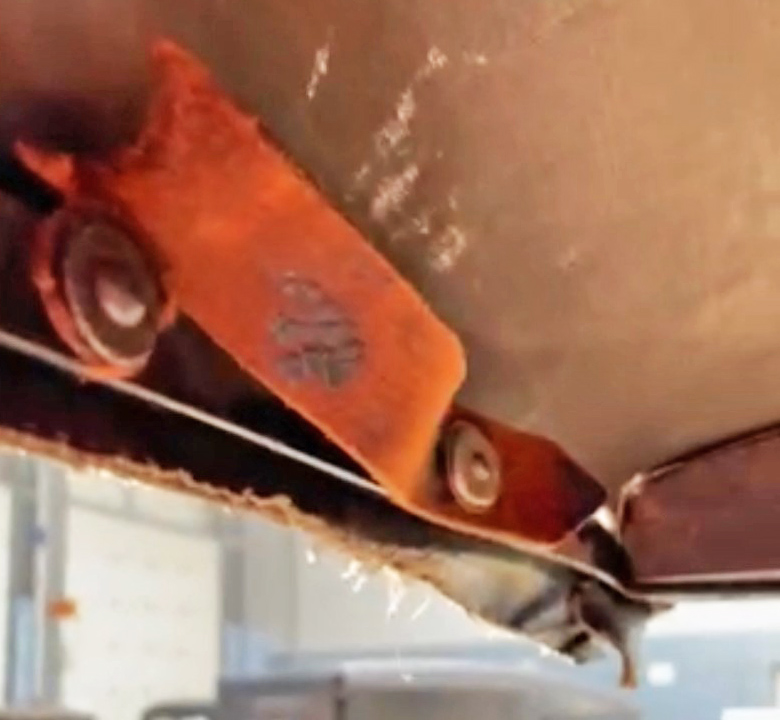
Modern replacement hood-to-windscreen frame clip. Not exactly the same, but it works.
When preparing the wooden frame, don't forget that the spring on the inside needs clearance to work.
|
|
|
|
|
|
|
|
|
|
 |
|
|
|
|
|
|
|
|
|
|
|
|
|
|
|
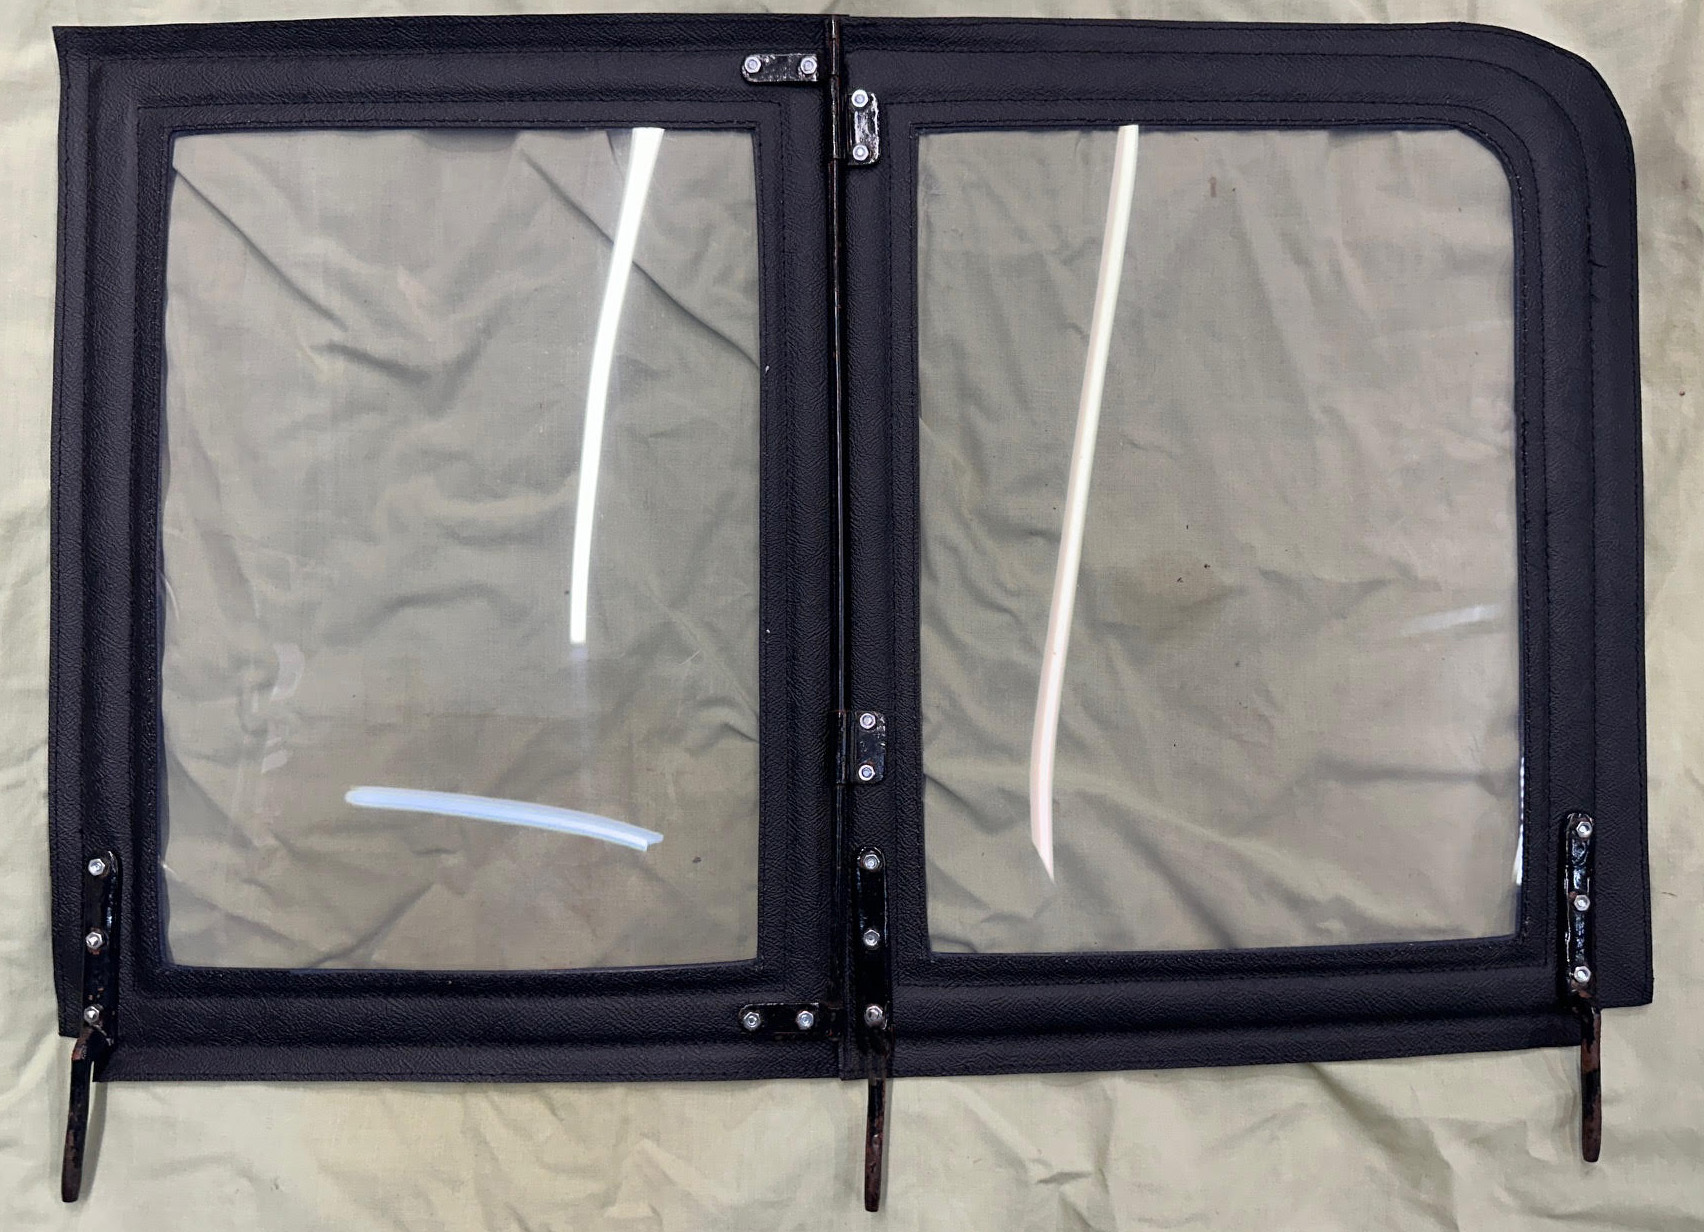
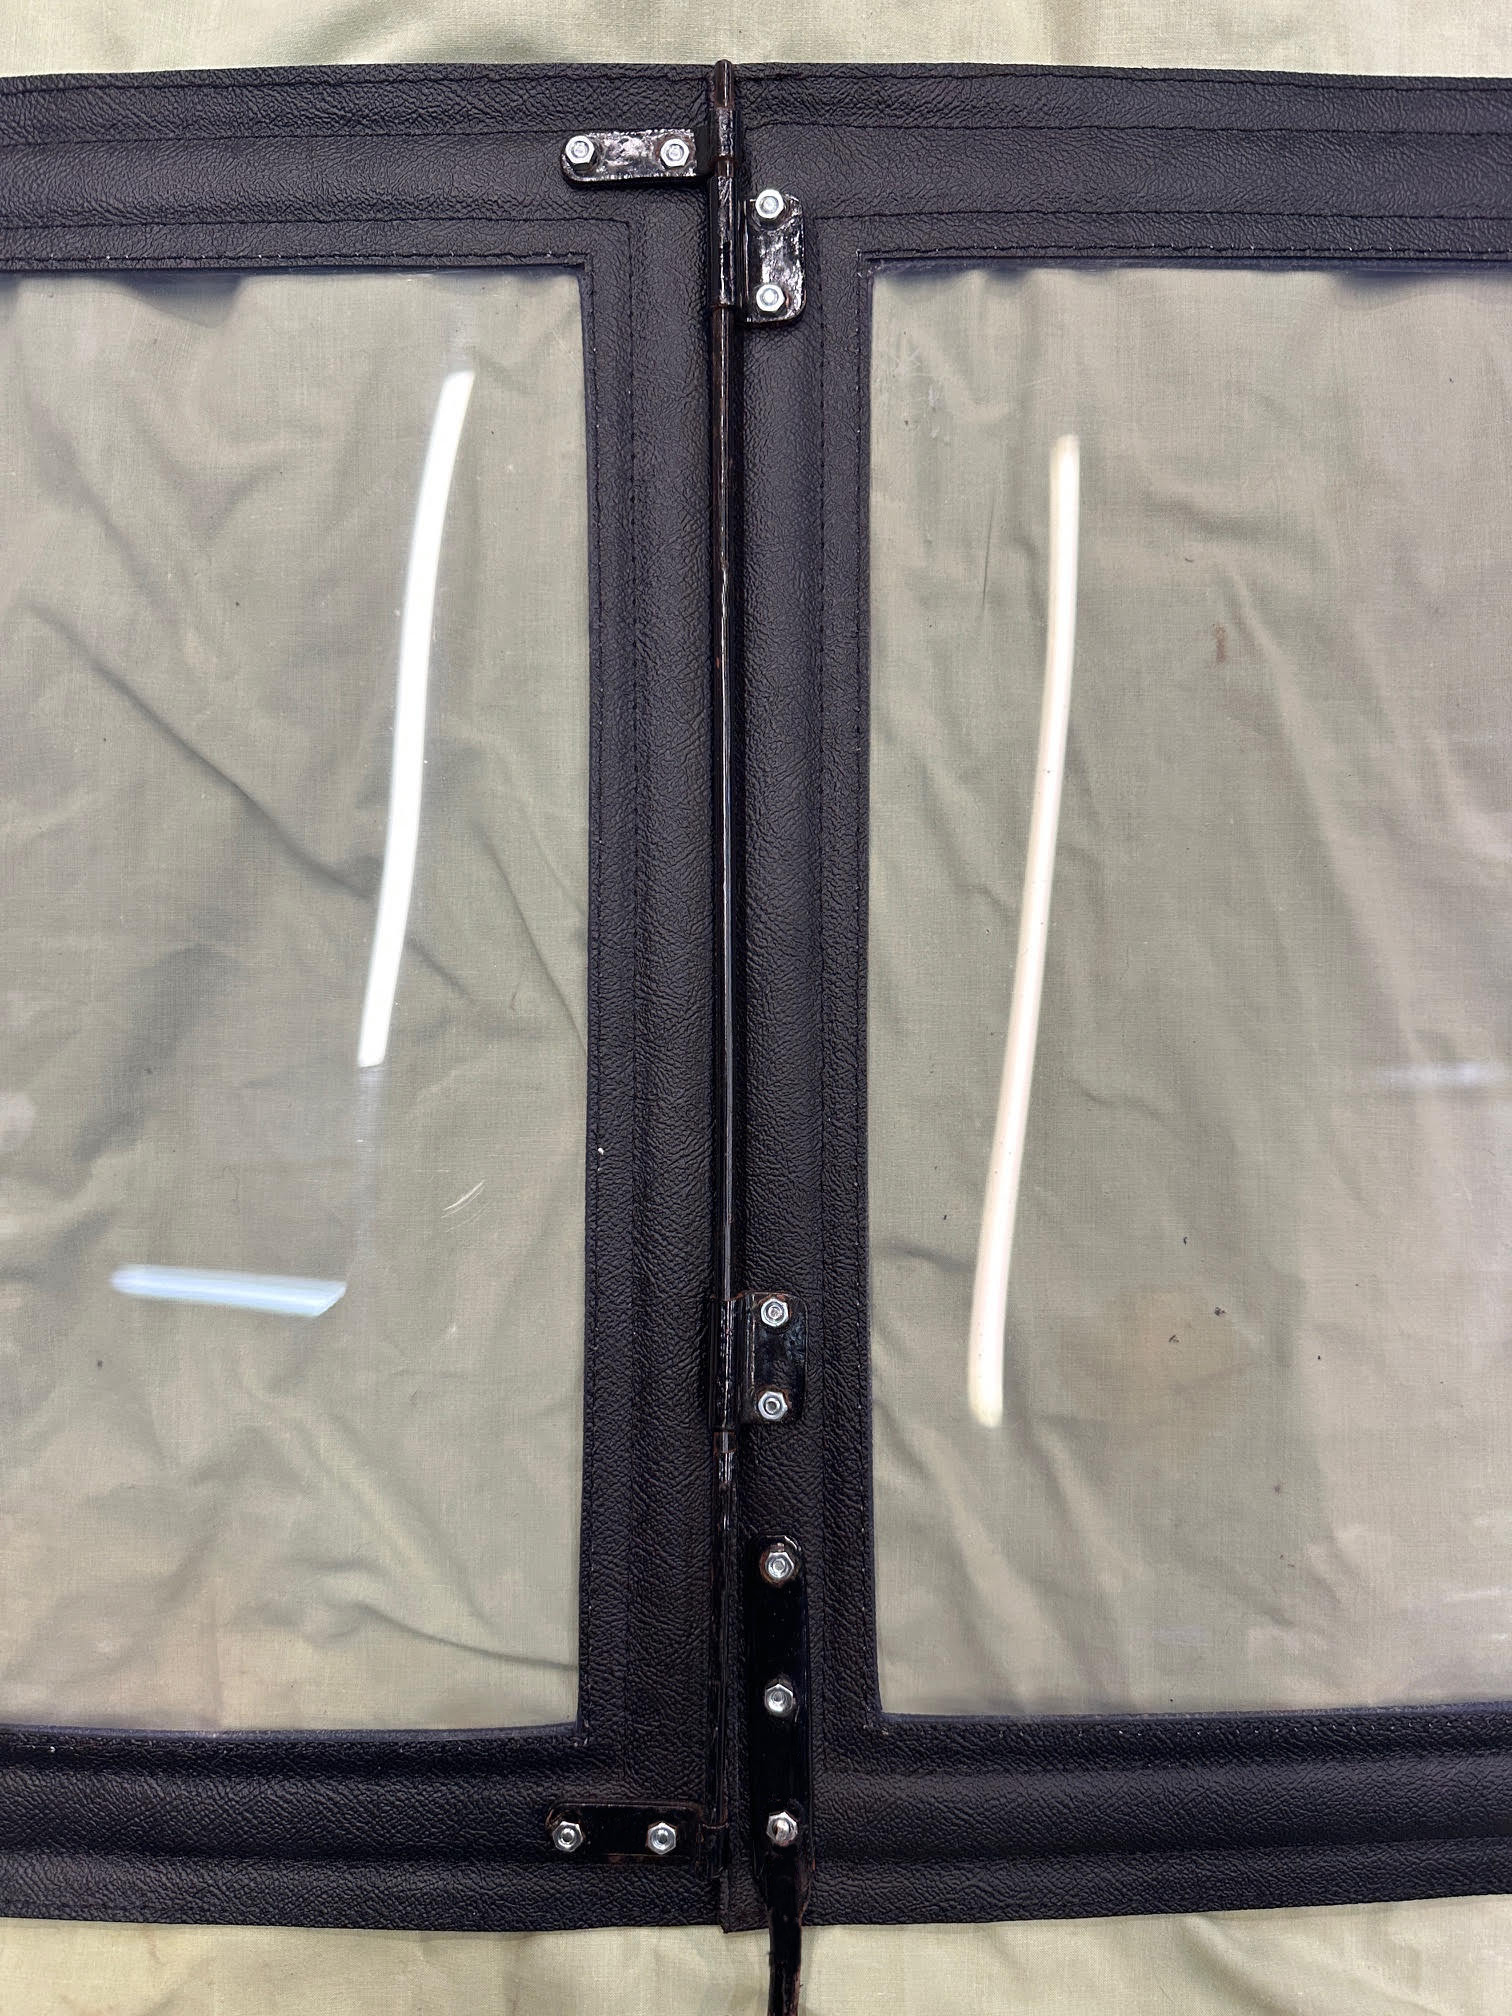
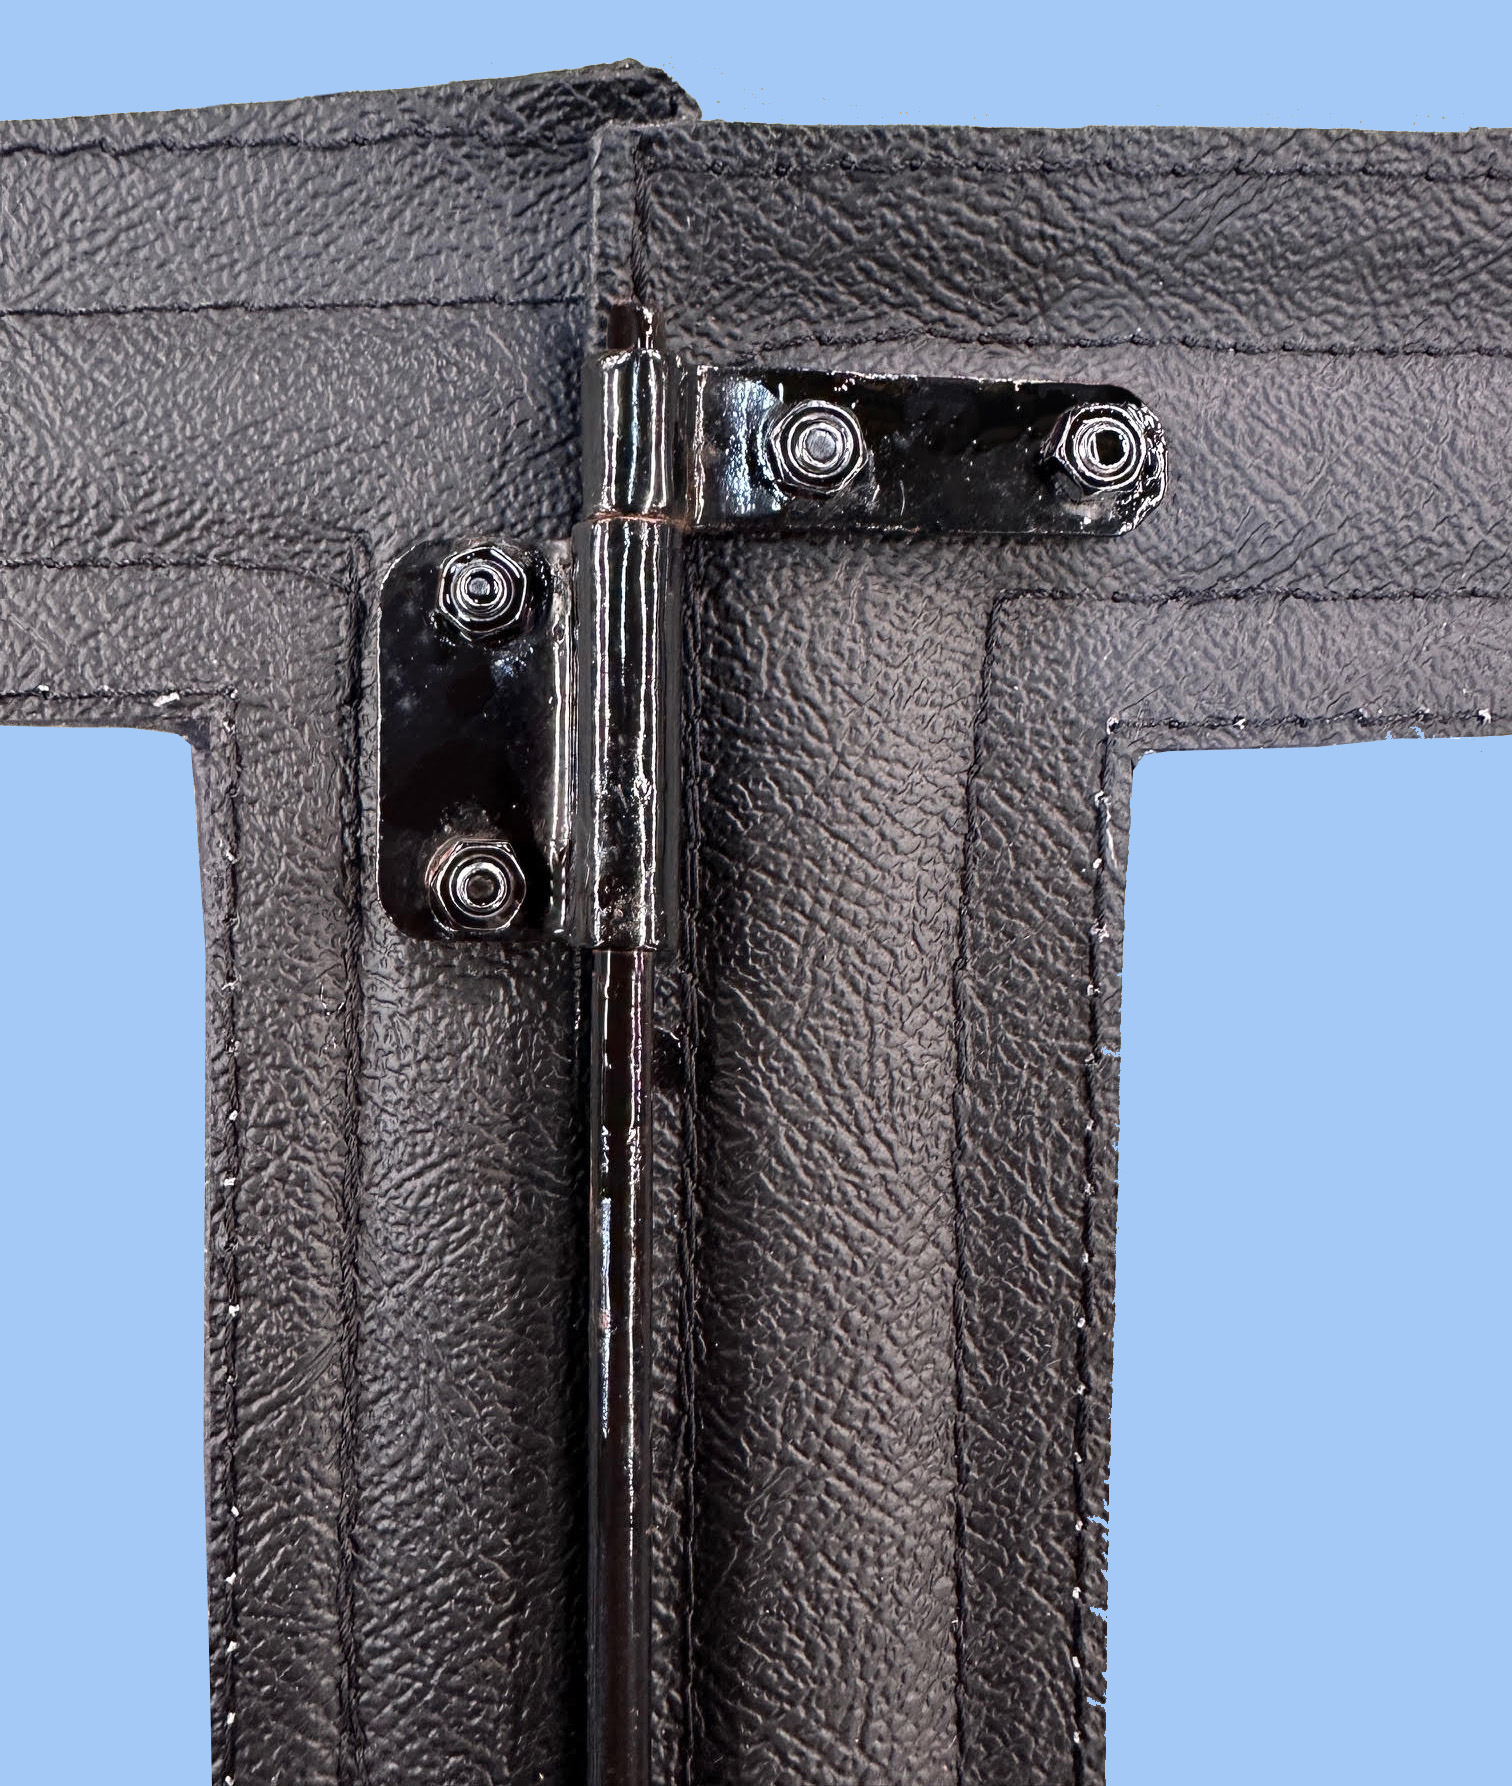
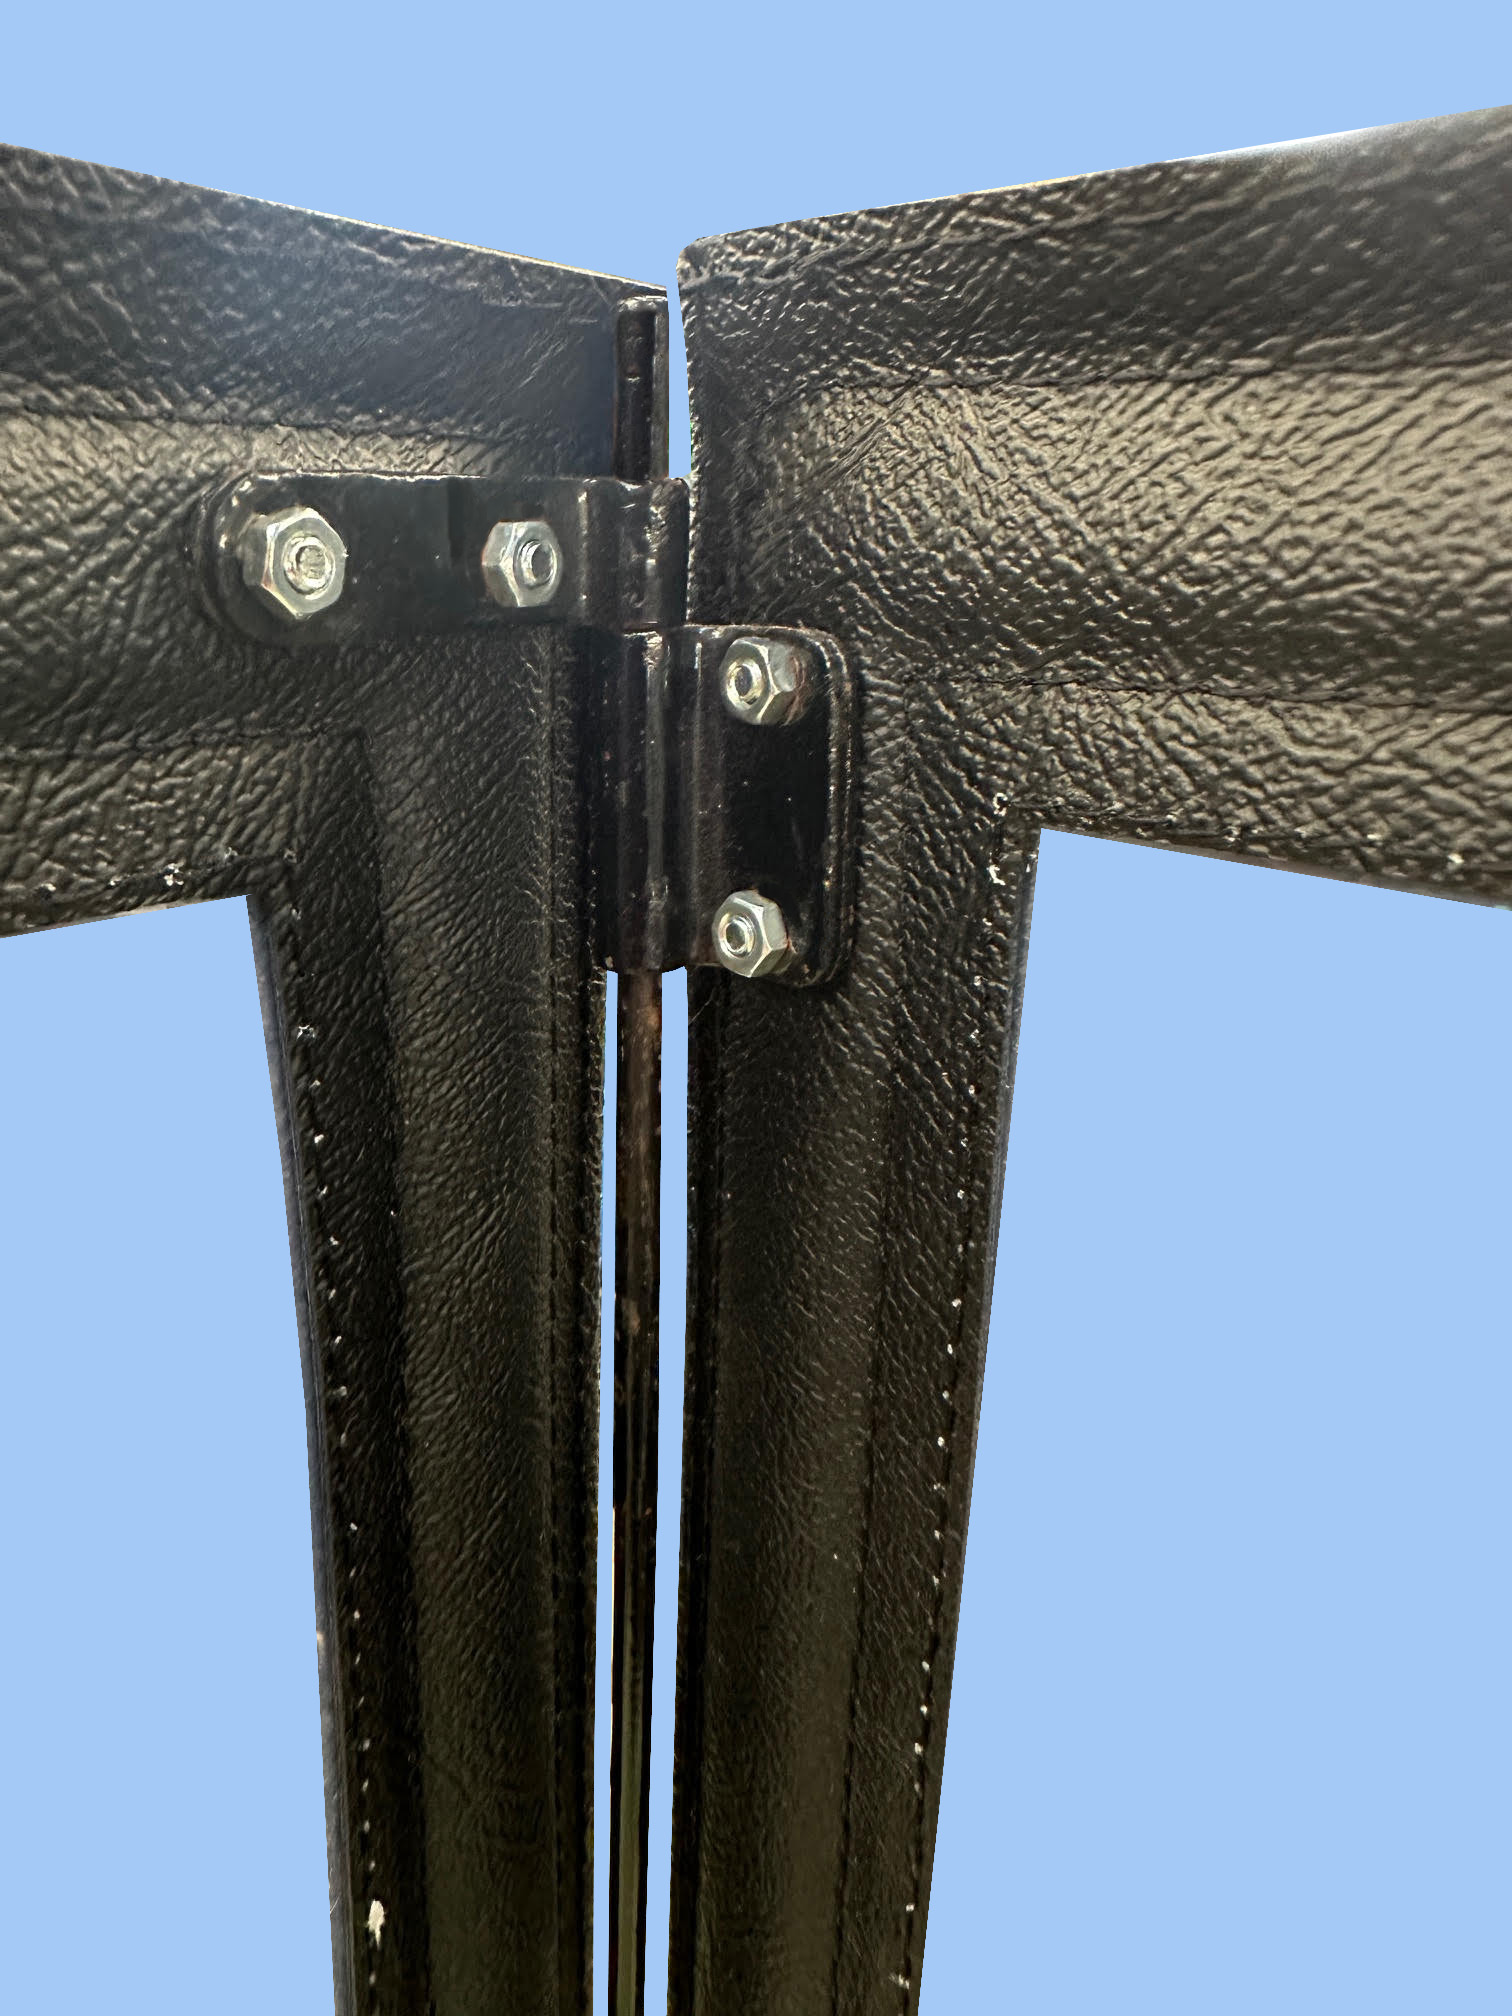
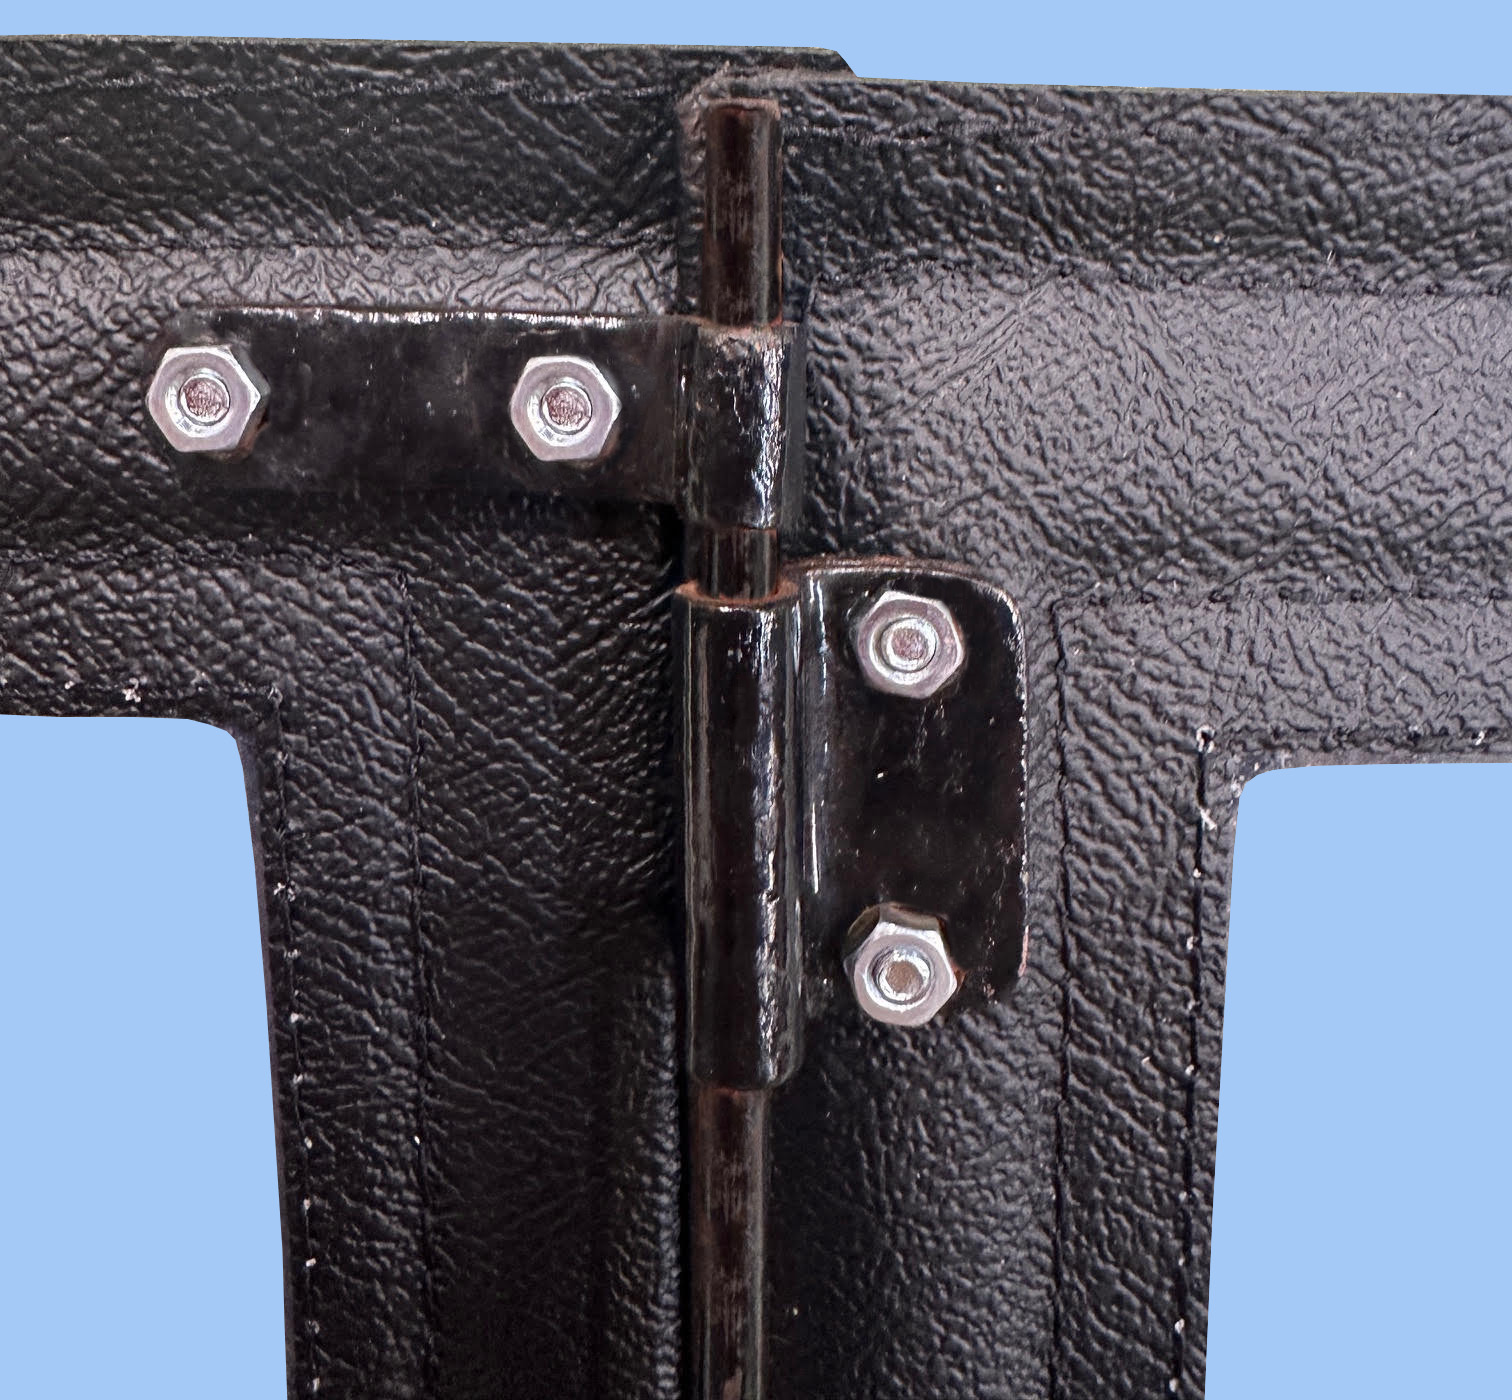
Sidecreen Fittings
The fitting shown are from 1927 to 1931 cars, but the hinges and pins were used before and after these dates
|
|
|
|
|
|
|
|
|
|
 |
|
|
|
|
|
 |
|
|
|
|
|
 |
|
|
|
|
|
|
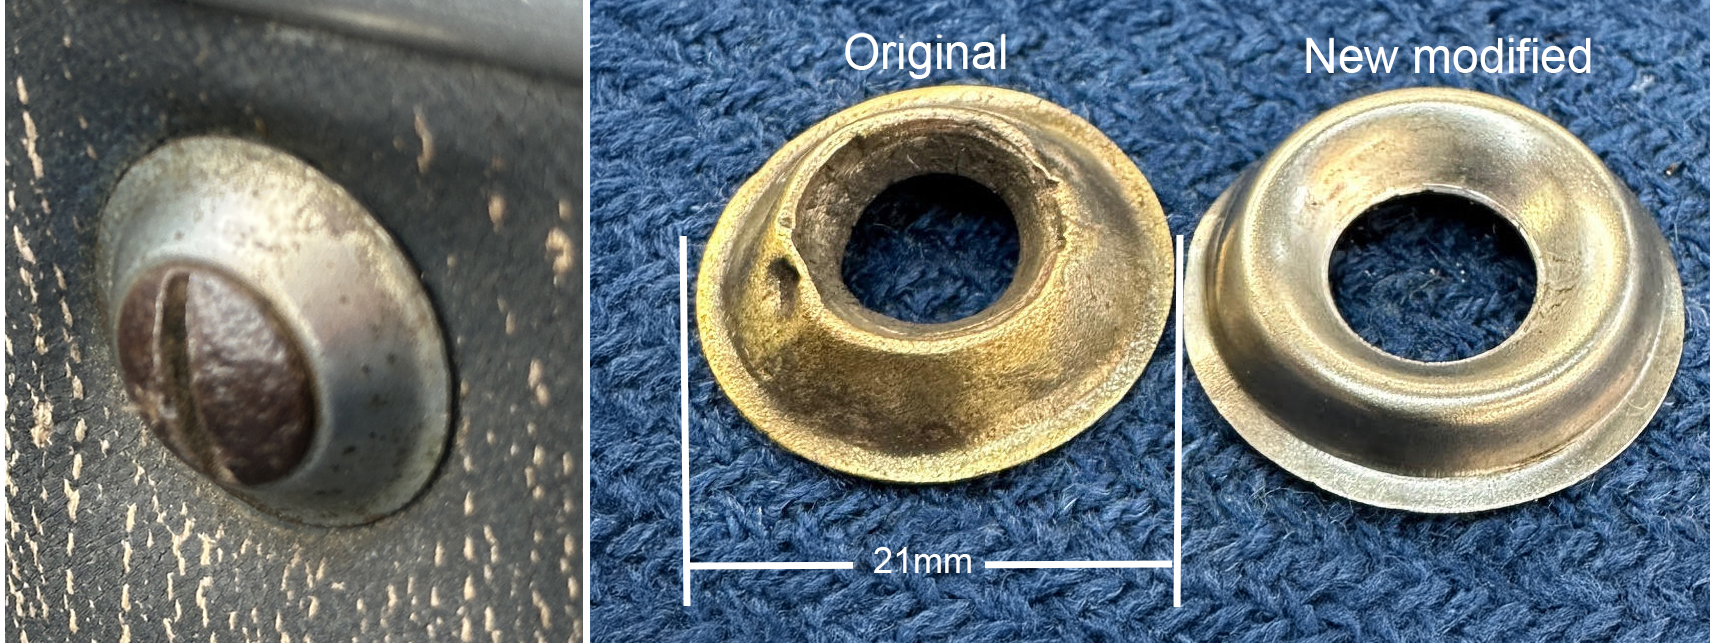
Probably fitted from early 1928, these metal fittings were let into the wooden frames of the doors and those along the sides of the body and used to stop the side screens from rattling. Each was fitted with a 1/4" BSF countersunk, slotted domed-head screw and, to protect the trim, a cup washer with a flat face. The correct screws are available; just Google 1/4" BSF x 1/2" Countersunk Raised Head Slotted Steel Machine Screws
|
|
|
|
|
|
|
|
 |
|
|
|
|
|
|
The real problem is the cup washer which needs a flat rim to stop it digging into the trim, but they are hard to find. If you use a standard cup washer of the right size, you can make up a hollow punch and modify it, as the third picture on the right, above. Unfortunately though, as you can see, even then they are not identical to the original. If you use a cup washer without a flat rim, a short length of rubber pipe behind the washer will stop it from digging in.
Spalding Fasteners in the UK might have something suitable - it's difficult to tell from their pictures: The closest I could find online are in the USA and have a 1/4" hole and a 3/4" (19 mm) diameter. The seller has other sizes as well
|
|
|
|
|
|
|
|
 |
|
|
|
|
|
 |
|
 |
|
|
|
|
|
|
|
|
 |
|
|
|
|
 |
|
|
|
|
 |
|
|
|
|
 |
|
|
|
|
|
|
|
|
 |
|
|
|
|
|
|
|